
This walkthrough covers every achievement in WendyQuest — the four you can lock yourself out of, plus the straightforward ones you’ll trip over just by finishing the story. If you’re chasing 100% in a single run, the missable section is the part you actually need to read before you press New Game.
Here’s the thing that pushed me to write this up: scrolling through achievement lists is useless if nobody tells you when a choice closes behind you. Three of these achievements are permanently missable and one is pseudo-missable, meaning the game will happily let you walk past them. I’ve ordered everything so the risky stuff comes first — read the missable section, then go play.
Spoiler warning: the section on the hidden ending reveals story beats and route structure, and boss names show up throughout. If you want to go in blind, stop after the opening quotes.
The Four Missables at a Glance
Everything below this line falls into two buckets: play normally and you’ll get it, or get it done at the end of the game. These four are the exception — they slip away if you progress too far without setting them up.
- Rebellious Phase — Refuse suggestions enough times
- I Can Do This All By Myself — Defeat Frydusa in a different way
- Loot Goblin — Open every chest in Exclamation Point Cave
- True Friends — See all there is to see (Complete the hidden ending)
Three are truly missable. Loot Goblin is the odd one out — it’s technically not missable, but two of its chest tasks (400 enemy KOs and 1250 gold looted) are things you want to be building toward from the start. Leave them until the credits roll and you’re signing up for a tedious, pointless grind.
Rebellious Phase

You earn this one for refusing to eat after the fight with the Mech Double at the very start of the game. When the game flashes green text telling you to open the menu and eat something, don’t. Keep trying to push right instead.
The dialogue shifts each time you try, so just hold your ground and keep walking. Eventually Wendy says “How disappointing…” — that’s your cue.
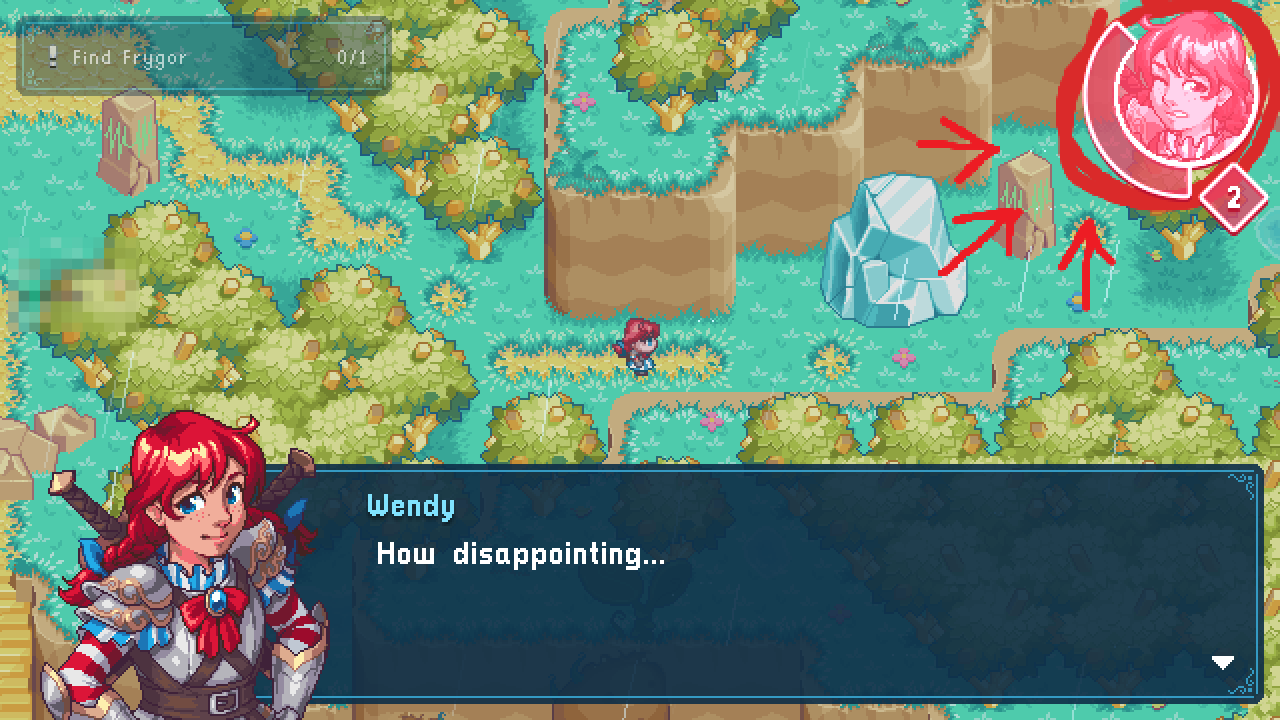
The achievement should pop right then. If it somehow hasn’t, push right one more time. That’s always been enough in my experience.
I Can Do This All By Myself

To unlock this, you have to beat the first boss, Frydusa, without ever recruiting Frygor.
Everything else is on the table beforehand — grind levels, grab loot, upgrade your gear. You can even walk into Frygor’s house and stand face to face with him. The one unbreakable rule is that you must not talk to Frygor at any point before Frydusa goes down.
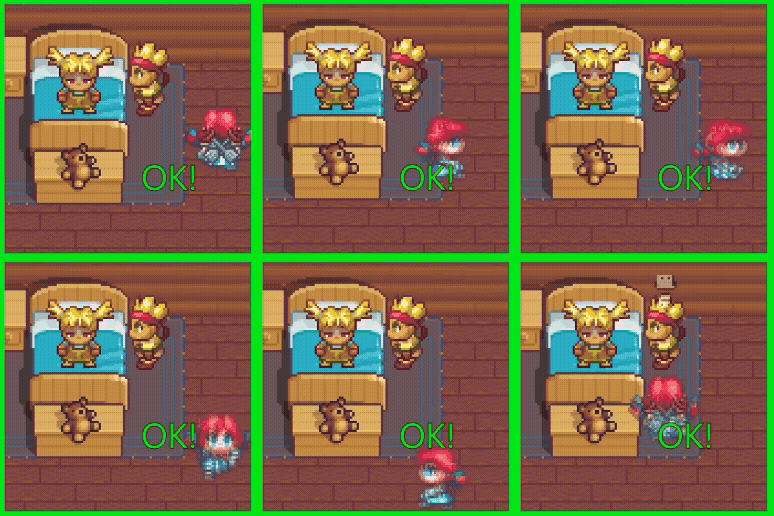
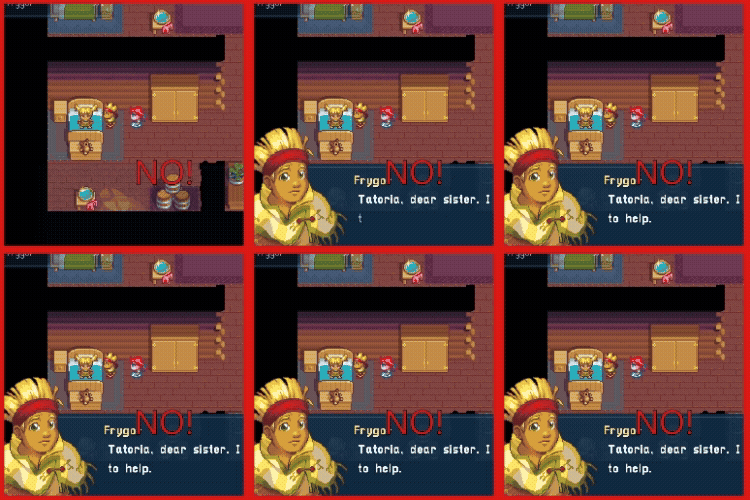
When you feel ready, head south out of Russetwood toward the farm-patch area.
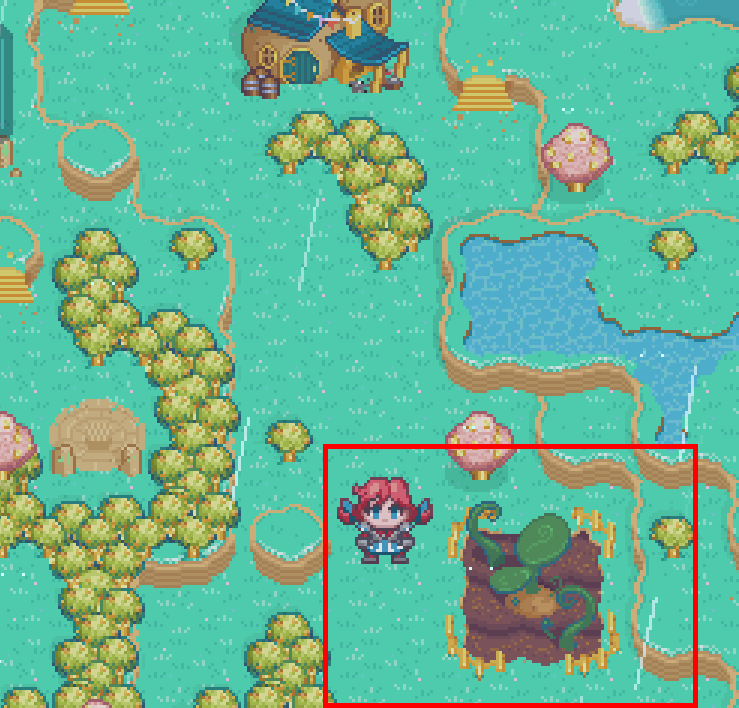
Step inside and work your way to the center on top of the hill — that’s where Frydusa waits.
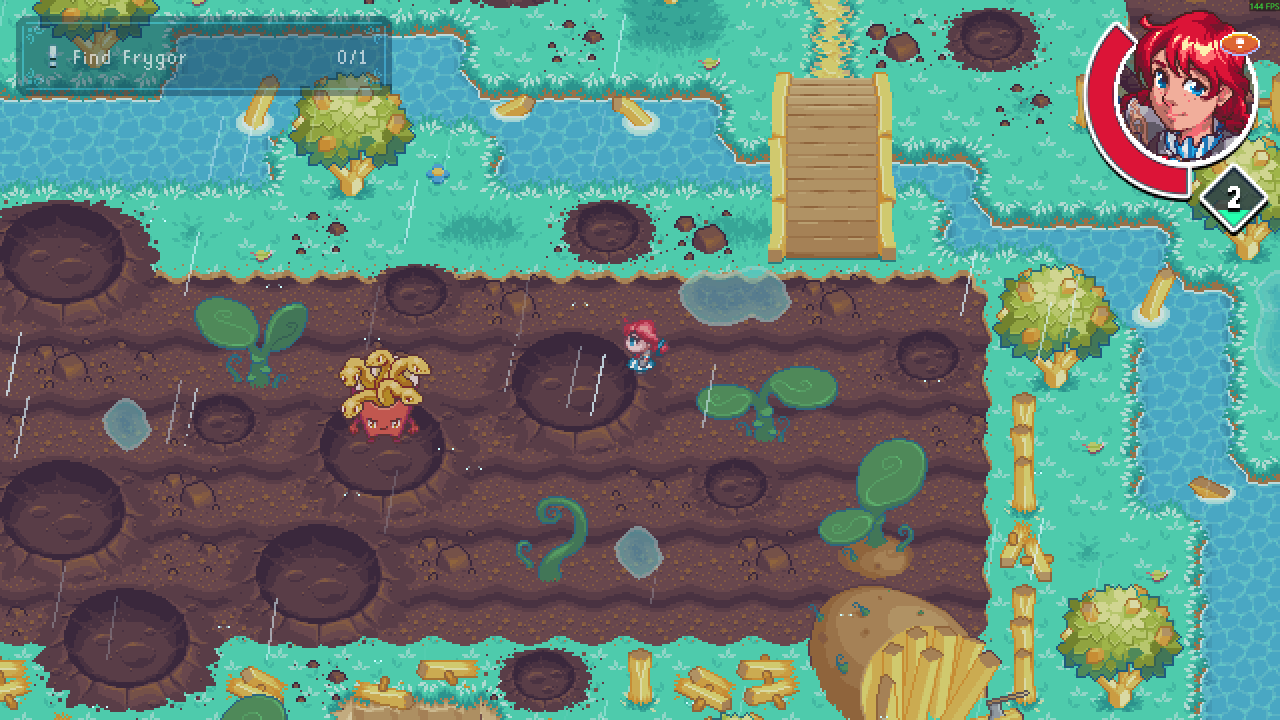
The fight itself is fairly honest. She hits you with the soggy status effect, throws out some basic attacks for a few turns, then tries to reapply soggy.
The pattern that worked for me: use a napkin on turn 2, then pop a soggy-curing heal every other time she reapplies the status (crispy fries, baked potato). Once those run dry, finish the job with standard heals like Jr. Bacon cheeseburger or Dave’s single. Before the fight, I’d make sure I was carrying 3–4 soggy-curing heals and 3–4 standard healing items.
One piece of advice that saved me grief: don’t burn healing items on random monsters on the way to Frydusa. Hoard them for the boss. Enemies don’t respawn, so the healing items in the first area are a finite pool — take it slow, and rest at Wendy’s whenever you need to top up.
Soggy-Curing Heals in the First Area
For convenience, here are the freely accessible soggy-curing items I’d grab before the boss.
Crispy fries west of Frygor’s house
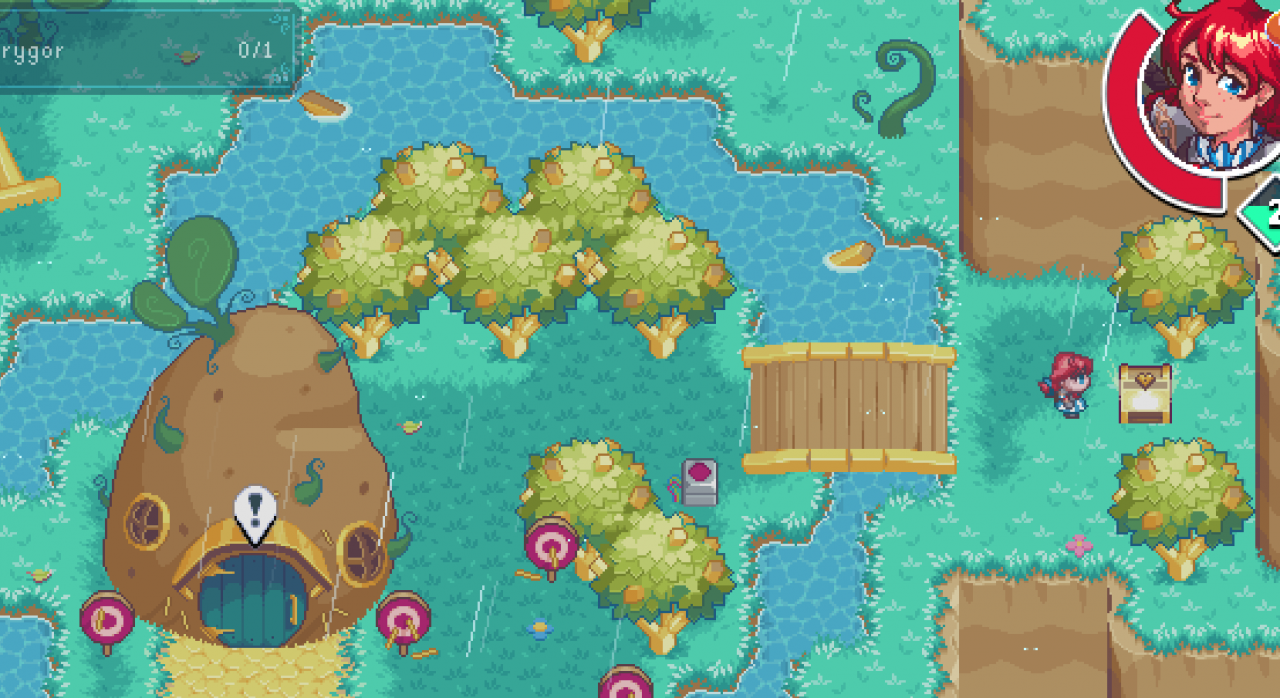
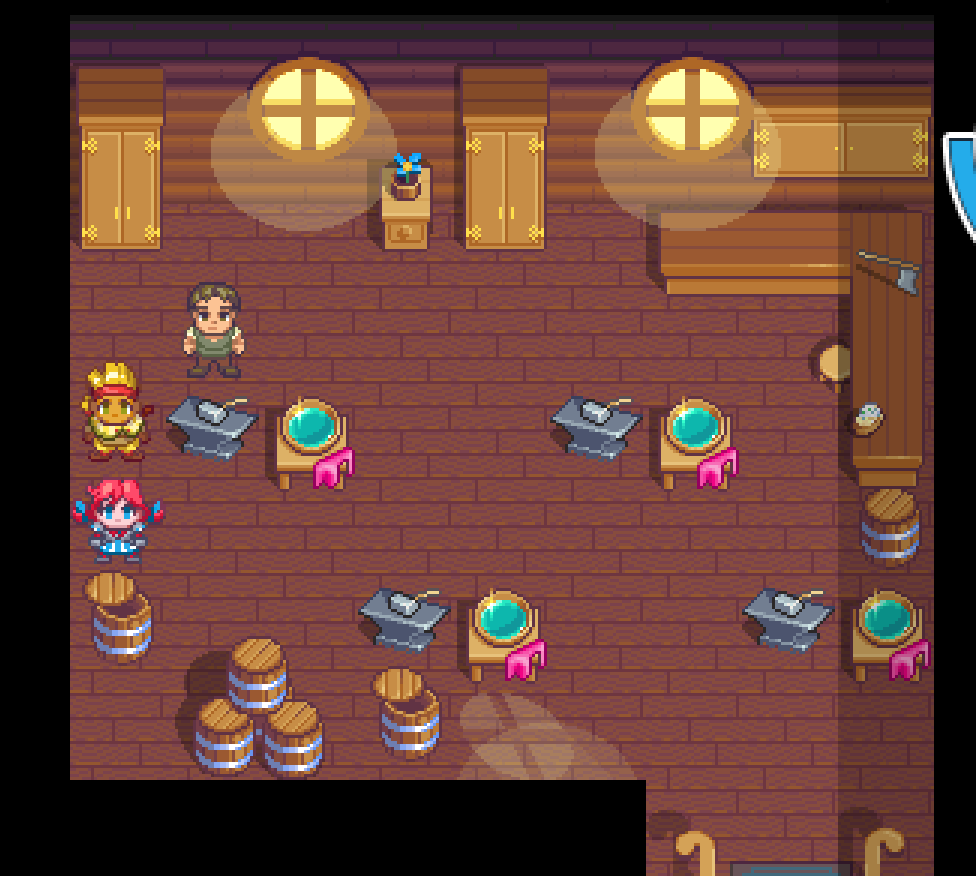
Baked potato in the blacksmith’s shop
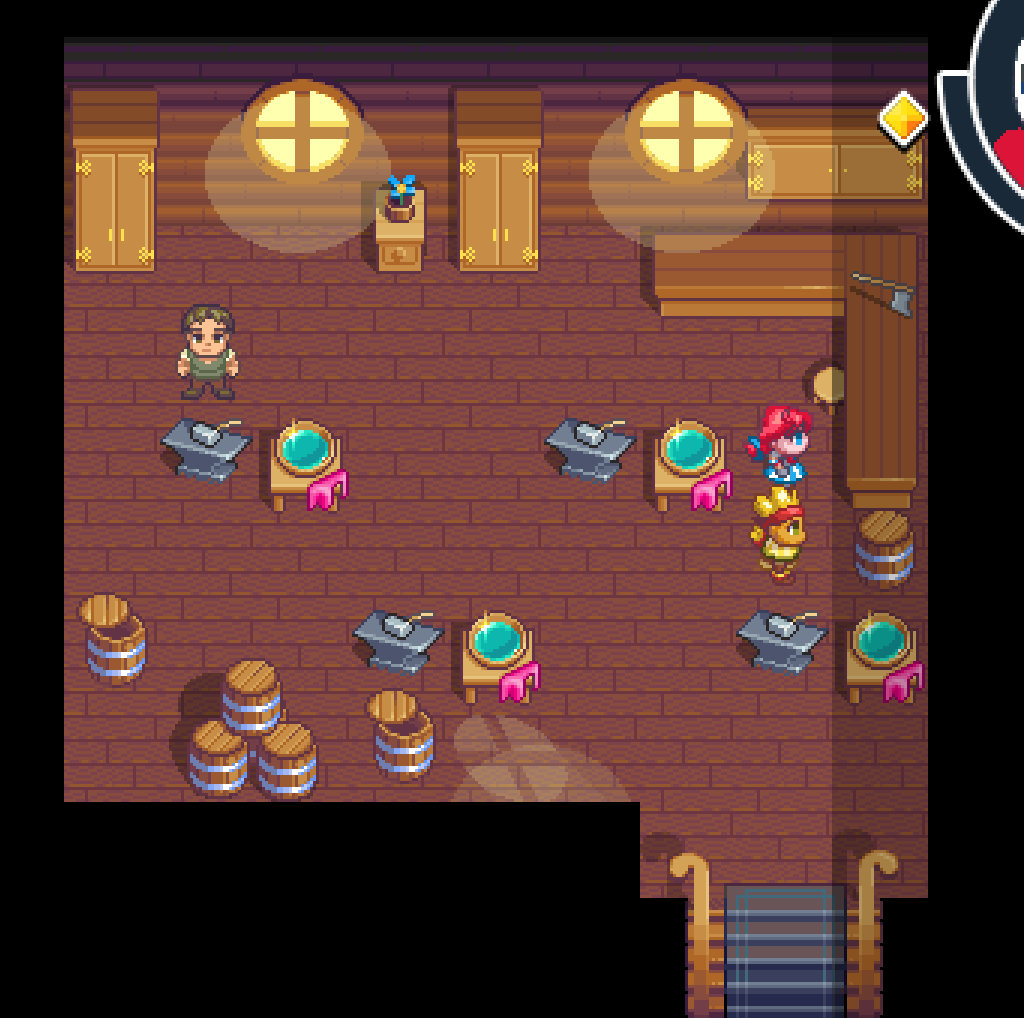
Crispy fries in the blacksmith’s shop
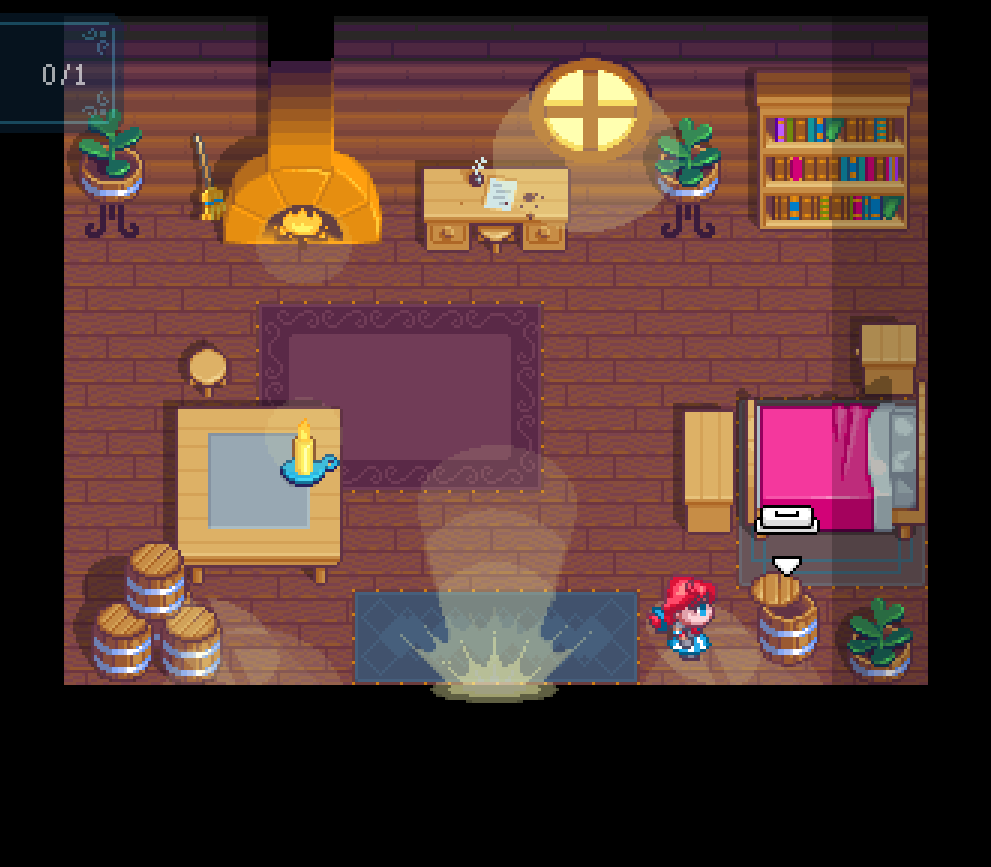
Crispy fries in Elder Tater’s house
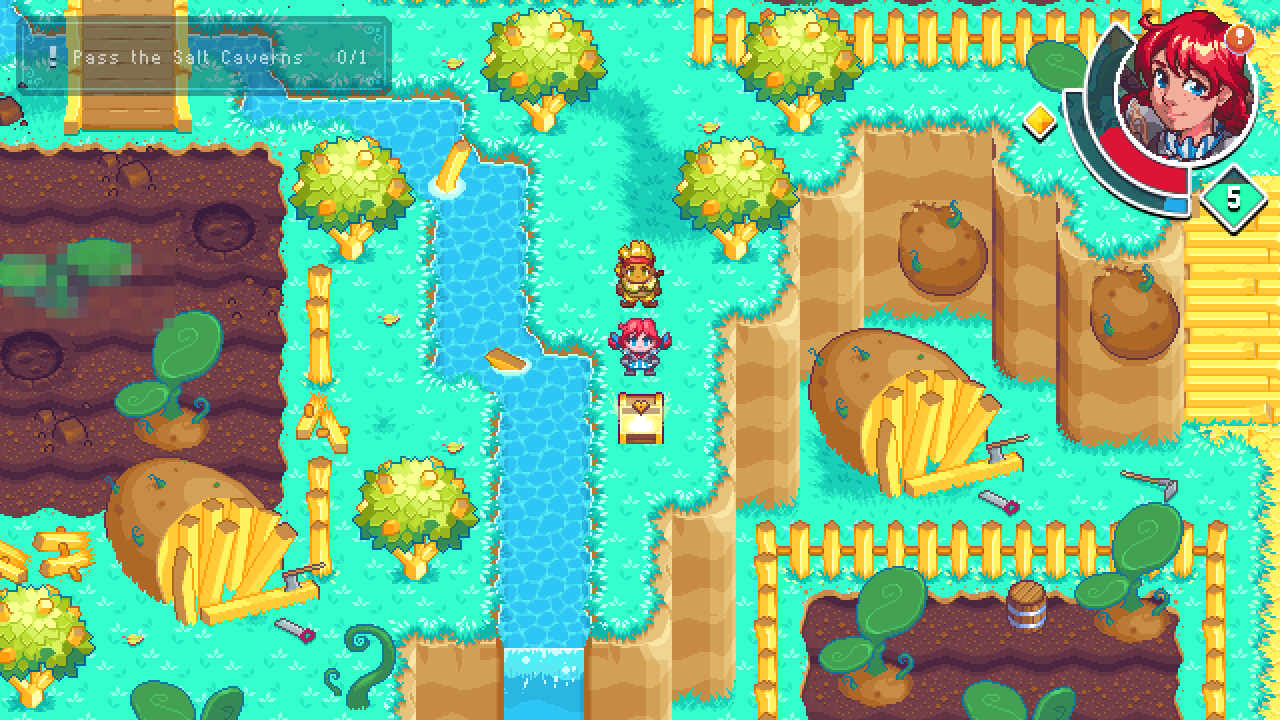
Crispy fries west of Frydusa
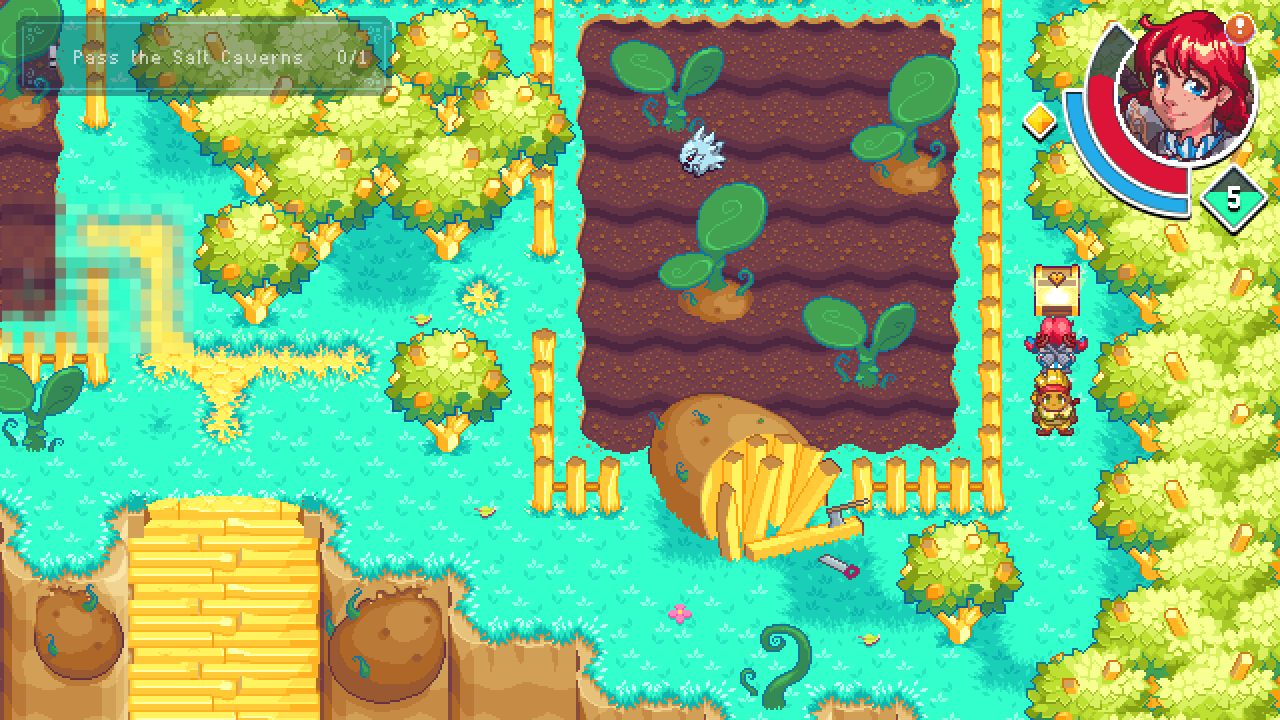
Crispy fries west of the top of the stairs before Frydusa
True Friends

This achievement asks you to see all there is to see by completing the hidden ending, and that means taking a strange route through the game and deliberately breaking the sequence of certain story moments. Be warned: doing this cuts you off from a few small story beats. If you’re fine with that, continue.
Two things worth knowing before you start. First, contrary to what the game’s framing might suggest, you can unlock this on your first playthrough — you don’t need to finish the game normally first. Second, this achievement is inverted: instead of doing things, you have to avoid doing things. Here’s the list of what you must not do.
- Talk to Frygor while the “Find Frygor” quest is active.
- Talk to Frostyna while the “Reunite with Frostyna” quest is active.
- Talk to Chomps while the “Meet with Chomps” quest is active.
- Go near Eggward while the “Talk to Eggward” quest is active.
- Talk to the Son of Baconator while the “Talk to Baconator’s Son” quest is active.
Avoid those five things and everything else is fair game. The achievement pops at the end of the story. If you want more context on how hidden endings like this one are structured across other games, a general secret endings guide is handy reading, but for WendyQuest you’ll be fine with the steps below.
Now the part you do need to do, area by area.
Fryshire (Area 1)
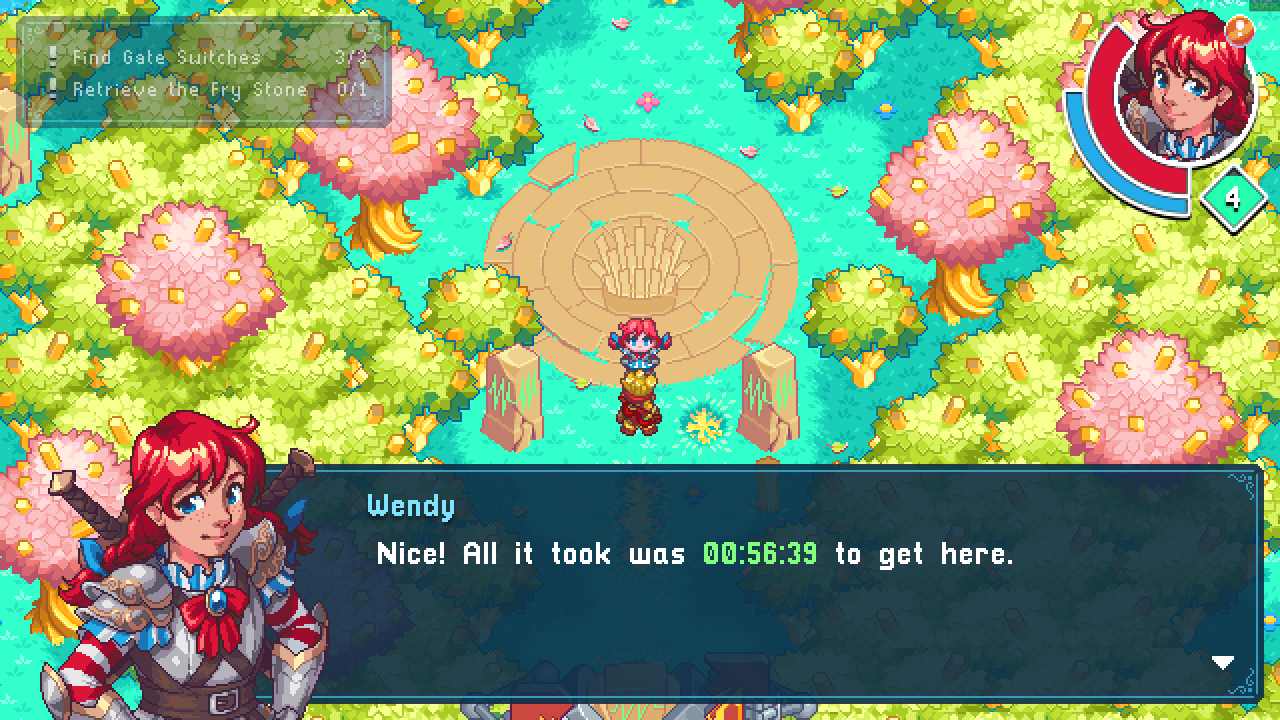
Follow the same steps as for I Can Do This All By Myself — avoid talking to Frygor until Frydusa is dead. If you did it correctly, Wendy will comment in green text about how long the fight took you, and you’ll see screen glitches.
After Frydusa falls, do the quests normally until you reach the next area, past the salt caverns.
Once you beat the Mech Fry, Wendy again comments on your run time in green text. That’s your confirmation you’re still on the right route.
Sweet North (Area 2)
On arrival in Chillcrest, do not talk to Frostyna. As with Frygor in area 1, everything else is allowed — you can walk right up to her, as long as you never talk while “Reunite with Frostyna” is active.
To progress, leave town on the west side of the map. Frygor will insist you go see her — ignore him and keep trying to exit. Eventually he goes and fetches her himself, and Frostyna is force-added to your party.
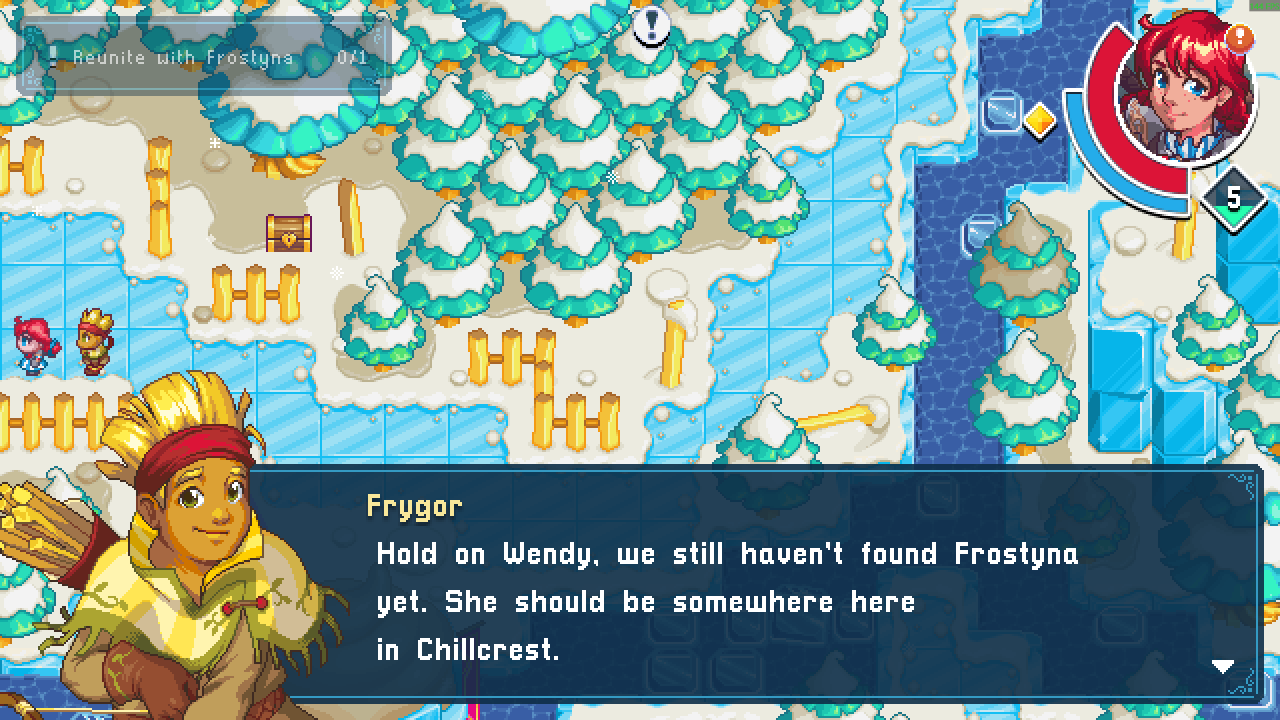
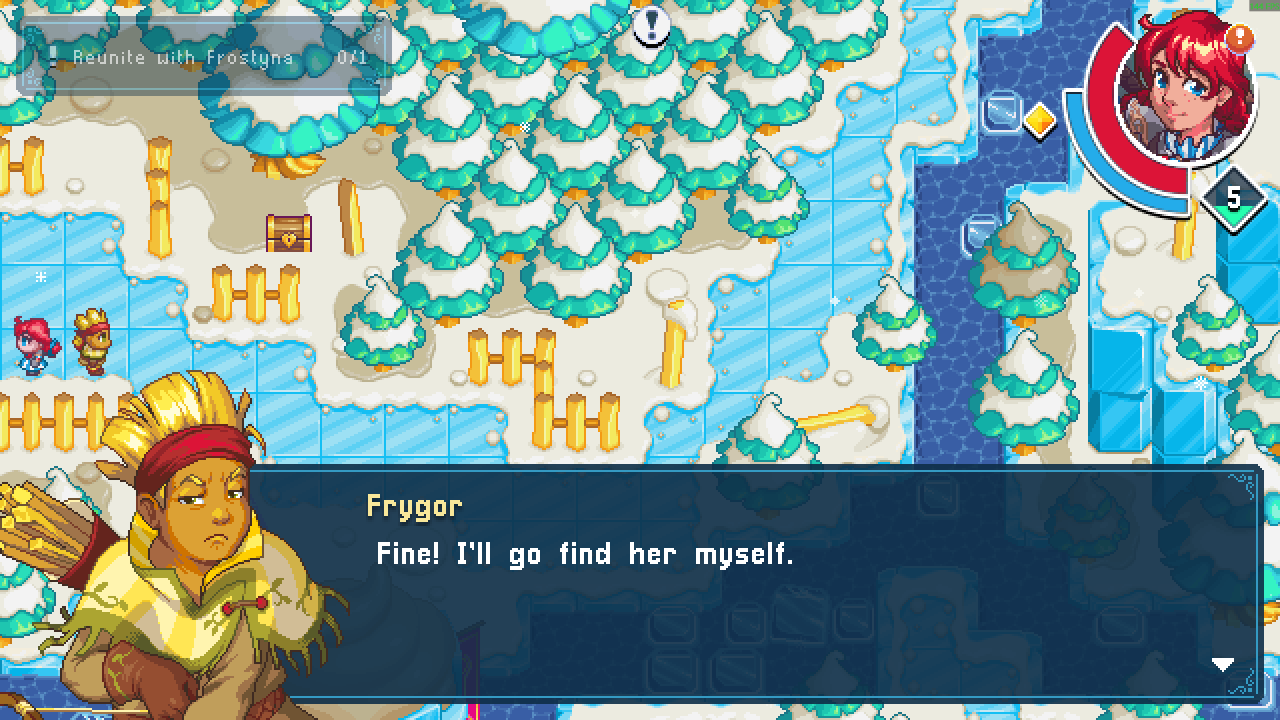
From there, follow the quests normally through the area until you hit Nugget Sands. After the Mech Flurry fight, Wendy comments on your current run time in green text — still on track.
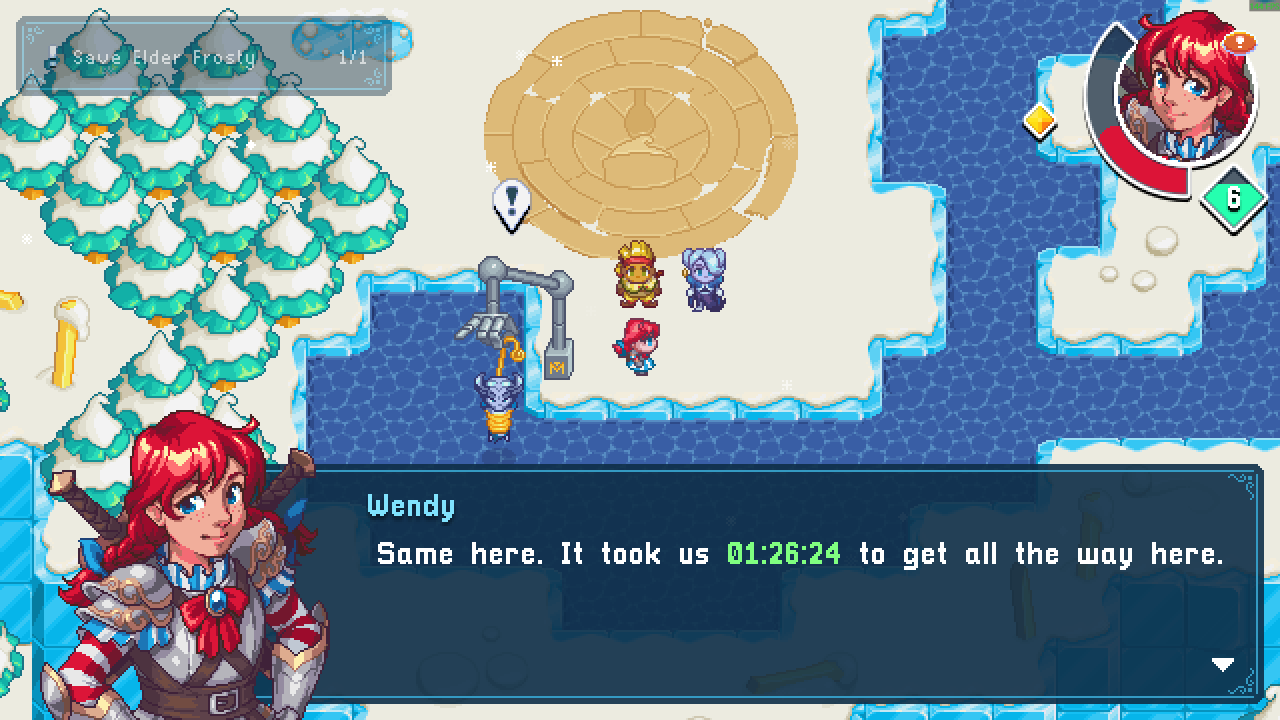
Soda Sea (Area 2.5)
Nothing is off limits here. You can safely visit the exclamation point cave for your rewards and generally go wild across the sea — this area doesn’t threaten the route.
Nugget Sands (Area 3)
Progress normally at first until you escape the Mech Cafe prison. Inside the prison you’ll have dialogue with both Chomps and Sir Chicken — that’s fine and you’re still on the right path.
Once you’re out, the quest becomes “Meet with Chomps.” Same drill: do not talk to Chomps. He’ll move to the Wendy’s in Nuggedor to wait for the meeting. Use that Wendy’s and the rest of town as normal — just don’t engage with him.
When you’re ready to move on, go north of Nuggedor to the Cauldron of Sauce.
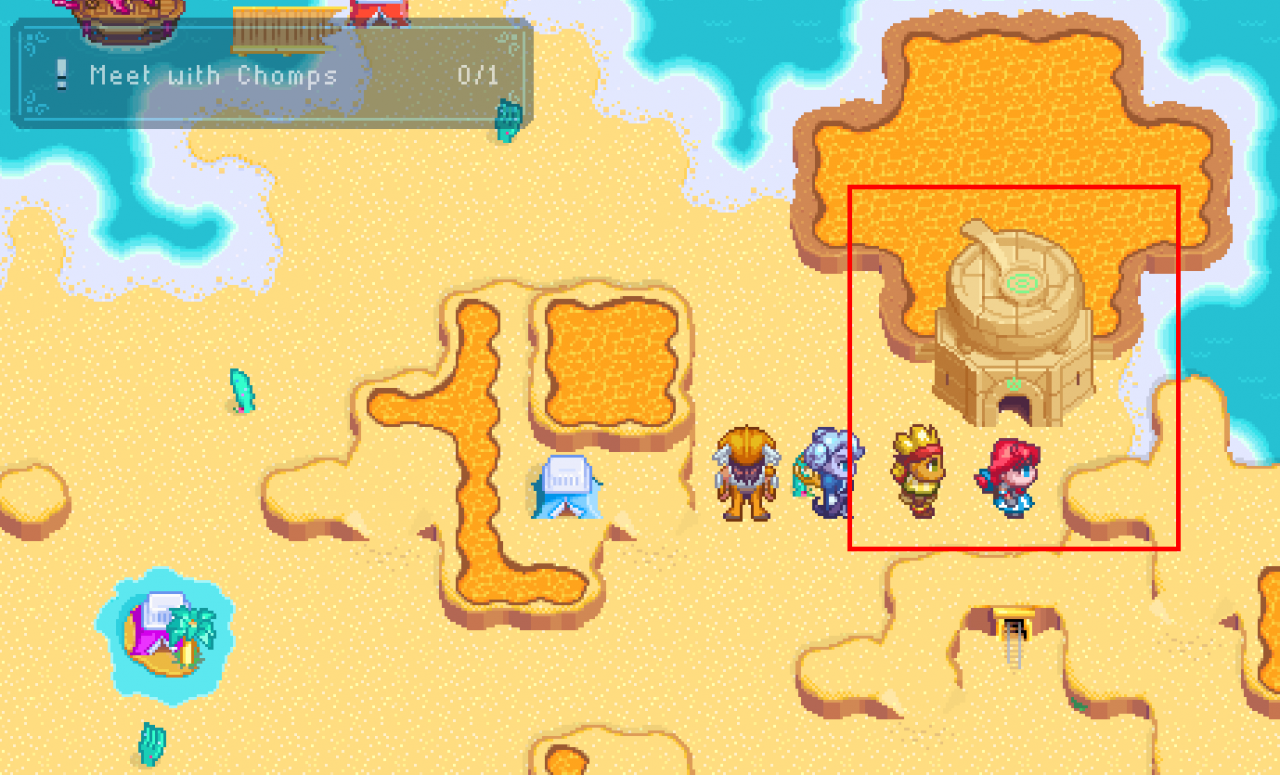
Inside, head to the top-left portion of the map. Frygor will tell you to go back to town for the meeting — ignore him.
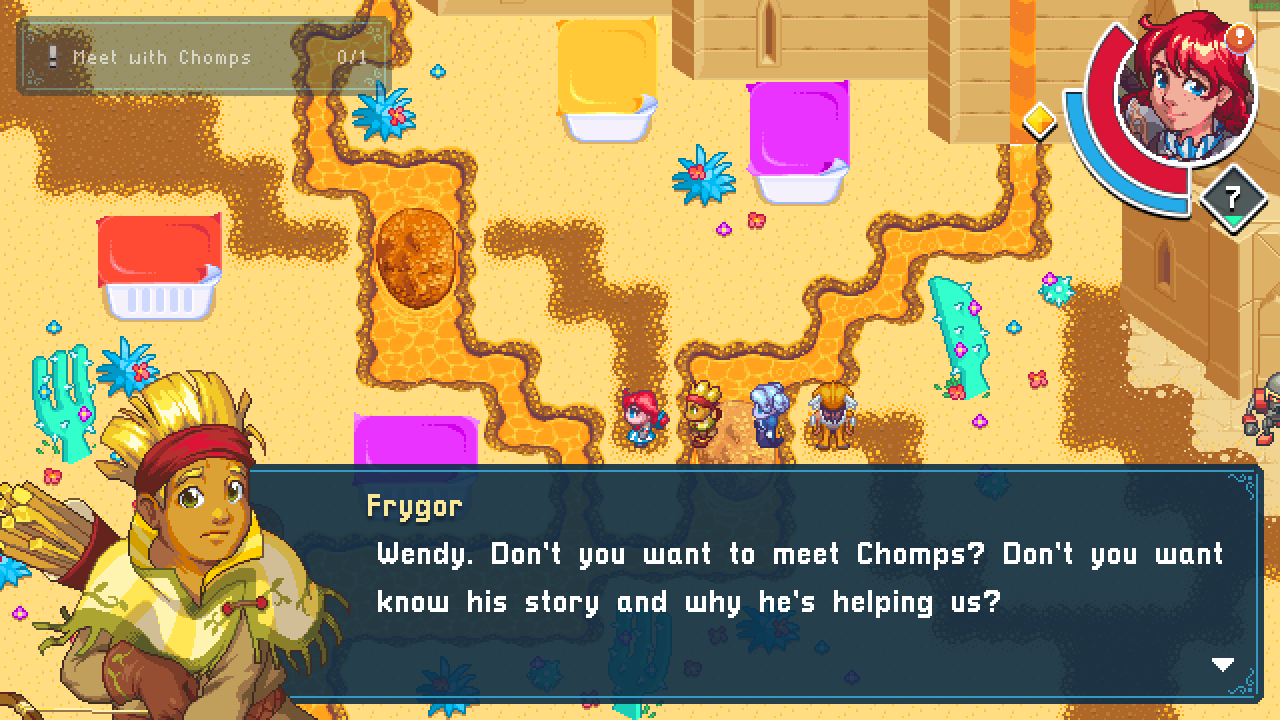
Keep going up and left until you reach a wall to the north. When you do, Chomps appears and the wall opens.
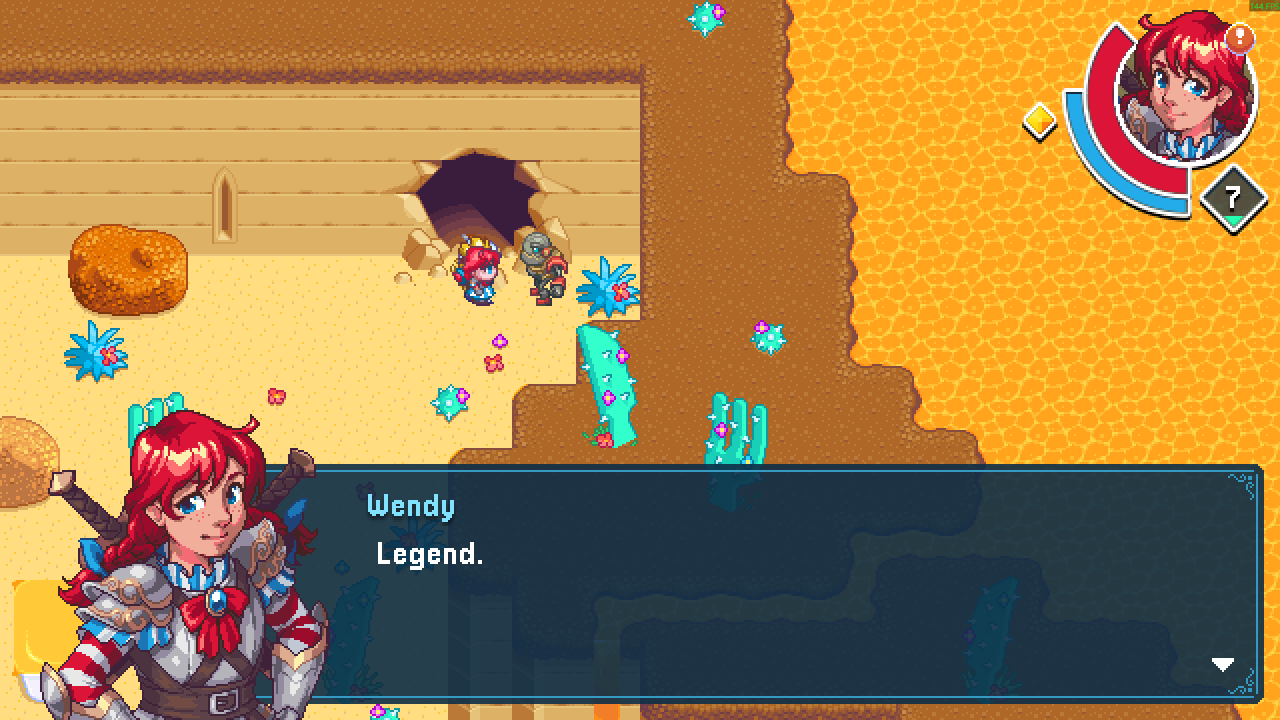
For the rest of the area, follow the quests normally. After you take down the Mech Chicken and the Mech Nugget, Wendy remarks on your current time in green text — still on the secret route.
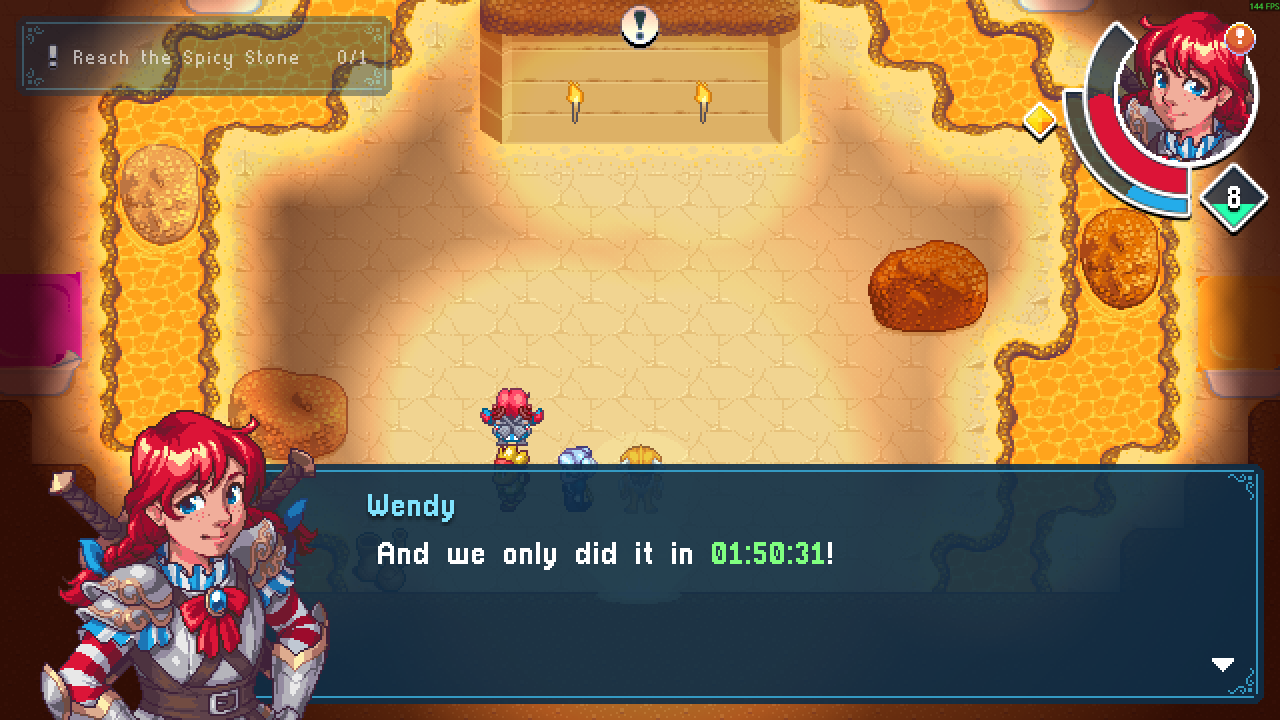
You can collect the 4 archaeologists and push through Ghost Pepper Pass with no special restrictions.
Breakfast Isles (Area 4)
This is the first and only area where simply refusing to talk won’t cut it. You must avoid Eggward entirely — do not set foot in his section of town or you’ll be pulled into a conversation with him. My advice: don’t attempt anything in town until you’ve advanced the route to the next step.
In town, go right and then up, steering clear of the small island Eggward stands on.
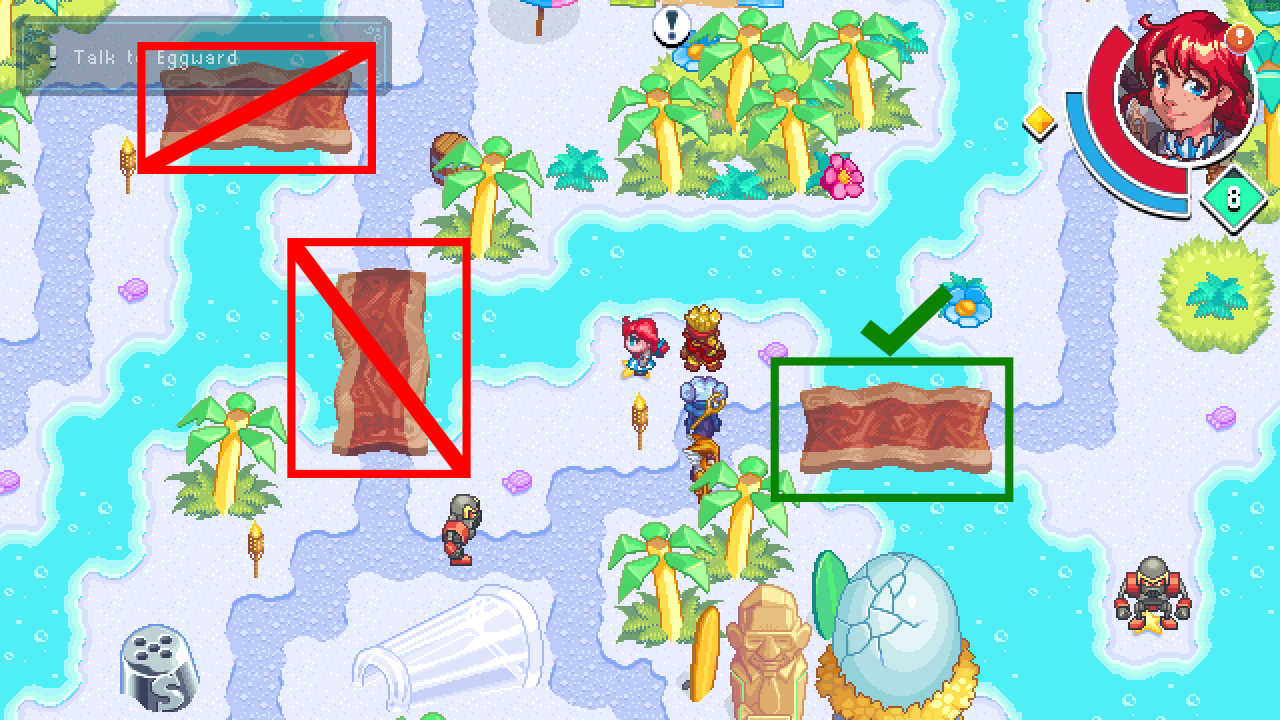
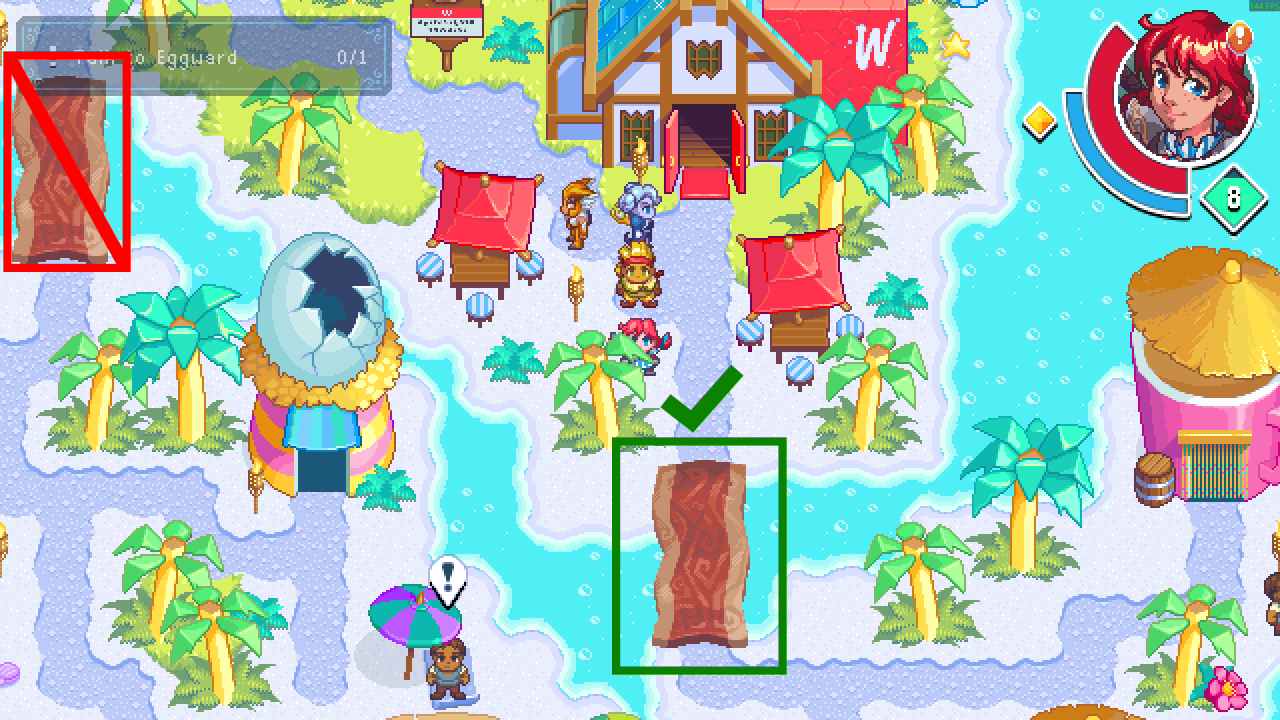
Once you’ve reached the north side of town, you’ll spot a ladder. Climb it and continue north.
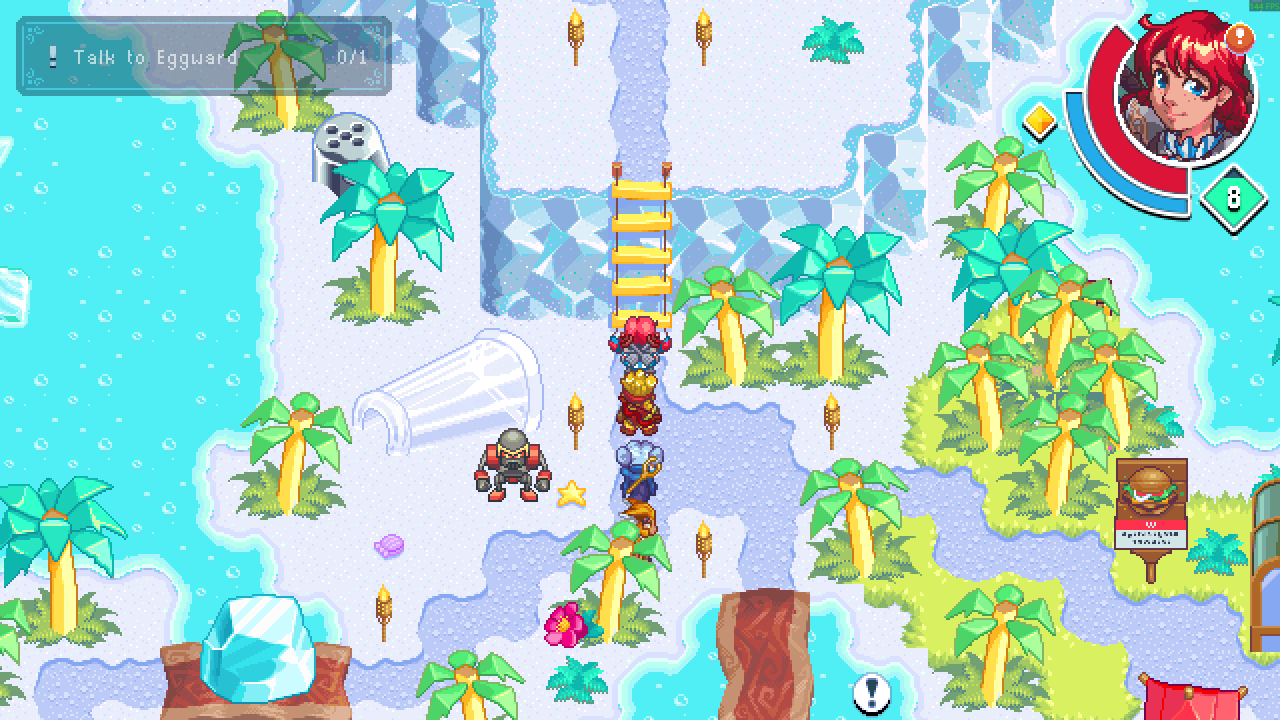
At the top of the ladder, Sir Chicken tells you to go see Eggward. Ignore him and keep trying to head north.
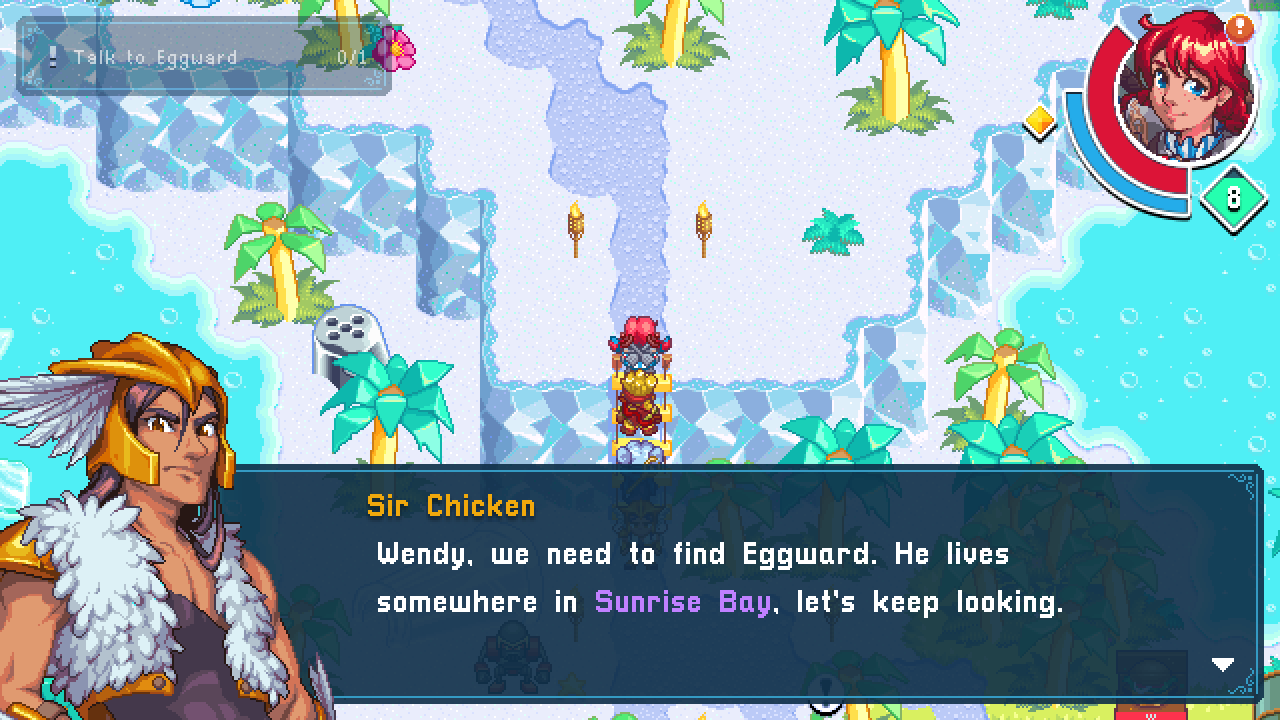
Eventually Frygor interrupts Sir Chicken and lets you proceed north. At that point you’re free to enter town and do whatever you need.
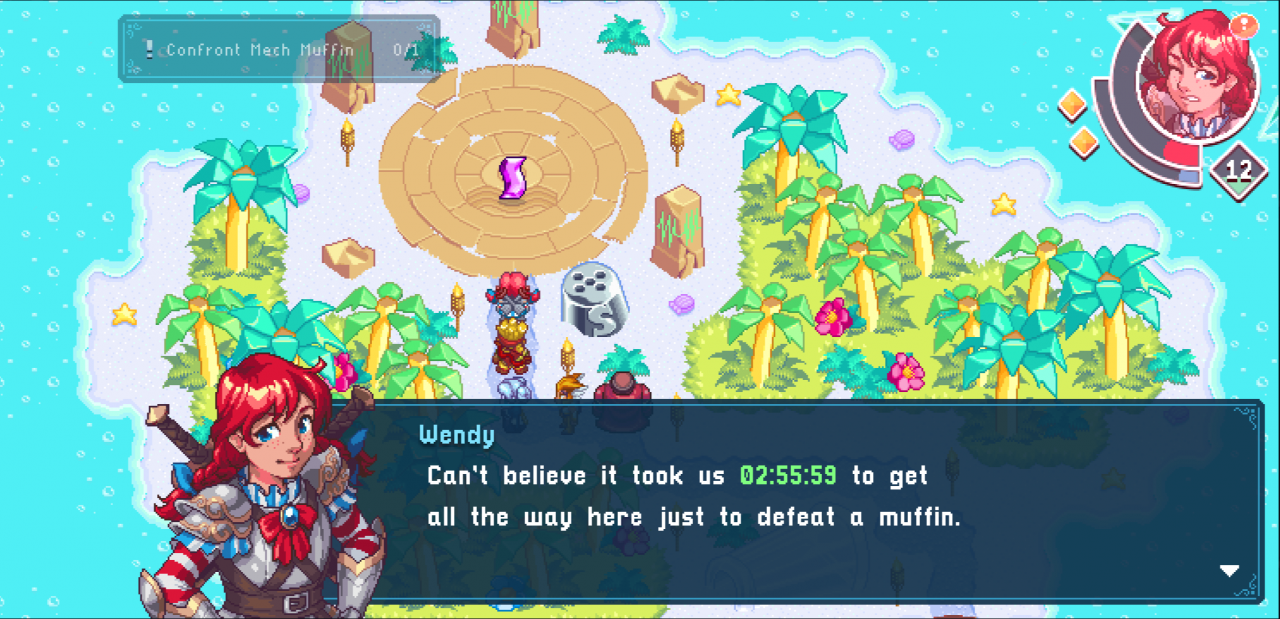
Run the rest of the area normally: recruit Baconator, work through the caves, and defeat the Mech Muffin. After that fight, Wendy comments on your current time in green text — you’re still where you should be.
Beef Bluffs (Area 5)
By now you know the drill. In Burgenburg, avoid talking to the Son of Baconator while “Talk to Baconator’s Son” is active. This is another lenient one — you can go near him, just don’t start a conversation.
When you’re ready to progress, head north of the Wendy’s to leave town. Baconator tells you to go see his son — ignore him and keep going north.
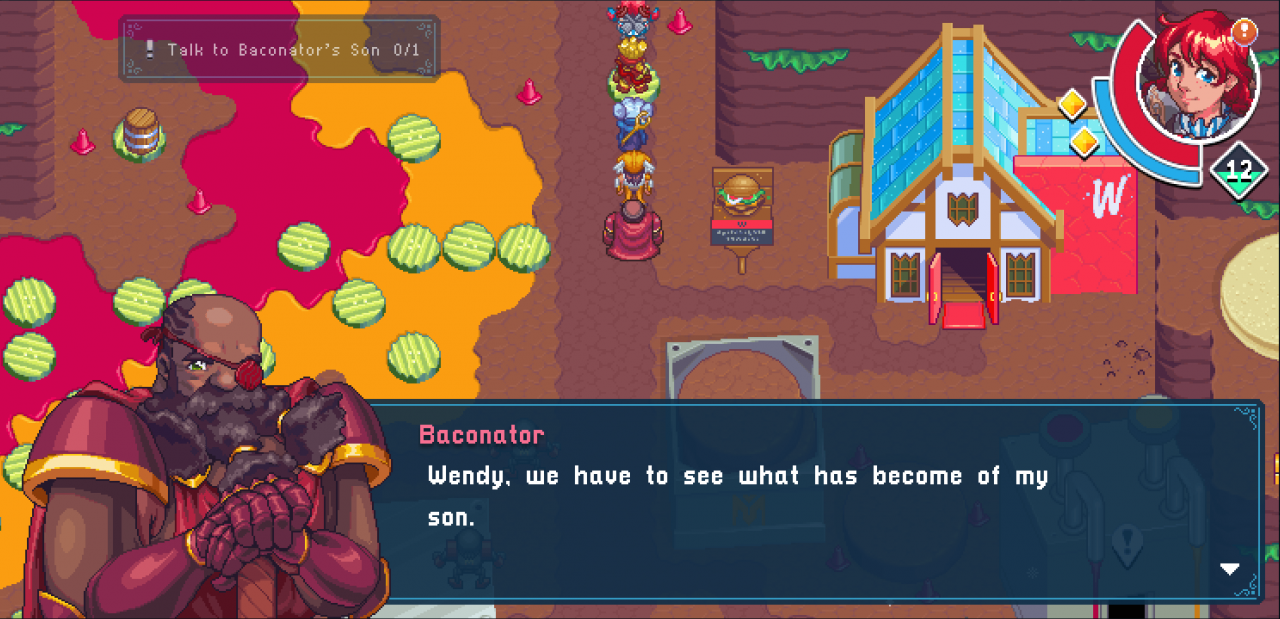
After a few more attempts, Frygor teleports you to Baconator’s front door. Head back to the north town exit and try once more. Frygor should then say his piece.
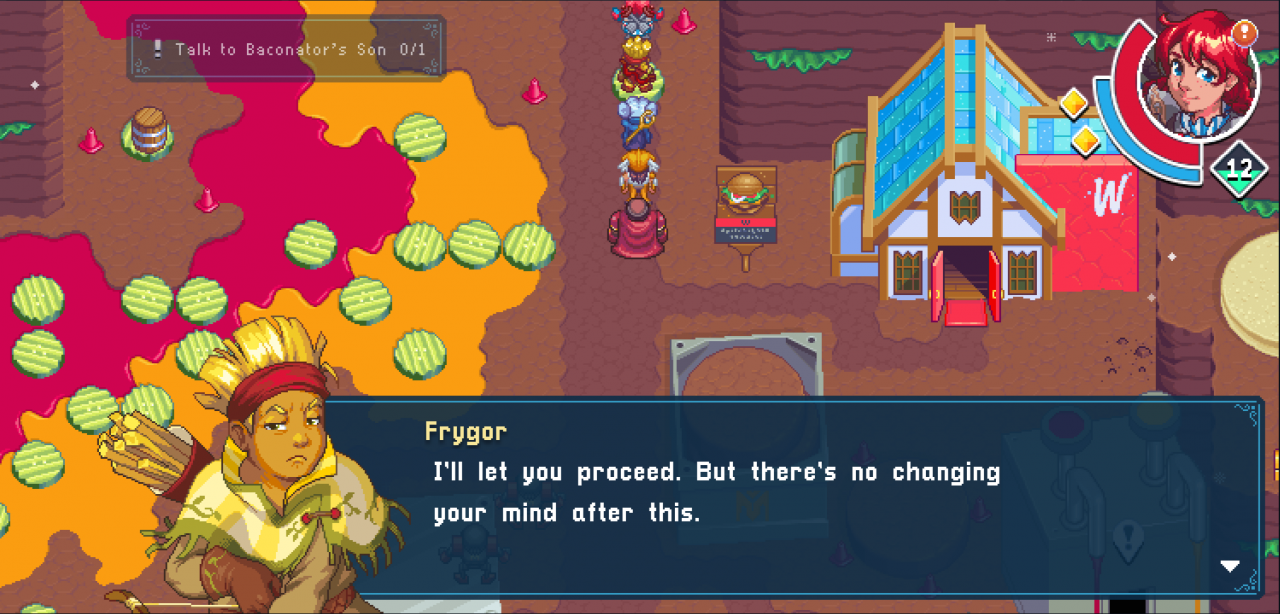
Go north one final time. Frygor comments, and you’re teleported to the next screen.
That’s the puzzle solved — all that remains is finishing the game. As long as you don’t reload an old save, nothing can stop the secret ending from triggering. Save your game now so you don’t accidentally load back to before you left town.
The rest of the area proceeds normally: follow the quests, work through the factory, and beat Mechborg.
After Mechborg goes down, a short cutscene plays and you’re dropped into a fight against Frygor.
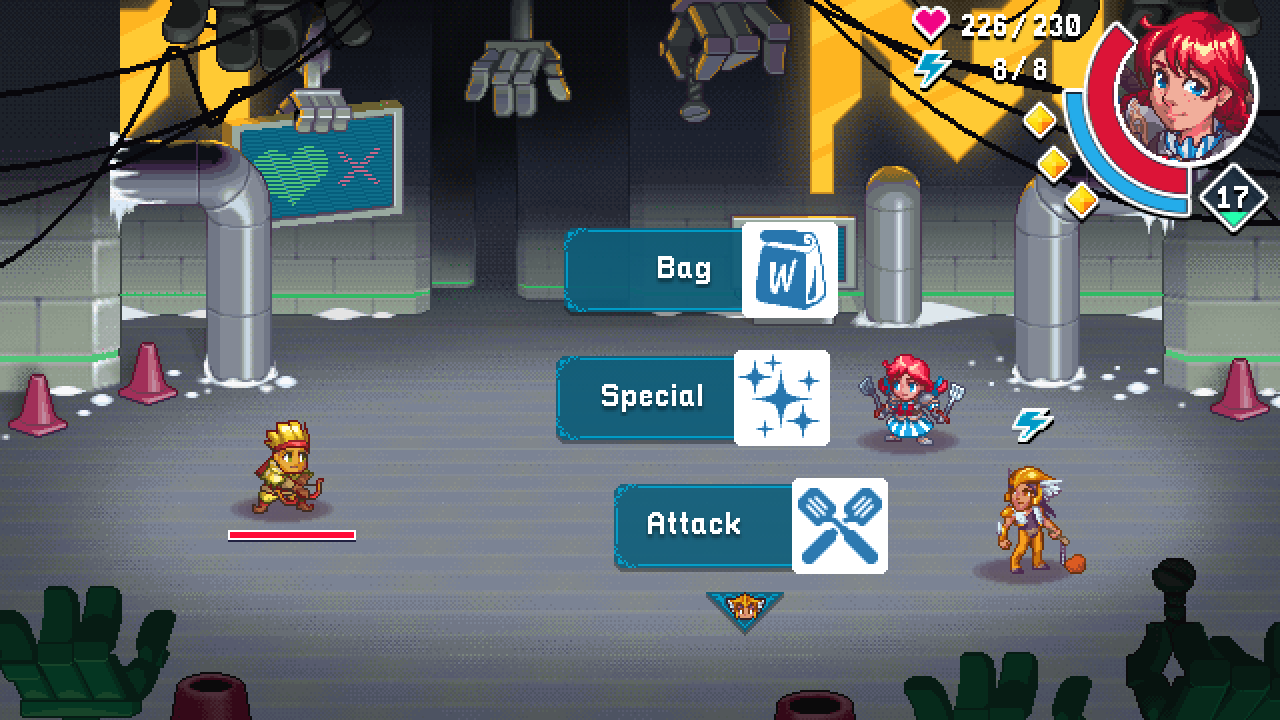
His moveset isn’t complicated, but he can hit extremely hard in a single turn. Keep your health above roughly 130–150 so his barrage+ attack doesn’t surprise one-shot you.
Once his health hits zero, a cutscene plays, the credits roll, and the achievement is yours.
Loot Goblin

This one asks you to open every chest in Exclamation Point Cave. As I mentioned up top, it’s technically not missable, but two of the tasks — 400 kills and 1250 gold — are things you should be working toward throughout the whole game rather than grinding after the credits.
After you defeat the Mech Frosty at the end of area 2 and gain access to the boat, sail past the area 3 dock to the island shaped like a question mark.
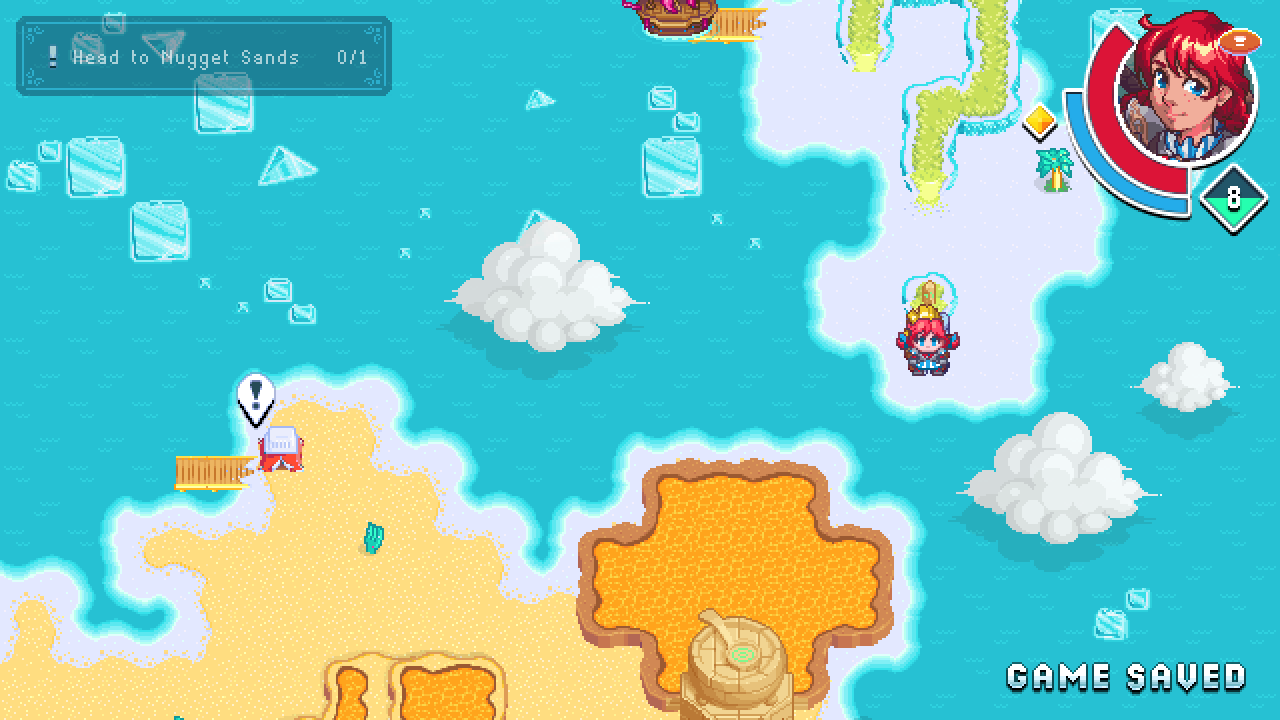
Walk into the hidden ruin inside the question mark’s dot.
Once inside, head northeast to the cave beside the Dave statue. Trying to enter will tell you your companions must wait outside — say yes and go in. Nothing in this area damages you, so don’t bother healing or restocking beforehand.
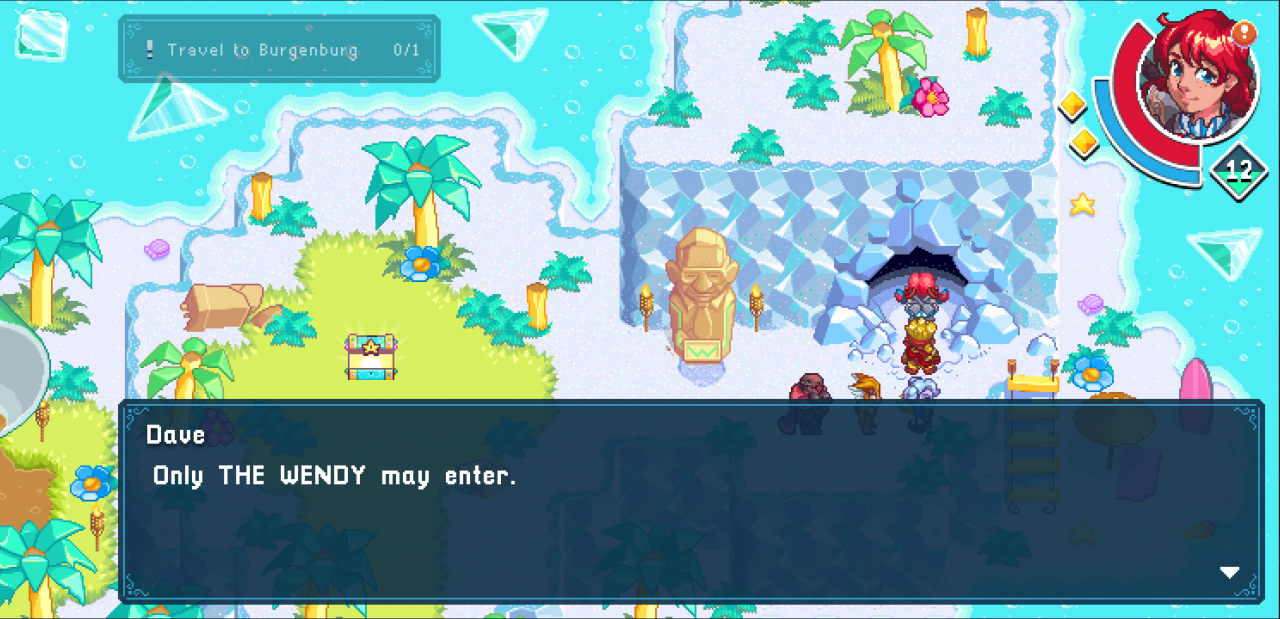
Next you’ll navigate a few stealth sequences. Eventually you land in the Shrine of the First Wendy, and after some cutscenes you gain access to Exclamation Point Cave. From that point on you can warp here instantly with the Peppercaster you just picked up.
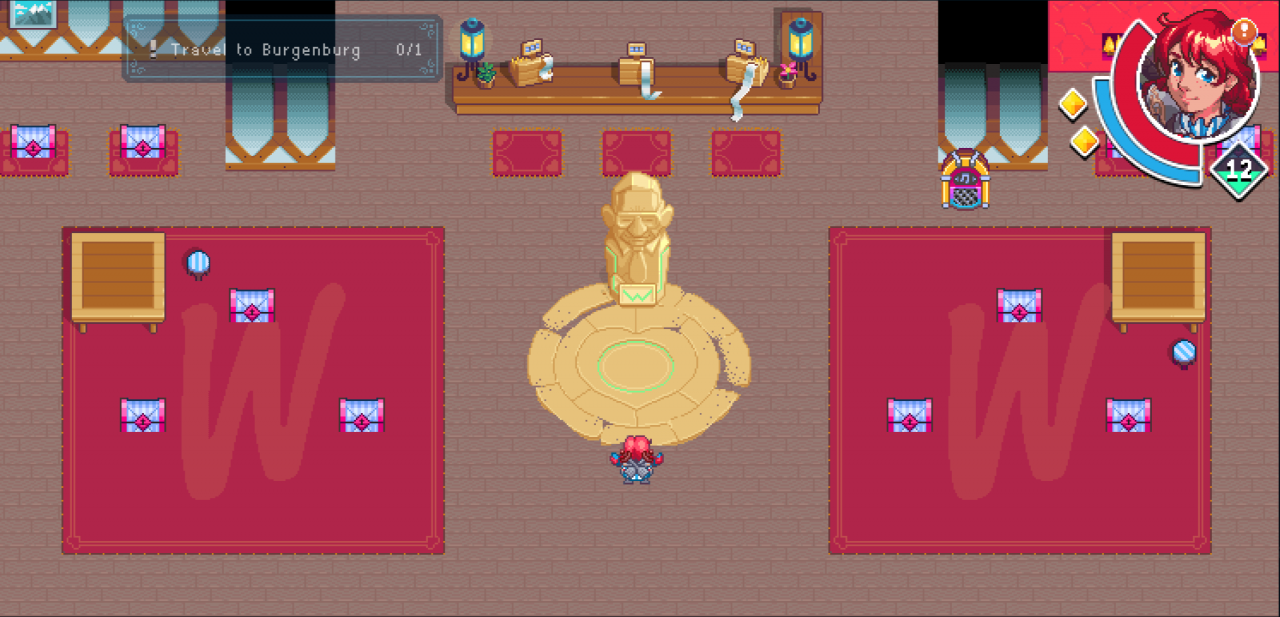
The cave holds 11 chests total, each with a task you must complete to unlock it. Crucially, the chests count progress you made before ever reaching this area, which is why the grindy tasks aren’t the nightmare they look like.
- 25 critical hits
- 5 critical hit streak
- 150 critical hits
- 50 chests looted
- 25 food items consumed
- 2 corner stones found
- 4 corner stones found
- 16 idols found
- 100 enemy KOs
- 400 enemy KOs
- 1250 gold looted
Most of these arrive naturally as you play. The ones to actually keep in your head are the 400 KOs and 1250 gold — if you skip piles of enemies, you can end a run with hundreds left to kill. You don’t have to kill every single thing, but clear out the majority as you move through each area. On my first save, where I full-cleared most areas, I finished with around 650 kills.
For the crit streak task, if crits are giving you trouble, stack Frostyna’s
frosty time ability with Baconator’s
Rise and Shine ability.
Unmissable Achievements
From here on, every achievement can be earned through regular play or picked up quickly at the end of the game. Nothing below can be lost.
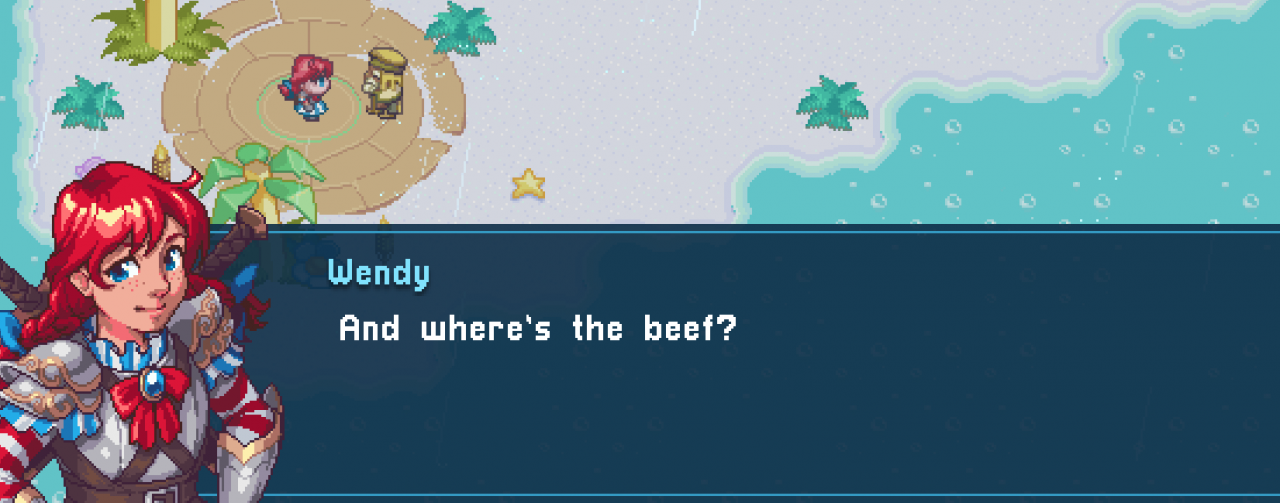
Where’s The Beef

Start Wendy’s adventure in Savoria — watch the opening cutscene and play through the dialogue with Elder Tater until Wendy says “where’s the beef.”
Sir, This is a Wendy’s

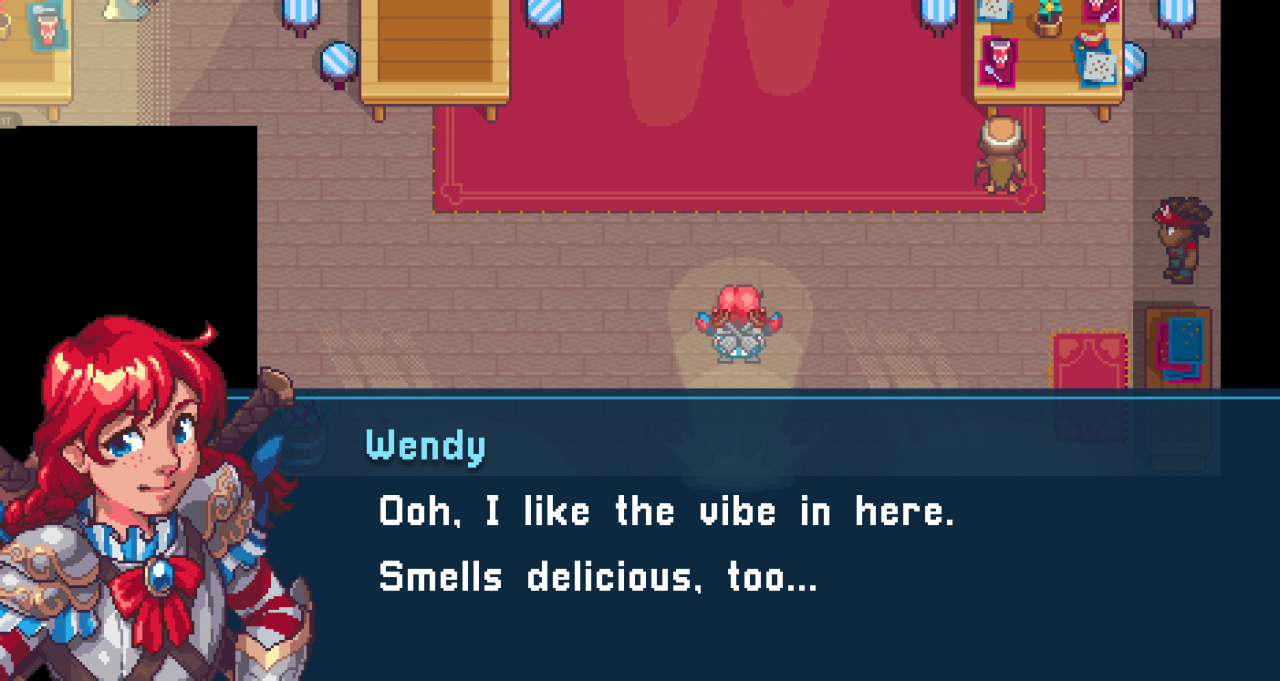
Enter any Wendy’s establishment. Every town has one, and there’s a Wendy’s just inside Russetwood, the first town — step in and the achievement is done.
Good Boy

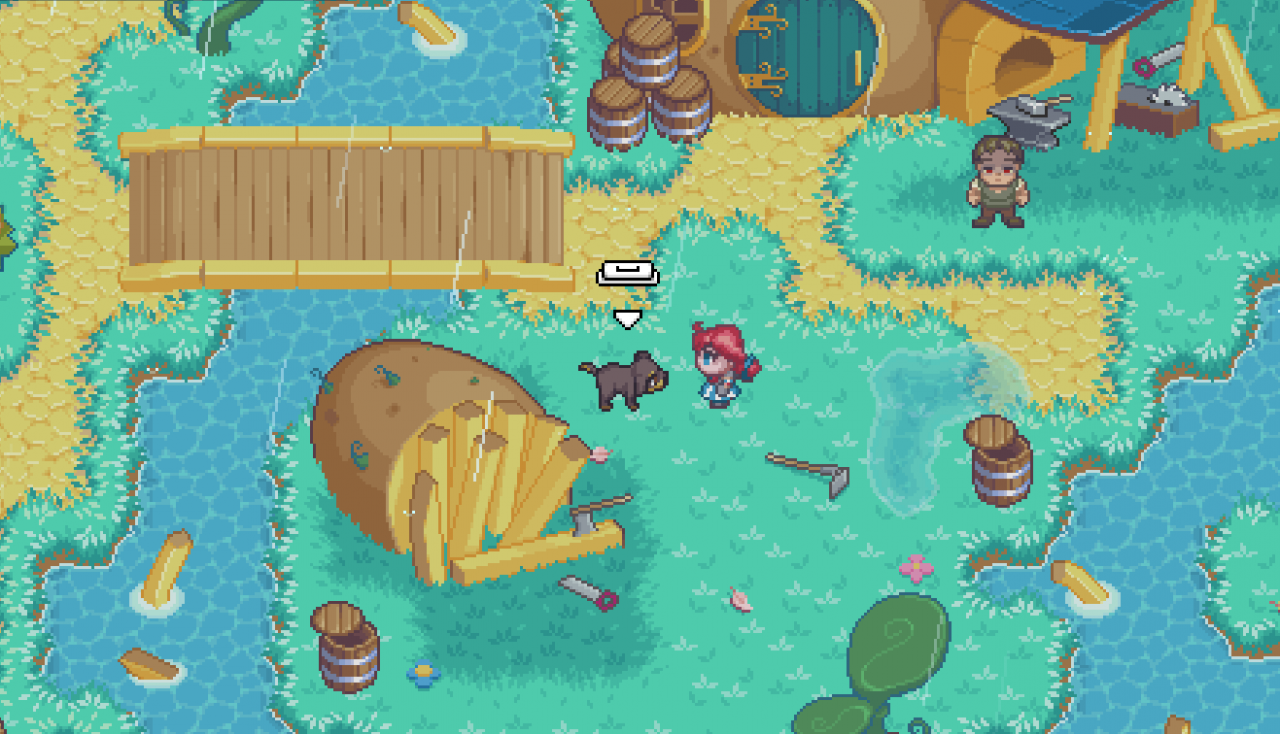
In Russetwood, west of the Wendy’s and south of the blacksmith, there’s a dog. Walk up and interact with it, and Wendy will comment on petting the dog as the achievement unlocks.
There are other dogs in the game, but they won’t trigger it. It has to be the Russetwood dog specifically.
Crispy Fries

To get this, defeat the Mech Fry in the center of the French Fry Forest, then collect the Fry Stone.
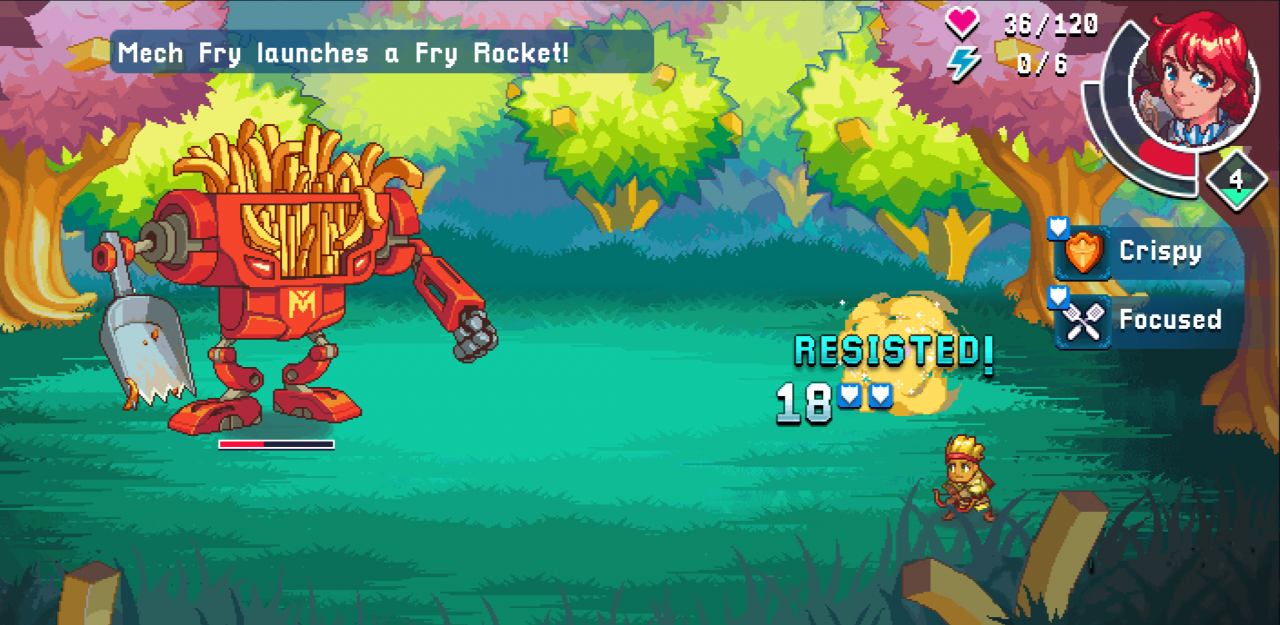
A few things I’d keep in mind for this fight. Once you’ve opened the gates, you can leave and heal at the Wendy’s in town — the gates stay open when you come back. Bring plenty of healing items and soggy-curing items. And every third move, Mech Fry fires the fry rocket, which hits much harder than its other attacks; guard when you know it’s coming, and stack Frygor’s
Crispy shield on top for extra defense if you like.
Chilly Frosty

Defeat the Mech Flurry at the end of Frosty Peak and collect the Frosty Stone.
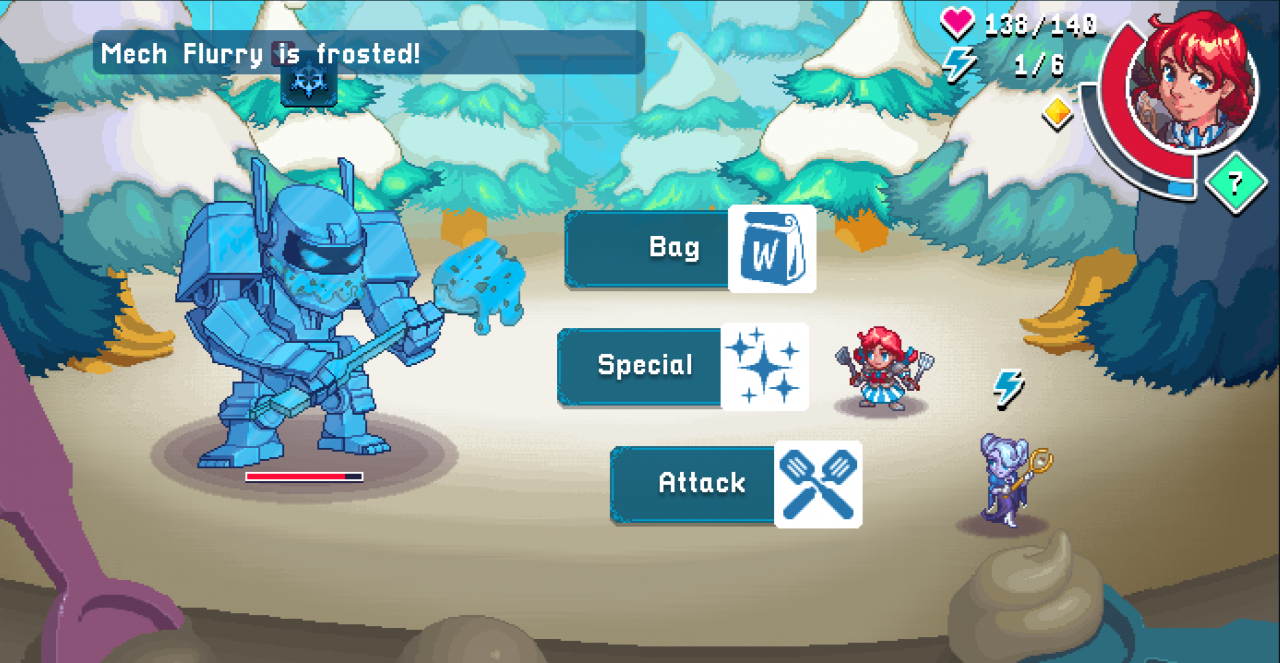
Use Frostyna’s special attack to land big damage and freeze Mech Frosty, and do your healing while it’s frozen. Attacking while it’s frozen seems to have a chance to shake it out of the status faster, so don’t waste frozen turns on damage if you need health.
Spicy Chicken

Defeat the chicken duo at the end of the Cauldron of Sauce to earn the Spicy Stone. Honestly, this was the hardest boss in the game for me, especially if you’ve rushed earlier sections. Their per-turn damage is huge and their health pool dwarfs your damage output.
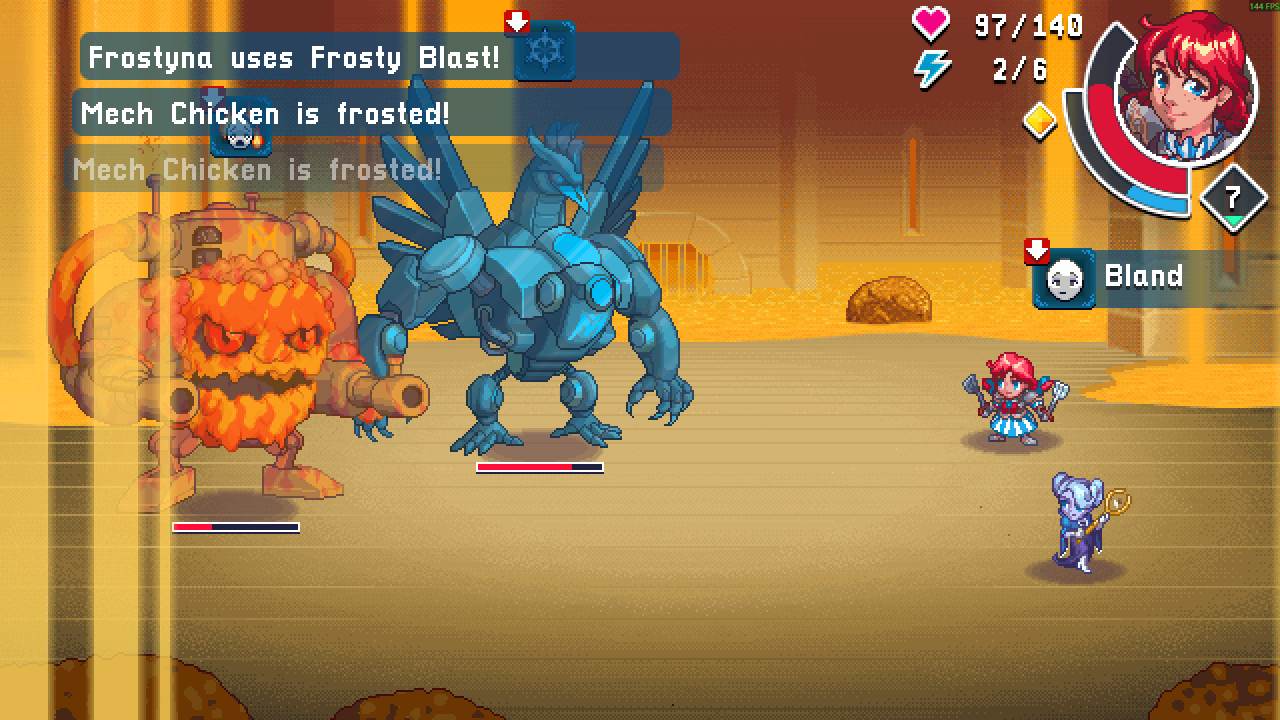
Priorities: the Mech Nugget hits much harder than the Mech Chicken, so take it out first. While both are alive, the trick I lean on is to make frozen chicken with your side’s chick — lock the Mech Chicken down with Frostyna’s frosty blast, then attack the Mech Nugget while the chicken is frozen. Swap in Sir Chicken for that damage so you apply burn for extra output.
Hearty Breakfast

Defeat the Mech Muffin in the Breakfast Shrine to claim the Breakfast Stone.
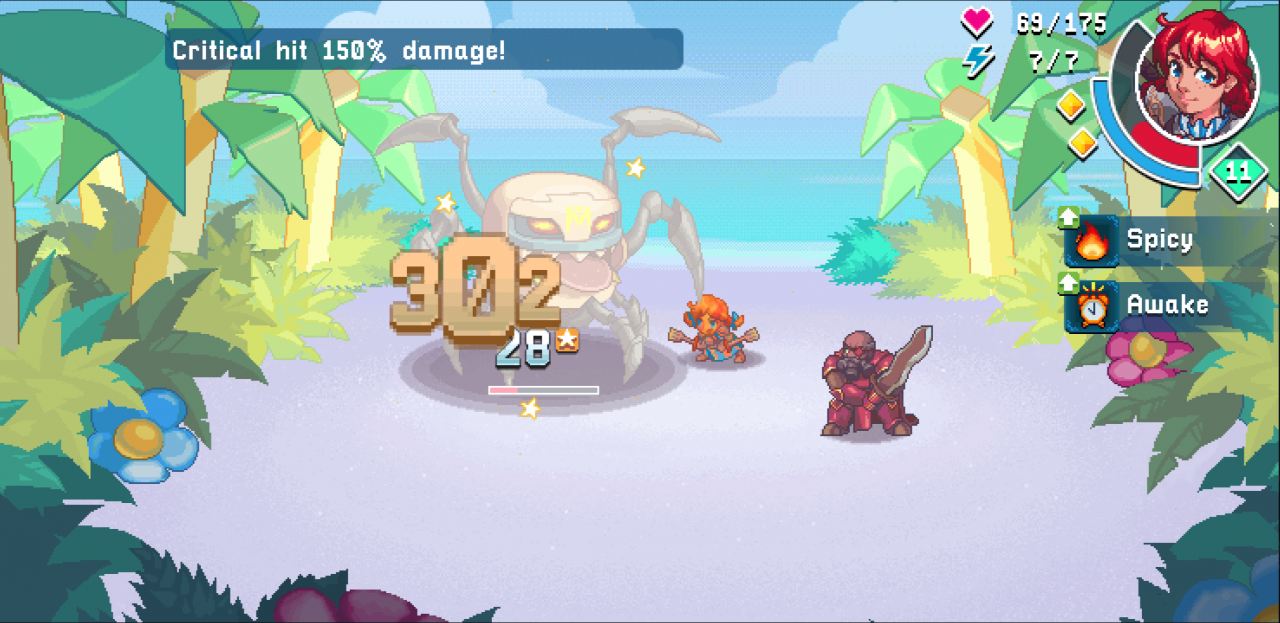
The shrine has no enemies besides the boss, so don’t stress about restocking much beyond what you’ll want for the fight. Open with Sir Chicken’s
Spicy Surge, then follow with Baconator’s
Rise and Shine — those abilities stack and let you pour on massive per-turn damage. Ignore the Oreggamis that spawn partway through; you don’t need to defeat them to end the fight. Just burn the Mech Muffin down fast.
Here’s The Beef

Defeat MechBorg at the end of MechBorg’s Factory. The fight has two phases, with the second triggering after you fully empty his health bar once.
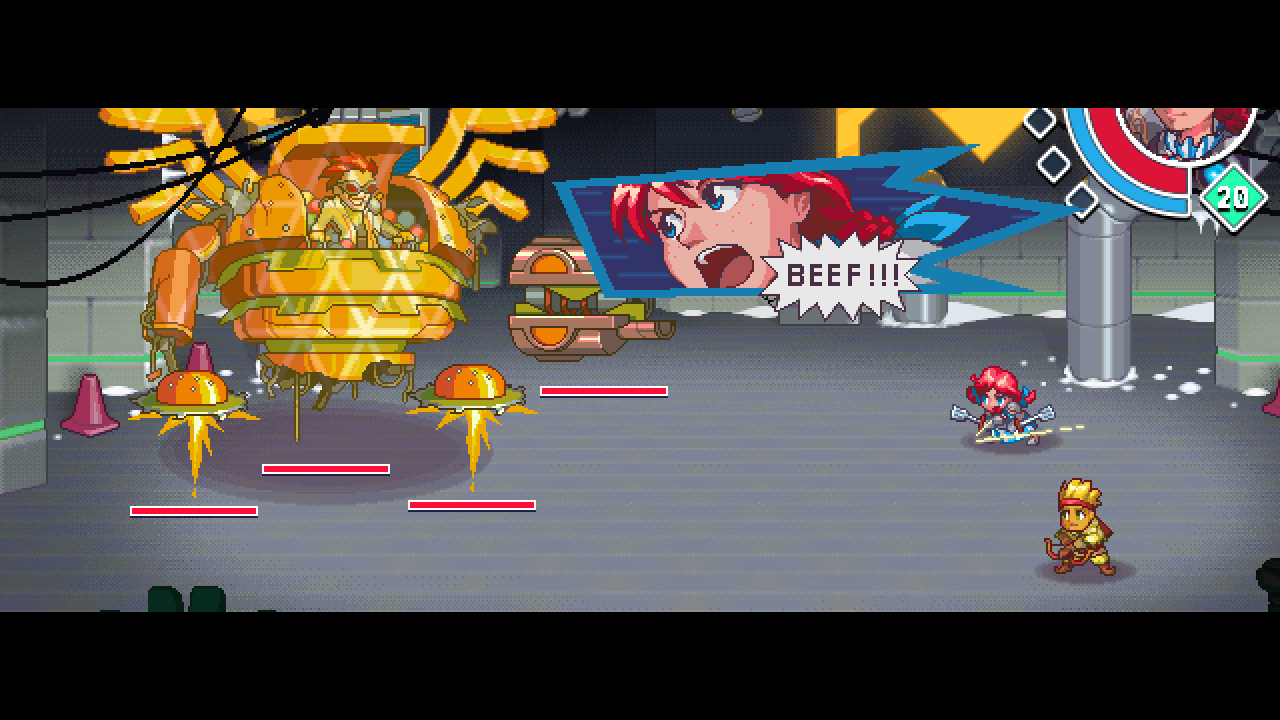
Enter with 3 momentum (the yellow resource) and hold every point of it until phase 2 starts. The instant phase 2 begins, fire off your ultimate, Here’s The Beef — that should destroy Mechborg’s blaster and drop his jets low enough to finish in one hit. Get your health above 100 before crossing into phase 2, because it deals a lot of damage very quickly. Lastly, if you grabbed Wendy’s ribbon from the Shrine of the First Wendy, phase 1 becomes fairly simple — as long as you can cope with being frozen.
Devotion to Dave (All Idols)

There are 24 idols hidden across the game. Most sit inside the hidden ruins dotting the overworld, but two come from other sources: one at the end of Sweet North (area 2) and one partway through <strong