
This is a full achievement walkthrough for Tom the Postgirl, covering the prologue right through all five chapters and the ending system. If you’re chasing a 100% completion, or you just want to know which of the mutually exclusive achievements lock you out of others, this is the roadmap I wish I’d had before I started. Be warned: there are spoilers ahead, including some light ending discussion at the very end.
I put this together because the trickiest part of this game isn’t any single achievement—it’s the fact that several of them directly contradict each other. You can’t crush all the bugs and spare them in the same run, and you definitely can’t peek at everything while also avoiding peeking. Mapping out what cancels what was honestly more work than the achievements themselves. Read the “Evaluation” section carefully before you commit to a playthrough.
How to Use This Guide
Press Ctrl+F and search for the achievement you’re after, or a location name in italics like Earl’s Farm. Each entry gives you the chapter it belongs to and where to find it. Story-related achievements trigger automatically, so I’ve marked them clearly and kept their notes short.
Prologue
Can’t get enough — Step on the scales with one foot, then interact with the scales. That’s the whole thing; you don’t need to fully stand on it. I fumbled this one at first because I tried to interact before my foot was on the plate, so get the foot planted first.
Chapter-Unspecified Achievements
These aren’t tied to any single chapter, so knock them out whenever you like:
- Bingbingbongbing — On the main menu, quickly press A and D repeatedly until the achievement pops.
- Drawn a **** yet? — Walk around the map a lot, or just draw something peculiar. Either path works.
- Deja-vu — Return to the same location three times.
- Staring — Look at the frog near Swamp House for too long. You can also do this elsewhere, but the frog is the reliable spot.
Evaluation: The Mutually Exclusive Achievements
This is where I’d tell you to slow down. Each pair below is a fork in the road—one run gets one side, a second run gets the other. Trying to chase both at once will burn you.
Bugging you / Tip-toe Tom
One side is crushing all the bugs, the other is sparing all of them. Here’s where every bug lives by chapter:
| Chapter | Bug | Location |
|---|---|---|
| Chapter 1 | 1 | Earl’s Farm — under the right side of the barn |
| Chapter 1 | 2 | Swamp House — near the boat (might be under one of the chickens) |
| Chapter 2 | — | No bugs |
| Chapter 3 | 3 | Sinful Preach — grasshopper between two tombstones and the wooden cross |
| Chapter 4 | 1 | Spider near the rocket |
| Chapter 4 | 2 | Cocoon under the well |
| Chapter 4 | 3 | Worm under the right side of the barn (dead already if you squashed it in Chapter 1) |
| Chapter 4 | 4 | Worm-hatter near the 19th torch (round door with a red cross) |
| Chapter 4 | 5 | Slug near the boat (dead already if you squashed it in Chapter 1) |
| Chapter 5 | — | None |
A specific note I want to highlight: the slug at Model House
can’t be crushed and is used in a side quest, so it does not count toward either achievement. The Chapter 4 cave map is attached to that section below, where the three entries there are marked A, B, and C.
Flowers shall die / Flowers shall live
Stomp as many flowers as you can for one, avoid all of them for the other. One catch I hit: you cannot avoid vegetation if you’re going for Pro-peeker or doing all side quests in a single playthrough—so don’t try to stack “avoid all flowers” with a completionist run.
Most flowers are in Chapters 2 and 3. The fake flowers at Model House count too, which is easy to forget. To dodge them, follow the route shown in the gif in the original guide and go back the same way you came.
Good job / Terrible Job
Deliver or open three packages in Chapter 3. The locations with this choice are Fancy Rooms, Smelly Cakes, and Piano Pair. Neither of these achievements is compatible with Pro-peeker, so plan around that.
Pro-peeker / Noob peeker
Look at all eligible objects for Pro-peeker, or fewer than 20% of them for Noob peeker. Finishing Pro-peeker also hands you Far peeker and Long peeker for free—those two pop on their own as you progress.
Some things I learned the hard way that make this much less painful:
- The Q button shows you how fully explored each location is. One glance at an object is enough. If you press Q and see a cross, start over.
- Look at objects before delivering a package. Better safe than sorry.
- Some places require inventory items—binoculars (Chapter 1, deliver a package to Earl’s Farm) and scissors (Chapter 2, grab them near your garden). Eating mushrooms and hunting hidden objects is mandatory. There are three of these in Chapters 2, 3, and 4.
Chapter by chapter, here’s what to watch for:
- Chapter 1 — Some objects require the binoculars.
- Chapter 2 — Check the shack near the bridge, and do it before delivering packages. It may or may not count, but check it anyway.
- Chapter 3 — Open a package at Fancy Rooms and look through both windows before leaving the second floor. Deliver a package to Smelly Cakes; the store and huge piggy bank then become interactable. Collect all items for the side quest and go to a party—two more interactive objects appear.
- Chapter 4 — Return to the cave after you get your Q-device back and before you sail on the boat. Keep in mind there are two objects near the cave entrance.
- Chapter 5 — One object before the elevator, four after. The achievement pops after the evaluation.
For Noob peeker, do the opposite: avoid peeking entirely. Just deliver packages and leave each location.
On the right path / Off-piste
Walk mostly on roads for one, mostly on grass for the other. I couldn’t confirm whether roads and grass inside locations count too, so my advice is to stick to—or avoid—roads everywhere you go, just to be safe.
Chapter 1 Achievements
The adventure begins — Story related.
Egg hunt — On the chapter map, bottom middle, under Swamp House.
Sore throat — At Freddy’s Fish, interact with the fish in the shack three times.
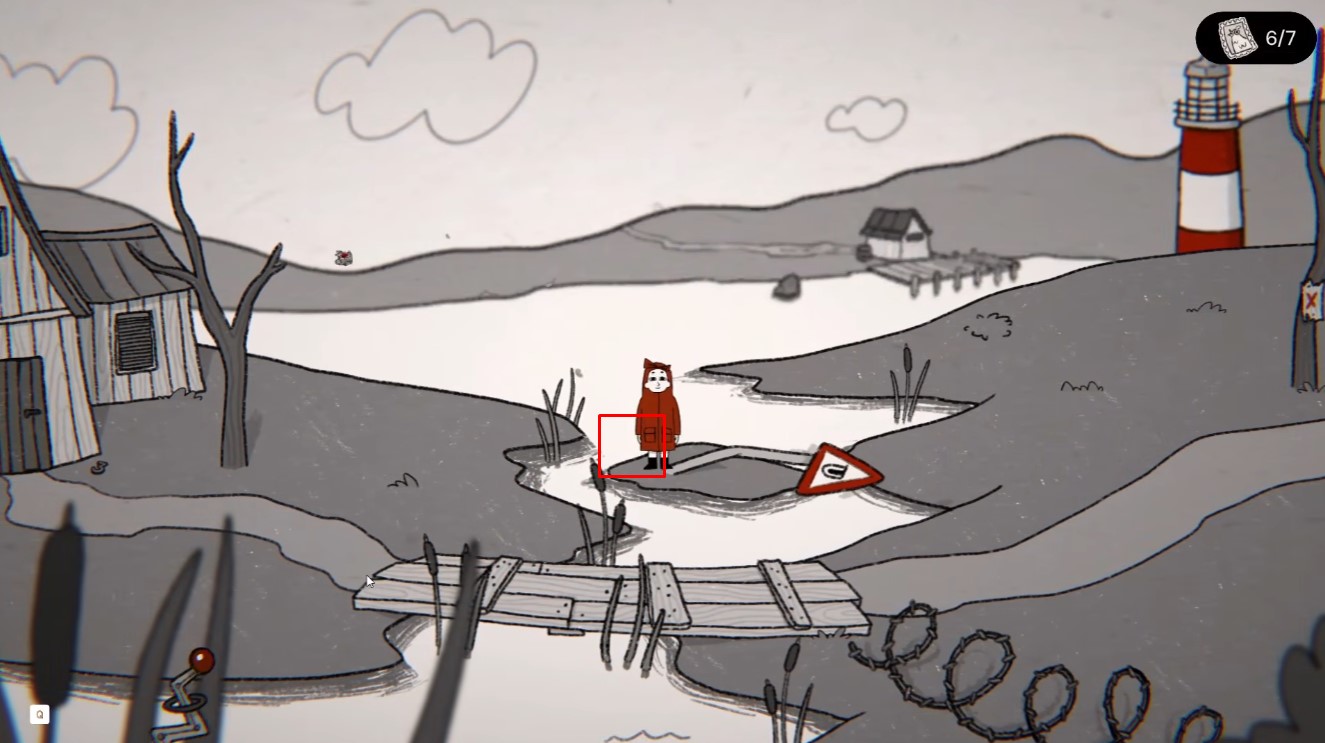
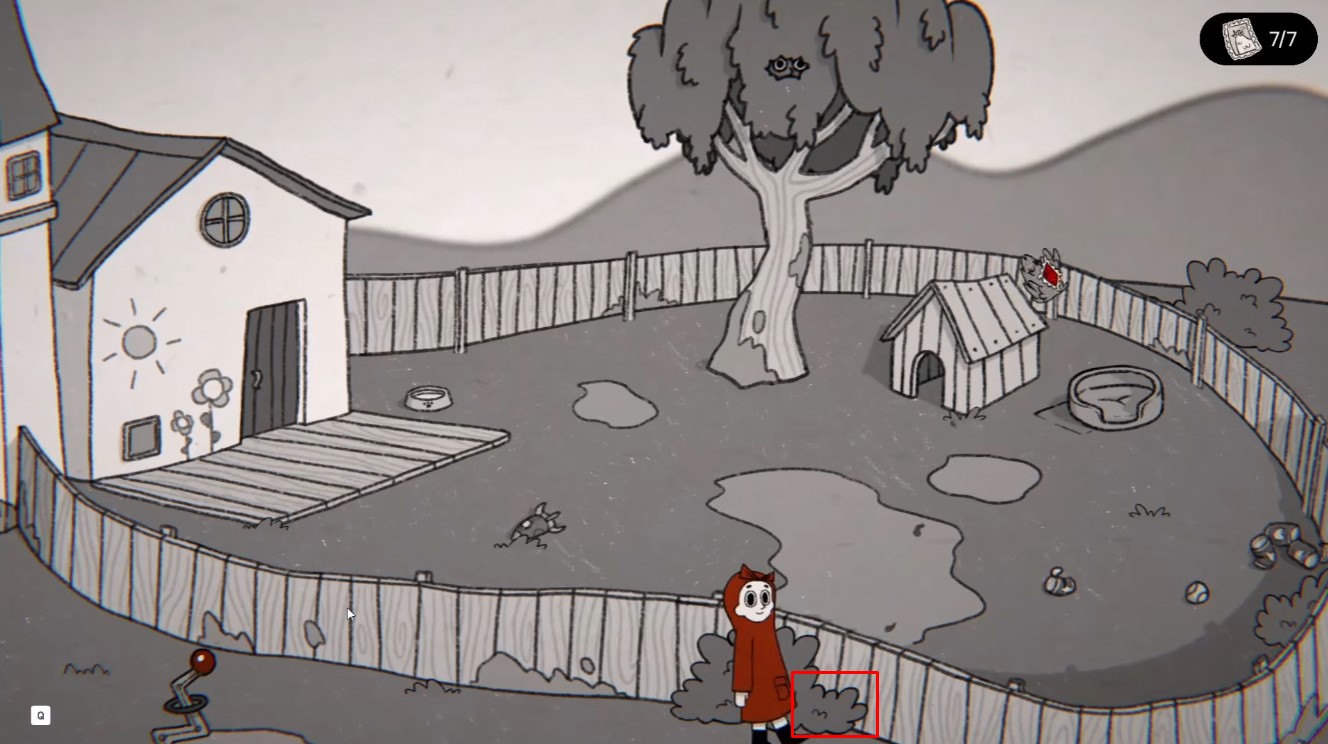
Helpful kick — Kick all seven chickens, then return to Earl’s Farm to complete the quest before moving to the next chapter.
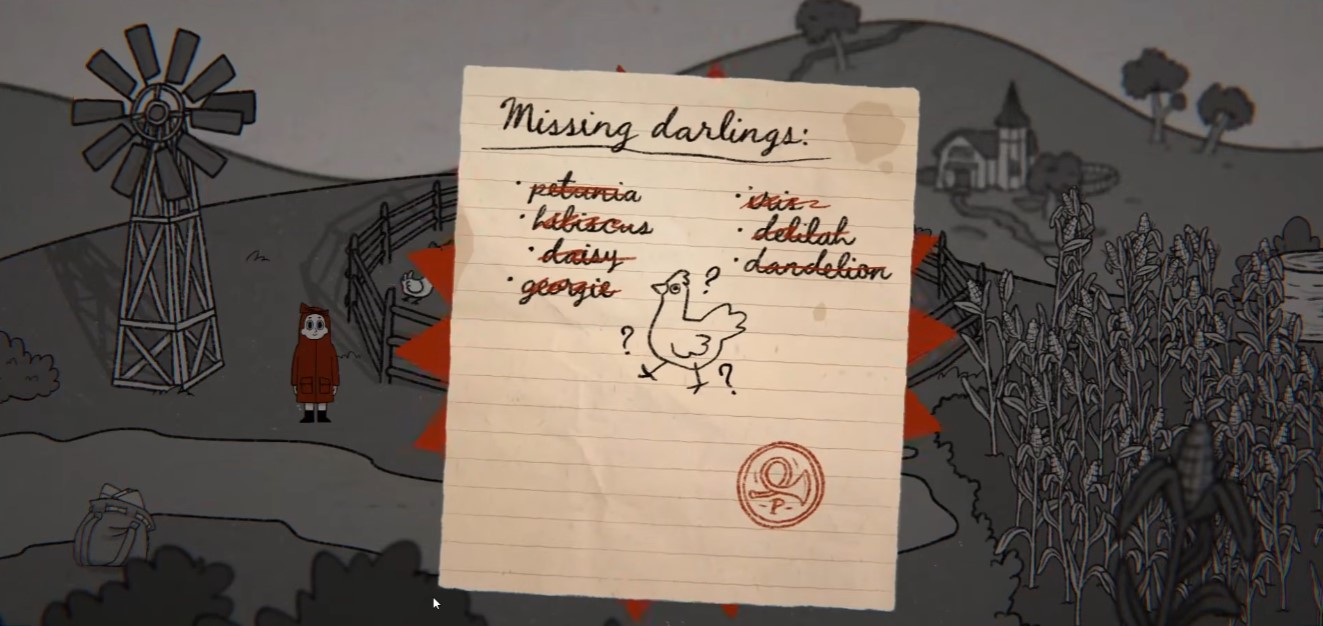
Locations:
1st chicken at Earl’s Farm;
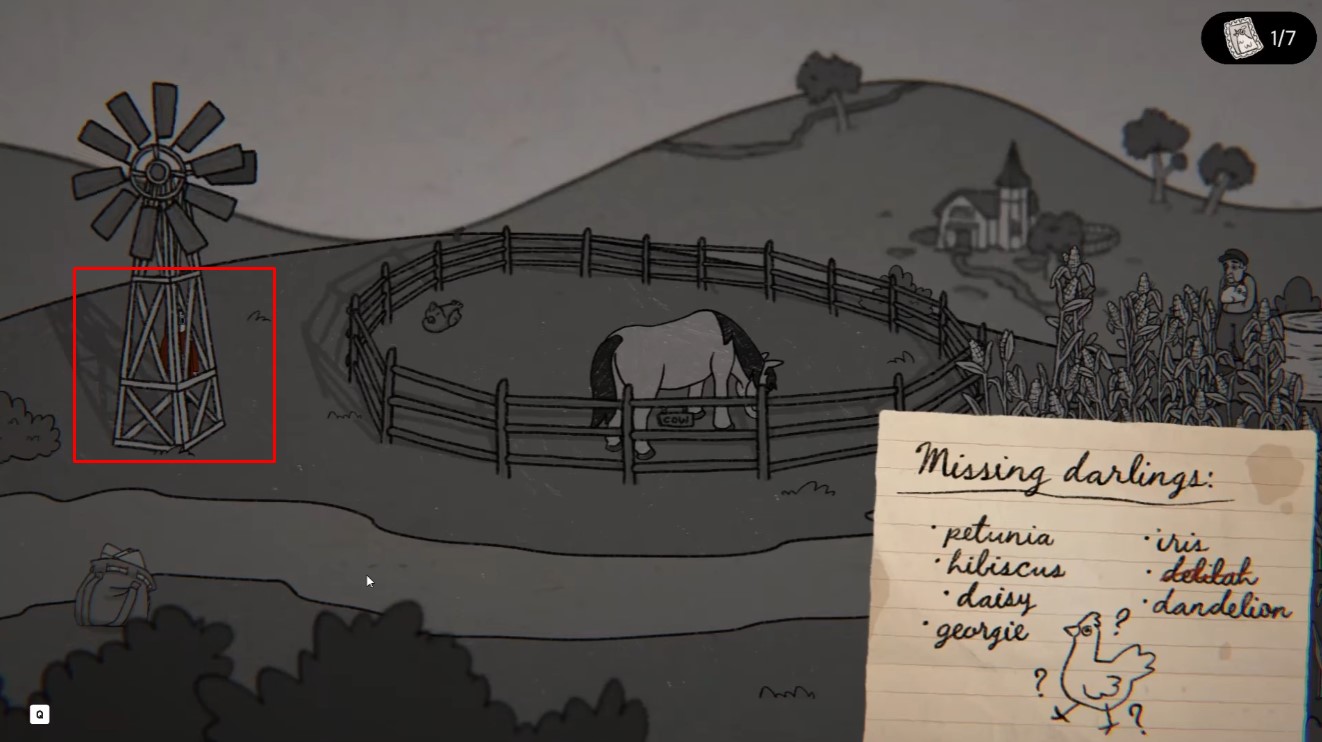
2nd and 3rd at The Kennel;
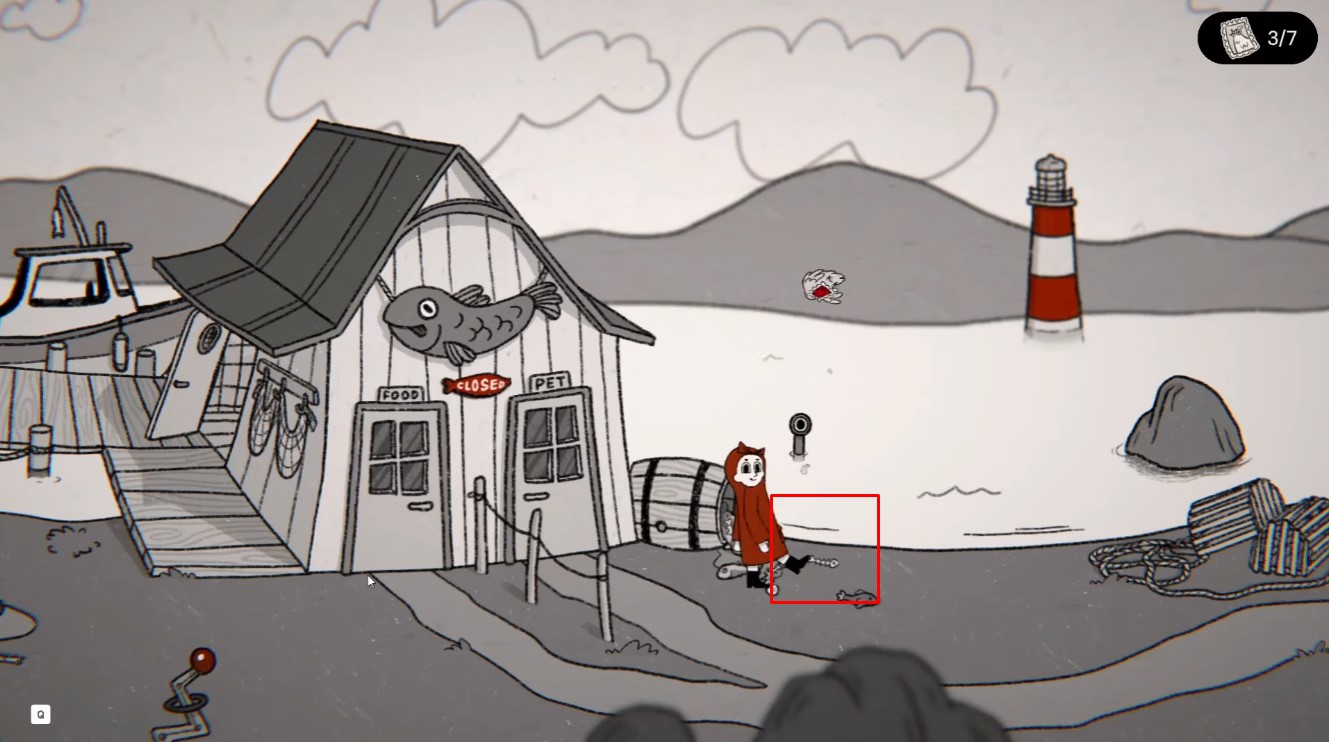
4th and 5th at Freddy’s Fish;
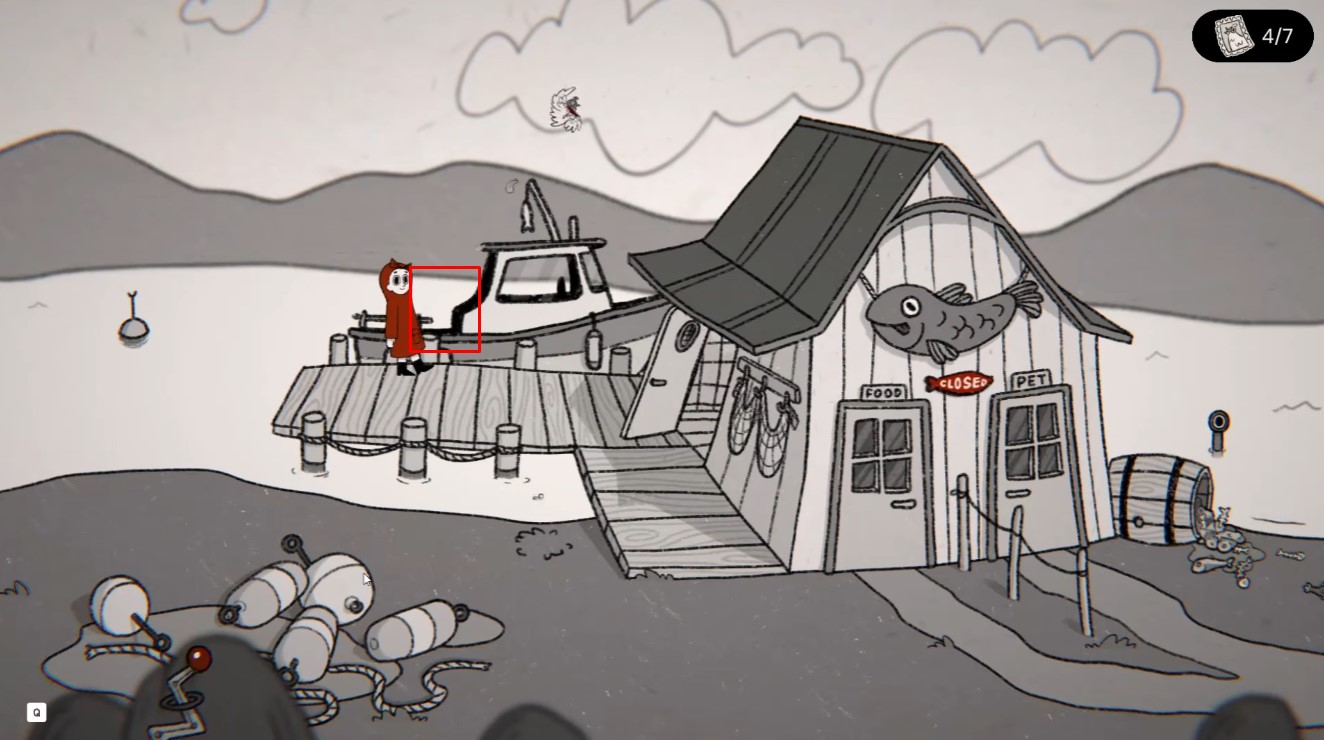
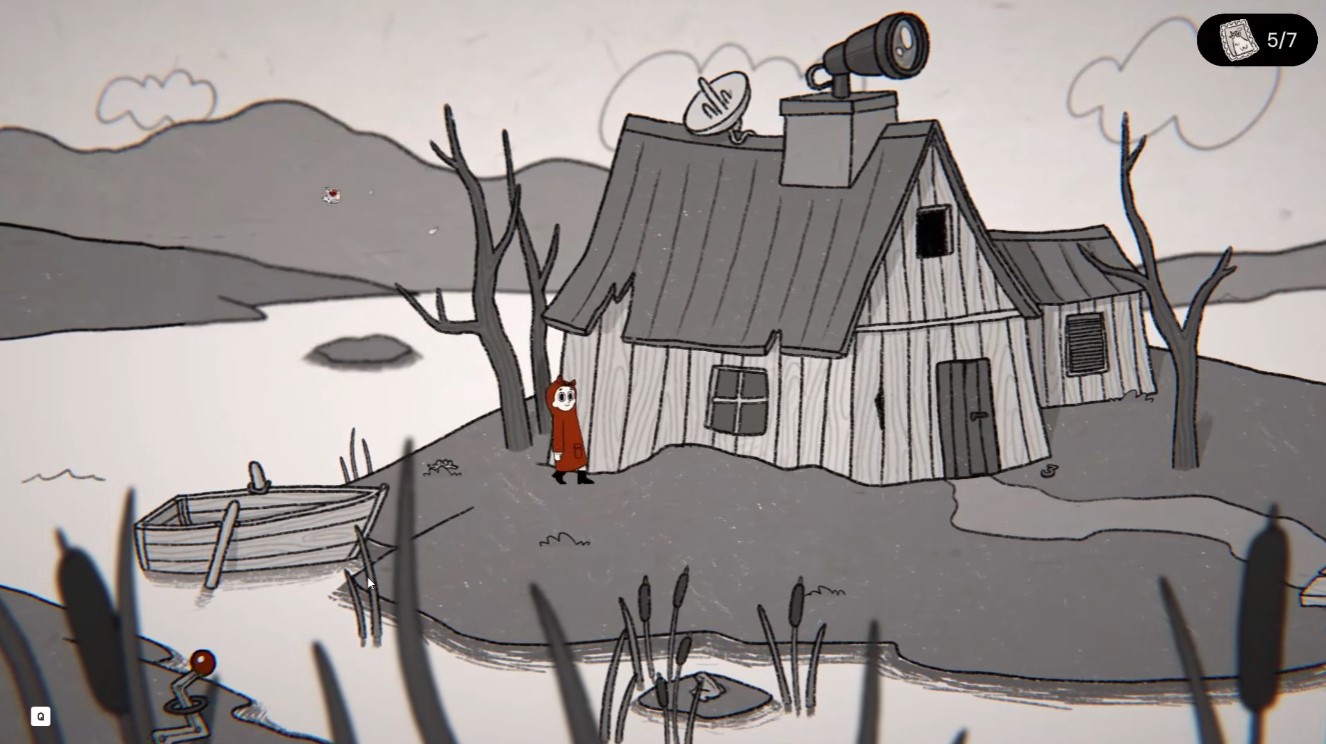
6th and 7th at Swamp House.
Chapter 2 Achievements
The adventure continues — Story related.
Yahaha! — In the circle of flowers, top-left side of the chapter map.
All you can eat (cumulative) 1/10 — At Crops & Corpses, open the coffin and eat the mushroom.
Green thumb (cumulative) 2/9 — At Crops & Corpses, trim two trees (scissors required).
High-ly efficient — At Crops & Corpses, open the coffin, eat the mushroom, and follow the trail without dispelling the RGB-magic to a secret item. If you mess it up, you can start Chapter 2 on a clean save slot and try again—it’s also doable in later chapters.
Hole-in-One — At Groovy Grove, kick all five statues into the well.
Wroom Boom — At Shaky Target, kick the moped twice.
Knocked out — At Shaky Target, bang on the glass while granny is crawling toward the door. Hurry—she’s slow but the window is small.
Green thumb (cumulative) 6/9 — At Tyrant Place, four trees. Check the bottom-left corner for a sneaky one.
Gotcha! — At Tyrant Place, look at the round bushes before delivering a package.
Green thumb (cumulative) 9/9 — At Tingle Tweed, the three last trees.
Fair play — Collect the pot with tomatoes at Crops & Corpses; two gnomes at Groovy Grove; three pinwheels at Tingle Tweed; the sunflower at Shaky Target; and the statue at Tyrant Place. Return to the garden near the board and place everything before going to the next chapter.
Chapter 3 Achievements
The adventure goes further — Story related.
Leaf me alone — Near the man with butterfly wings at the right side of the map, above Fancy Rooms.
All you can eat (cumulative) 8/10 — At Smelly Cakes: two slices of cheese on the ground, the rat in the trash container, a piece of pie in the truck, and three appetizers on the table (if you gave a package).
All you can eat (cumulative) 9/10 — At Piano Pair, the mushroom.
It’s alive — At Piano Pair, cut the rope in the backyard (scissors required), then open the package.
Far peeker — At Model House. This pops here if you’re working toward Pro-peeker; otherwise don’t bother—you’ll get it with Pro-peeker anyway.
Fun hater (cumulative) 1/2 — At Model House, cut a hole in the pool and break the swing.
Skull crasher — At Sinful Preach, kick the biotoilet in the backyard, then step on the skull.
Party pooper — Grab the glove at Fancy Rooms, the boots in the garage at Piano Pair, and the snail at Model Home. Then go to the Sinful Preach backyard door after delivering a package.
Tom the Fratgirl — Don’t miss at the throwing mini-game during the party at Sinful Preach. Hold the D button to move your hand to the right before throwing. This one’s timing-based, so take a breath before you release.
Chapter 4 Achievements
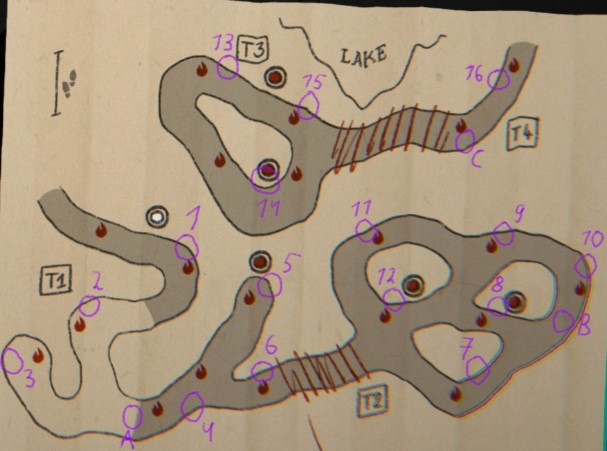
Image: dstrctdbybreasts
The adventure gets weird — Story related.
Meep Meep — Middle top, before entering the paper castle.
Dry eyes — Fail twice at holding a single button. Deliberately flubbing it is the point here.
Fun hater (cumulative) 2/2 — At Location #5, destroy the swing and pool again.
Exorcist — At Location #11, cut all five flowers with spirits above them.
All you can eat (cumulative) 12/10 — At Location #8, the pebbles (three uses).
Let it burn (cumulative) 1/2 — Burn more than 80% of all bushes (and some trees). Most are in Chapter 4, with a few in Chapter 5. Here are the counts by location:
- Location #2 — 5 bushes
- Location #6 — 3 bushes
- Location #10 — 4 bushes
- Location #11 — 8 bushes (plus 1 near the entrance to the 11th location)
- Location #12 — 1 bush
- Location #15 — 4 bushes
This is lit — Make all the torches burn. Check your map if you miss one—unlit parts of the cave look a little darker on the map. That visual cue saved me a lot of backtracking, so lean on it.
Chapter 5 Achievements
The adventure gets wild — Story related.
Let it burn (cumulative) 2/2 — Four bushes after the elevator.
Long peeker — Pops here if you’re going for Pro-peeker; otherwise skip it, since Pro-peeker grants it anyway.
The adventure ends? — Story related.
Endings and What Actually Affects Them
The achievement diagram itself has a fairly small effect on which ending you get, so try not to obsess over it. What matters most is your side quests (a certain number of them) and your evaluation, which depends on your overall performance. Here’s how the evaluation points shake out:
| Category | Left side | Right side |
|---|---|---|
| Chapter 1 side quest | [y-] | — |
| Chapter 2 side quest | [y+] | — |
| Chapter 3 side quest | — | [x+] |
| Chapter 4 side quest | — | [x-] |
| Bugs | Let all bugs live and prosper → [x-] | Squish and torture all bugs → [x+] |
| Movement | Walk mostly on grass → [y-] | Walk mostly on roads → [y+] |
| Flowers | Let all blossoms bloom → [x-] | Grind all petals with your boots → [x+] |
| Packages | Open every package → [y-] | Deliver every package → [y+] |
| Attention | Pay no attention to surroundings → [y-] | Be attentive to every thing and event → [y+] |
Now the three endings and the mix you want for each:
Clownus (top-left of the diagram) — x as low as possible, y as high as possible. Complete only side quests in Chapters 1 and 3; avoid killing any bugs; try not to stomp flowers; stay on roads; deliver all packages; peek a lot.
Pranksus (bottom-right) — x as high as possible, y as low as possible. Complete only side quests in Chapters 2 and 4; kill many bugs; stomp flowers frequently; stay off roads; open all packages; avoid peeking.
Chaossus (top-right) — x as high as possible, y as high as possible. Complete only side quests in Chapters 2 and 3; kill many bugs; stomp flowers frequently; stay on roads; deliver all packages; peek a lot.
Once you’ve got your three ending runs mapped out around these numbers, the rest of the list falls into place. Good luck out there, postgirl.