

This is a stripped-down, spoiler-light walkthrough for the Fakku rerelease of Fairytale’s Dead of the Brain. If you’re the kind of player who wants to actually experience the story rather than have every twist spoiled in advance, this is written for you. I’ve kept each step as brief as possible so the plot stays intact while you still know exactly what to do to move forward.
The reason I put this together is simple: this is a 34-year-old PC-98 adventure game, and modern adventure-game instincts will actively fight you here. The game even warns you up front that it came out on the NEC PC-98 and that “modern gameplay conventions may not work here,” so you should think outside the box. That warning is real, and it’s the single most useful thing to internalize before you start.
How This Game Actually Wants You to Play
Everything in this guide is intentionally abbreviated to keep spoilers to a minimum. There’s a lot to examine in every scene, and you should feel free to poke around and soak in the atmosphere — but what I list below is the bare minimum needed to progress.
The core mechanic of this era of visual novel adventure games is repetition. You have a limited set of input options, so the trick is to use the same command on the same object multiple times until the dialog loops. There are only a few possible commands per scene and a few places to use them, so be thorough rather than clever.
And if you’ve already looked at or talked to everything and everyone in a scene and nothing is progressing — look again. Reaching the end of a dialog loop is often the very trigger that unlocks further dialog elsewhere in the scene. I can’t count how many times the answer was simply “do it one more time.”
Combat QTEs are straightforward but demand specific targeting. You may be facing zombies, but aiming for the head alone often isn’t enough — except in specific encounters, always try to aim for the forehead for the best results. One thing worth flagging for the Redemption of the Living achievement: if you fail any combat QTE, select GAME-END to return to the title screen and reload your save from there. It only counts against you if you pick the continue option instead.
Apartment After the Prologue
Talk to and look at Dr. Cooger until Sheila arrives, then get the phone twice.
Precinct 16
Head to the door, look at the ceiling light, then look at and talk to the bodies. The scene will transition to the second floor.
On the second floor, go to the first open door on the left. Look at the flashlight twice, then get it. Go to the hall and enter the fifth door on the right. Look at the desk twice, the chair twice, then look at the paper on the desk. Back in the hall, go to the second closed door on the left. Look at the woman’s desk, then look at the blue radio on it, then use the radio. In the hall again, go to the fourth open door on the right and look at the body’s head four times.
Now go to the middle door and use the flashlight. Look at the blood three times, the shelves three times, and the back of the room three times. Click go and progress to the back of the room — if using go tries to send you back to the hall, you still have things to look at in the other rooms first. Click go to trigger a QTE, look at the eyes twice, then click the trigger on them. Look at the rounded object on the bottom shelf and get it, then target and click the enemy’s forehead.
The scene transitions to the first floor. Go to the door on the left, talk to Doc three times, then look at the bundled object on the table three times. Talk to Sheila, look at the green book, talk to Sheila again, then look at the green book again.
Central Hotel
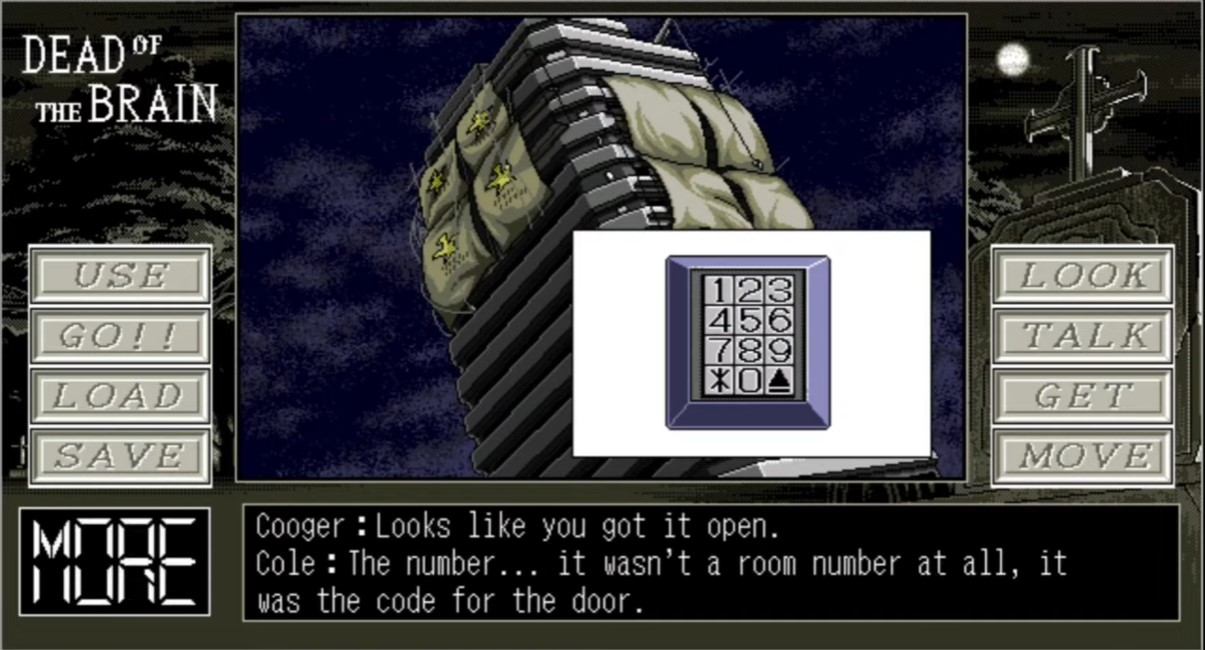
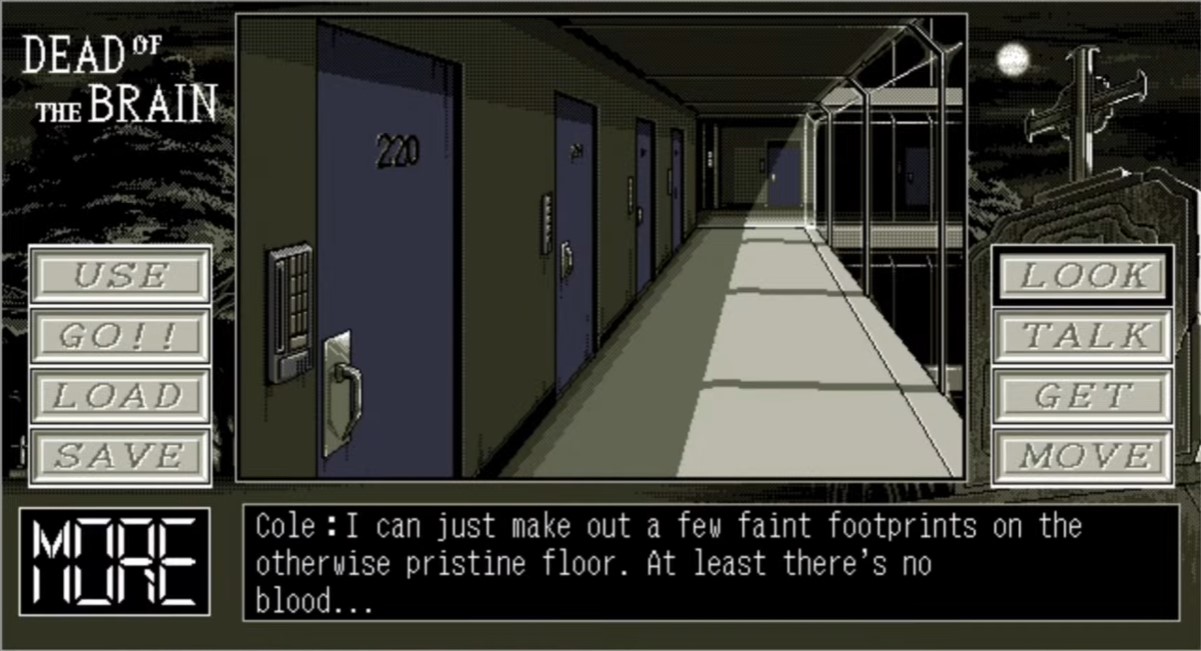
At the hotel, click move, select the keypad, and enter 2-1-6. Look at the entrance three times, the elevator three times, and the computer screen twice. When the scene transitions, look at the floor twice, the glass wall twice, door 220, and the keypad. Select either option, look at the keypad, use the keycard, and select either option again.
Look at Doc three times, Sheila’s face three times, and Sheila’s chest three times (respectfully). Talk to Sheila twice, Doc twice, Sheila again, then Sally twice. The scene transitions again.
Go to the first door on the right and click both enemy heads. Click go on the furthest door on the left to trigger a QTE, then aim at the center of the enemy forehead and click. Look at the pendant three times. Go to the furthest door on the right and look at the toolbox for a fake-out QTE. Go to the middle door on the right, pick either of the first two sets of options, then think.
Talk to Kane seven times, Sheila three times, then Sheila twice more, look at her three times, and talk to her seven more times. When the scene transitions, go to the hallway and then to the meeting. Talk to Sally six times, then click move on her face to return to the middle of the room.
Go to the hall and into Cathy’s room. Talk to Cathy six times and choose whichever option you’re comfortable with. Back at the meeting, talk to Nose four times, then click move on his head to return. Talk to Kiel six times, then move on his face to return. Talk to Ghoul five times, move on his face to return, and finally talk to Ray four times.
Street
Go to the store and look at the broken display case three times, the drawers three times, the stacked box of bullets twice, the magazine twice, and the Uzi twice. Get the Uzi, then click the left enemy’s forehead. A QTE triggers — click the other enemy’s forehead. When the scene transitions, talk to Sheila four times and select either option.
Doctor’s House
Go to the study and look at the remote on the desk twice. Click move on power, then open. Go to the hallway and into the bedroom. Look at the sofa, table, clock, desk, bookshelf, and bed three times each, then look at the woman in the photo three times.
Return to the hallway and head to the study. Click move, then click the keypad and enter 1-0-2-0. Look at the envelope, look at the photo, look at the book twice, look at the photo again, look at the book seven times, and finally look at the photo three times.
Central Hotel, Pt. 2
Go to the meeting, then to the room. Trigger the fake-out QTE and let the sequence play out on its own.
Hospital
At the hospital entrance, click move on the stairway twice. Go to the reception door and look at Sally three times, Sally’s gun three times, Ray’s face five times, Ray’s gun three times, and Ray’s back. Go to the entrance and use the gun on the pile of rubble at the top of the stairs four times.
Go to the stairs to trigger a QTE — click the enemy’s forehead toward his left temple. Look at Kiel three times, talk to Kiel, talk to Sheila, talk to Kiel seven times, then talk to Sheila again.
Bayside Research Lab
Look at the gate three times, the devices on the roof twice, the building four times, the wall three times, the floor three times, and the ceiling three times. Go down the hallway, look at the window, the far wall twice, the machine on the left, and the upstairs window. Look at the glass case in the center of the room to trigger a QTE.
Look at the left machine twice, use the gun twice, then shoot the machine. Look at the main monitor three times, the wires to the right three times, the smaller bank of monitors twice, and the window four times to trigger another QTE. Click the enemy’s forehead. After a short scene, another QTE begins — click the enemy’s mouth. A fake-out QTE follows, so click anywhere, then choose whichever option during the next scene.
That’s it — sit back and enjoy the credit sequence.
Wrapping Up
I hope this was useful for anyone less familiar with this style of adventure game. A huge amount of credit goes to Fakku and the whole team who translated and released this classic to an English audience for the first time — best Halloween gift I could have asked for.