
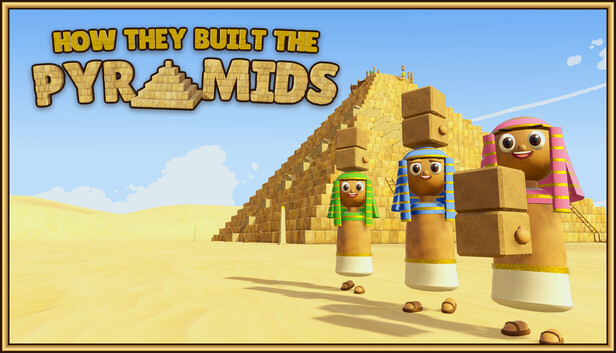
Every one of the 18 achievements in this game is covered below, grouped by the kind of task that unlocks it — story milestones, trading, and the building/character challenges. If you are chasing full completion or just want to know what each trophy actually demands, this walkthrough should get you there.
I put this together because a few of these unlocks are quietly easy to miss if you do not know which building or mechanic triggers them, and I wanted a single place that spells out the small shortcuts instead of leaving you to guess. The notes on gold bricks and the perfect block in particular should save you some time.
Story Achievements
These pop naturally as you push your pyramid upward, but the specifics of each layer goal are worth knowing up front.
Brick One — place your very first brick into the pyramid.

Brick by Brick — place 1000 bricks into the pyramid. This one just comes with steady progress, so keep feeding blocks in.

Touched by Ra — place your first golden brick into the pyramid. Gold blocks come out of the clay honeycomb cells, or you can make them with the washing table and the gold furnace.

Foundations — complete the first layer of the pyramid.

Ten Courses Up — build ten layers of the pyramid.

Above the Palms — build 20 layers of the pyramid.

Capstone — crown the finished pyramid.

Now You Know — leave the Earth together with your companions.

Trade Deals
These unlocks revolve around the marketplace and a couple of purchases, so handle them early if you can.
Hired Help — hire your first Usherbi at the Usherbi market.

Worth Its Weight — acquire a golden Usherbi. You can buy one at the Usherbi market, or trade any Usherbi for a golden one with the merchant.

Down the Nile — strike a deal with the merchant. To make the merchant available in the first place, buy the pier.

Buildings and Character Achievements
This batch mixes crafting tables, a monument, machinery, and one very literal overheating — several of them are easy to overlook if you have not touched that system yet.
Scribe — carve your first block on the scribe’s table.

Steady Chisel — carve a perfect block on the scribe’s table. A perfect block triples its price, so it is genuinely worth aiming for rather than just cranking out rough cuts.

Blessed — create a monument. My advice is to build monuments the moment they unlock, since they hand out solid buffs.

Gold Fever — hold gold sand in your hands. To find gold sand you first need to buy the table for washing clay.

Reed Highway — set down 100 conveyor cells in your world. If you have never used a conveyor before, just line up a long row of conveyor strips and remember to connect them.

Spin Doctor — spin the shaft up to 32 revolutions per minute. To reach that speed you need to use boosters and upgrade them to the max.

Overheated — faint from the desert heat. Just keep running around for a long time without stepping into shade. If you start seeing hallucinations, that means it is working exactly as intended.

Wrapping Up
That is the full set of 18 — most will fall into place as you build, so the only ones that really ask for deliberate effort are the perfect block, the 32 RPM shaft, and the desert fainting. If this made your completion run a little smoother, a rating helps other players find it.