
The focus here is on the mechanics that actually gate progress: character setup, the opening tutorial, establishing a safe base, and surviving your first raids. If you are dying before you understand why, the problem is almost always preparation or positioning, not raw difficulty.
What You Need Before You Commit
Casualties Unknown is a survival sim with permadeath stakes — there is no reloading a bad decision. Before you start a serious run, understand two things: your character build locks in your early capabilities, and your base is the only thing standing between you and a hostile layer you are not ready for. Treat the tutorial as mandatory reconnaissance, not a formality.
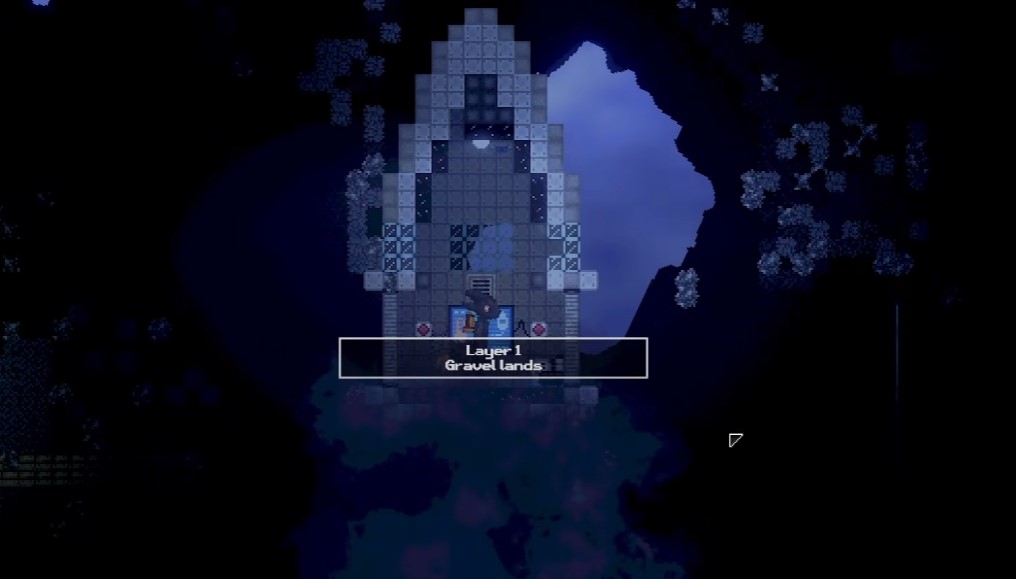
- Character creation matters. Your starting setup shapes what you can survive early. Do not rush past it.
- Base first, exploration second. A secured foothold is what lets you push deeper layers and return with cargo intact.
- Raids are coming. The threats are not only environmental — hostile encounters will test whether your base and loadout hold up.
Pitfall worth flagging up front: this run is one shot. Every death is final, so scout before you commit to a fight or a descent you cannot reverse.
Character Customization: Building the Test Subject
Everything past the appearance screen is trying to kill you. The character creator is the one place in Casualties Unknown where nothing is — so treat it as a decision about how you want to die less, not how you want to look.
Appearance Is Free, So Spend It Fast
Cosmetic choices carry no mechanical weight. Pick a silhouette and face you won’t mind staring at through eleven layers of cave and don’t linger — the run doesn’t reward time spent here. If you’re the type to reset after a bad death, a distinctive look makes it easier to tell fresh attempts apart at a glance.
Attributes Set Your Survival Floor
The real decision on this screen is your starting attributes. There’s no universal “best” spread — match it to the playstyle you’ll actually commit to once the caves start punishing you.
- Stealth-leaning: favor mobility and quiet approaches if you plan to slip past hostiles and conserve resources rather than fight for every corridor.
- Combat-leaning: invest in durability and direct engagement if you’d rather win encounters than avoid them — expect to burn through supplies faster.
- Balanced: a middle spread hedges against the unknown, useful when you don’t yet know what a given layer throws at you.
Pick one identity and commit. A scattered spread that’s mediocre at both stealth and fighting leaves you with no reliable answer when a layer forces your hand.
Reading the Choice Before You Lock It
Since this is your first look at the systems, use the attribute screen to decide your intended role for the whole run — the game will test whether you can survive with it. If you’re unsure, lean toward the style you find least frustrating to execute under pressure; you’ll be doing it a lot. Once you confirm, there’s no going back to this menu mid-run.
Lenny’s Motel: Tutorial Run to the Desert
The motel room is your spawn and your only safe bench before the descent. Everything you craft here carries you through the first five layers, so treat the opening minutes as a supply run, not a cutscene.
Opening Crafting and the Material Pouch
Sweep the room for wooden scraps and sticks, then build a wooden cube to get the crafting loop moving. The systems have shifted since the demo, so don’t assume old recipes still line up — read what the bench actually offers.
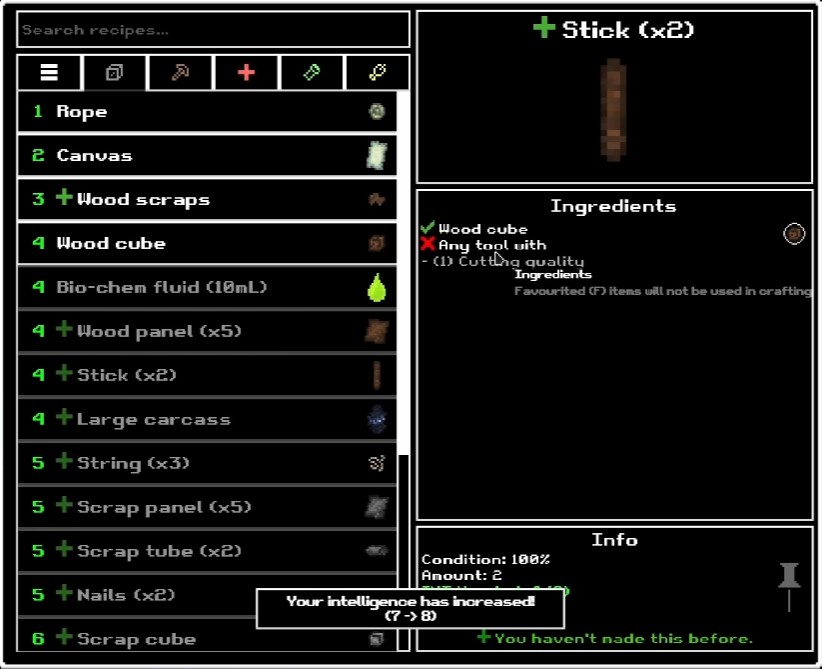
- Craft sticks and nails first; they feed almost every early recipe.
- Prioritize the hammering tool. It unlocks the rest of your craft list, so nothing else progresses until it’s made.
- Dump every raw material into the material pouch. It now holds all material types, which frees real inventory slots for loot and gear.
Layer 1 and the Foggy Layer 2

Work down Layer 1 by looting containers and topping off tools as you go. Expect at least one slip on the hazards — it’s not a run-ender if you’re stocked. Skip anything you can’t physically reach, like the fental barrel; chasing out-of-bounds loot wastes the time you need for the descent.
Layer 2 kills visibility with fog, so swap to your best flashlight before you drop in. The real danger here is floor-level: spike traps and bear traps are scattered through the dark. Move deliberately, and loot backpacks and containers for supplies — auto pumps and bananas both turn up.
Fog plus traps is the worst pairing in the tutorial. Light first, then speed. A broken leg from a bear trap costs more than the seconds you save rushing.
Trading at the First Trader
The first trader is your one real upgrade stop before the desert. Sell the keratin boosters — you don’t need them — and put the proceeds toward two buys that matter.
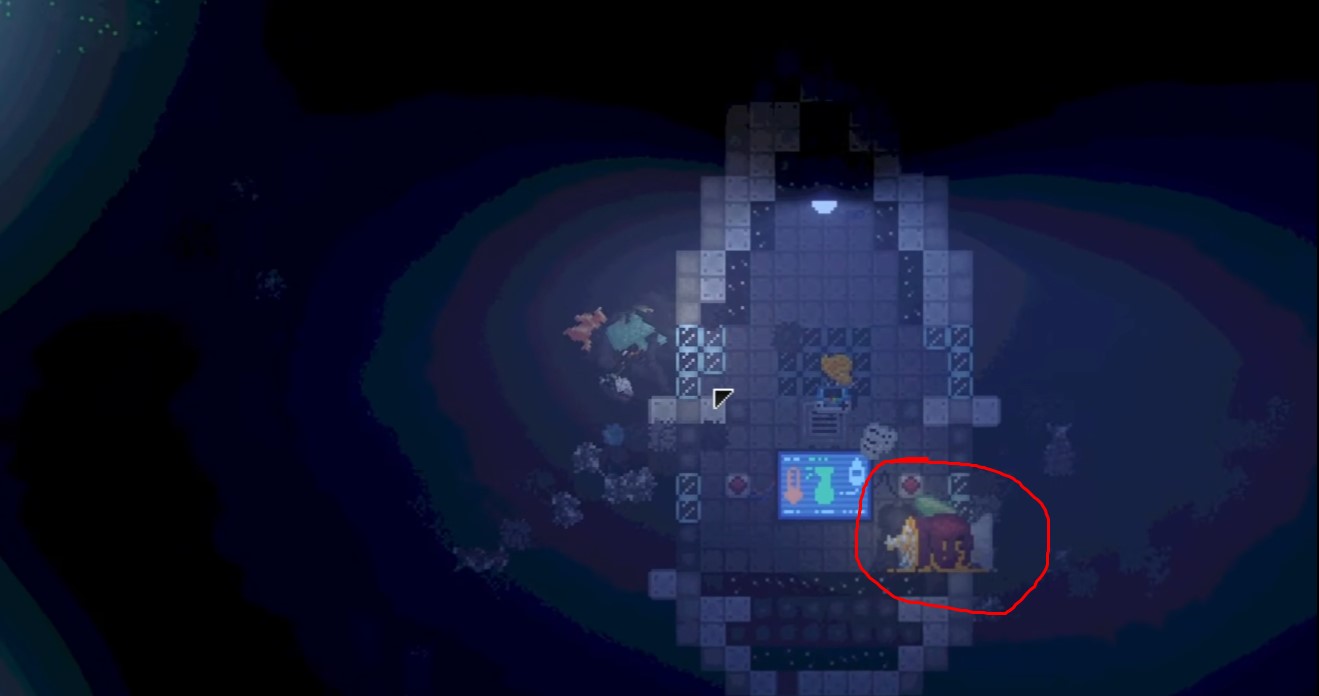
- Medkit: your healing backbone for the rest of the run. Non-negotiable.
- Carropus: chest armor that slots in without displacing your backpack. Buy and equip it immediately.
While you’re at the trade screen, tidy your inventory: move consumables into the medkit and stash loose items in the foliage bag so your quick slots stay clear.
Blitzing Layers 3–5 Into the Desert
Don’t settle into these three layers — difficulty spikes and the payoff is the surface. Keep moving downward, and let the carropus eat the damage when a big fall catches you off guard. That armor is the reason a bad drop doesn’t end the attempt.
In the desert, a large creature will show itself. It’s passive — do not attack it. Instead, craft a machete for actual defense, since you’ll want a real weapon before the next hostile encounter.
Keep two habits through the whole descent:
- Carry alcohol and apply it to injuries early. It prevents infection, which is far cheaper than treating one later.
- Keep rope on hand for drops that would otherwise break something. A controlled descent beats a fast one.
The Map Screen: Leaving a Layer Without Dying in the Dark
Down in the caves, the map is your only lifeline back to safety — and the only way to reach the next layer without retracing every tunnel you crawled through. Treat it as an escape hatch, not a tourism tool: you open it when a zone is stripped clean or a hostile environment is about to win.
Opening the Map and Reading What It Unlocks
The map is a dedicated screen, not an overlay you can fight from. Pull it up when you’re in a defensible spot — a dead-end, a lit corner, anywhere nothing is actively chewing on you — because you’re committing to a menu while the world keeps running.
- Locations you’ve already reached show up as travel points; anything you haven’t physically visited stays locked.
- Fast-travel only works between discovered nodes, so exploration on foot is what feeds the map, not the other way around.
- If a destination isn’t listed, you haven’t been there yet — no amount of menu fiddling will conjure it.
When to Bail Out of an Area
Leaving is a survival decision first. A layer that’s been picked clean of cargo and resources is just a room full of things that want you dead — bank what you’ve gathered and move on rather than greed-looting a hostile zone. The same logic applies when your supplies run thin or the environment itself is the threat: retreat is progress, not failure.
Do not open the map mid-fight or in open terrain. The menu costs you awareness, and Casualties Unknown punishes exactly that kind of pause.
Traveling Between Zones and Linking Up
Once a node is unlocked, selecting it drops you into that area — this is how you hop between layers instead of re-clearing the same corridors. If you’re running with others, fast-travel between shared discovered locations is how you regroup after a split; coordinate which node you’re both heading to before anyone opens the map, or you’ll waste the trip.
- Bank cargo before traveling — don’t haul a full load into an unfamiliar zone.
- Unlock a node the moment you arrive in a new area so it’s always available as an exit.
- Use the map to consolidate: finish looting a layer, then jump rather than walk back through cleared ground.
Bringing a Second Body Into the Dark
Co-op changes the risk math on the surface and in the deep layers: two sets of eyes for the descent, two inventories for hauling cargo, and someone to hold aggro while you patch up. The catch is that the invite only works once the session is actually live — fire it off from the wrong screen and nothing happens.
Where the Invite Lives
Head into the in-game menu once you’re loaded into a running session. The invite option sits there, and it only functions when you’re already inside a lobby or standing in your base — not from the main menu, not mid-load. Get your world up first, then send the call.
- Load fully into your save so the session is active before you touch the invite.
- Open the in-game menu and use the invite system from there.
- Confirm friends land in the same lobby or base you’re occupying — that’s the anchor point they join onto.
Why a Partner Is Worth the Slot
Casualties: Unknown is built to kill lone test subjects across its hostile layers. A second player splits the jobs that get people killed: one watches the tunnel behind while the other loots, one tanks a hostile encounter while the other retreats with the cargo. If you’re pushing deeper than the early layers, bring someone before you commit — the invite is cheap, the death is not.
Set up the invite before you descend. Trying to wrangle the menu while something is hunting you in a cave is how co-op runs end early.
Keeping the Session Stable
Once your friend is in, treat the base as your regroup point — it’s the fixed location the invite ties to, so it doubles as the place to re-kit and re-invite if someone drops. If a connection fails, drop back to the lobby or base and resend rather than pushing on alone into a layer you planned to clear together.
Reading the Map Before You Commit to a Descent
The map is the only piece of intel your captors give you for free, and it’s the difference between a clean cargo run and walking blind into a hostile layer. Treat it as a planning tool, not a decoration — every descent should start with a glance at it.
What the Map Actually Tells You
Your position is marked, and the surrounding areas are laid out so you can see where you are relative to everything else. That’s your anchor. From there you can read the shape of the terrain ahead and decide whether the next stretch is worth the risk.
- Your marker is the reference point — orient yourself first, then read outward.
- Available areas are visible, so you can see what’s reachable before you move.
- Landmarks and key locations are pinned, which is how you avoid drifting into a raid or a dead end.
Planning a Route Around Threats
Use the layout to steer clear of danger rather than stumble into it. If a path funnels you toward a known hotspot, pick the longer line — survival here is about not being caught flat-footed in a bad room. The map lets you spot loot clusters and safe corridors in the same pass, so plan the whole leg before you take the first step.
Check the map before every major move. A route that looks short on the ground can run straight through a raid zone you’d have seen coming.
Using It Mid-Descent
Reopen the map whenever the environment shifts or you lose your bearings. Confirm your marker against the objectives you’re chasing, adjust the line, then commit. It costs you seconds and saves runs — especially once the layers get hostile enough that a wrong turn is unrecoverable.
- Lost your orientation? Re-anchor on your marker before moving again.
- Chasing cargo? Confirm the objective’s direction against your position first.
- Route blocked or too hot? Reroute on the map instead of improvising in the dark.
Base General Tutorial: Making the Cave Mouth Work for You
Every run below the surface ends the same way — either you drag cargo back to the entrance, or something drags you. The base is the only place where that math can be tilted in your favor, so treat it as a staging ground rather than a locker you visit when convenient.
What the Base Actually Does
Three functions, no more: it holds what you’ve hauled up, it turns raw materials into gear, and it’s where upgrades happen before the next descent. If you’re standing in it without a specific errand, you’re burning time you could spend looting.
- Storage — the buffer between a good run and a total loss. Anything sitting in your pack is at risk the moment you go back down.
- Crafting — convert what you’ve retrieved into tools you’ll actually need on the next layer, not trophies.
- Upgrades — the long-term investment track. Prioritize capacity over convenience; a bigger hold means fewer trips and fewer chances to die hauling.
Deposit Before You Descend
Death wipes what you’re carrying. That single rule dictates the whole base loop: unload everything the moment you’re back through the entrance, then re-kit from storage. Hoarding loot in your pack “until later” is how a clean run turns into a lost one.
Upgrade storage early. A full hold forces you to abandon finds mid-run or make risky return trips — both are how test subjects get recycled.
Prepping the Next Run
Use the base as a checklist before you head back into the dark: empty pack, restocked consumables, crafted tools for the layer you’re targeting. The 11 layers get progressively less forgiving, so match your loadout to the environment you’re about to enter rather than carrying a generic kit that’s mediocre everywhere.
- Craft and carry only what the next layer demands — dead weight slows extraction.
- Keep a reserve in storage so a bad death doesn’t zero out your supplies.
- Bank upgrades between runs; don’t sit on materials you could be converting into capacity.
Raiding and How to Avoid Raids
Raids are the part of Casualties: Unknown where your own base stops being a safe room. The surface is not a private instance — other players can find your footprint, and the loot you haul back is the beacon.
What Actually Draws Raiders
Raids are triggered by value, not by luck. A base stuffed with high-tier cargo is a target; an empty-looking one gets skipped. Treat every run’s haul as a decision about how visible you want to be.
- High-value loot sitting in plain storage is the single biggest attractor — the more you stockpile in one place, the more your base reads as worth the trip.
- Attention compounds. Repeated conspicuous activity around your base makes it a known quantity to other players.
- You do not need to empty your stores — you need to make the payoff look worse than the risk.
Hardening the Base
Defenses are the deterrent, and they only work if they are current. Keep base defenses upgraded as a standing priority rather than a one-time project — an outdated wall is an invitation, and a raid you lose costs you the cargo you spent a full descent earning.
- Upgrade defenses before you upgrade storage. More capacity means more to lose.
- Check your defenses after every successful haul — that is exactly when you are most exposed.
Hiding Loot Instead of Hoarding It
Spread the risk. Stashing valuables in less obvious spots beats stacking everything behind one door, because a raider who cracks your main cache should not walk away with the whole run.
- Split high-value cargo across multiple less-obvious locations rather than one central vault.
- Keep the visible, easy-to-find storage low-value so a raid that succeeds still yields little.
- Rotate hiding spots when you can — a location that has already been found is no longer hidden.
If you cannot yet defend a big haul, do not store it. The cheapest anti-raid strategy in this game is never giving anyone a reason to come looking.
Shipments, Base Upgrading, and the Hazards Between
By the time you’re hauling cargo back toward your drop point, the cave stops being a pure survival problem and becomes a logistics one. Shipments are the payoff for every run — the only steady pipeline of materials that turns a scrappy camp into something that can actually keep you alive on the deeper layers. Spend them deliberately.
Turning Shipments Into a Real Base
Every shipment you recover feeds directly into base upgrades and better gear. The temptation is to spread resources thin across every station; resist it. Prioritize the workbench and storage first — the workbench gates your crafting tier (better tools and weapons mean you clear hazards faster and carry more per trip), and storage is what lets you bank surplus instead of losing it on a bad run. Everything else can wait until those two are solid.
- Workbench first — unlocks higher-tier crafting, which is your real power curve.
- Storage second — protects accumulated resources from a single wipe.
- Treat shipments as the reliable income stream and plan upgrades around what each delivery actually gives you.
Reading the Turret Before It Reads You
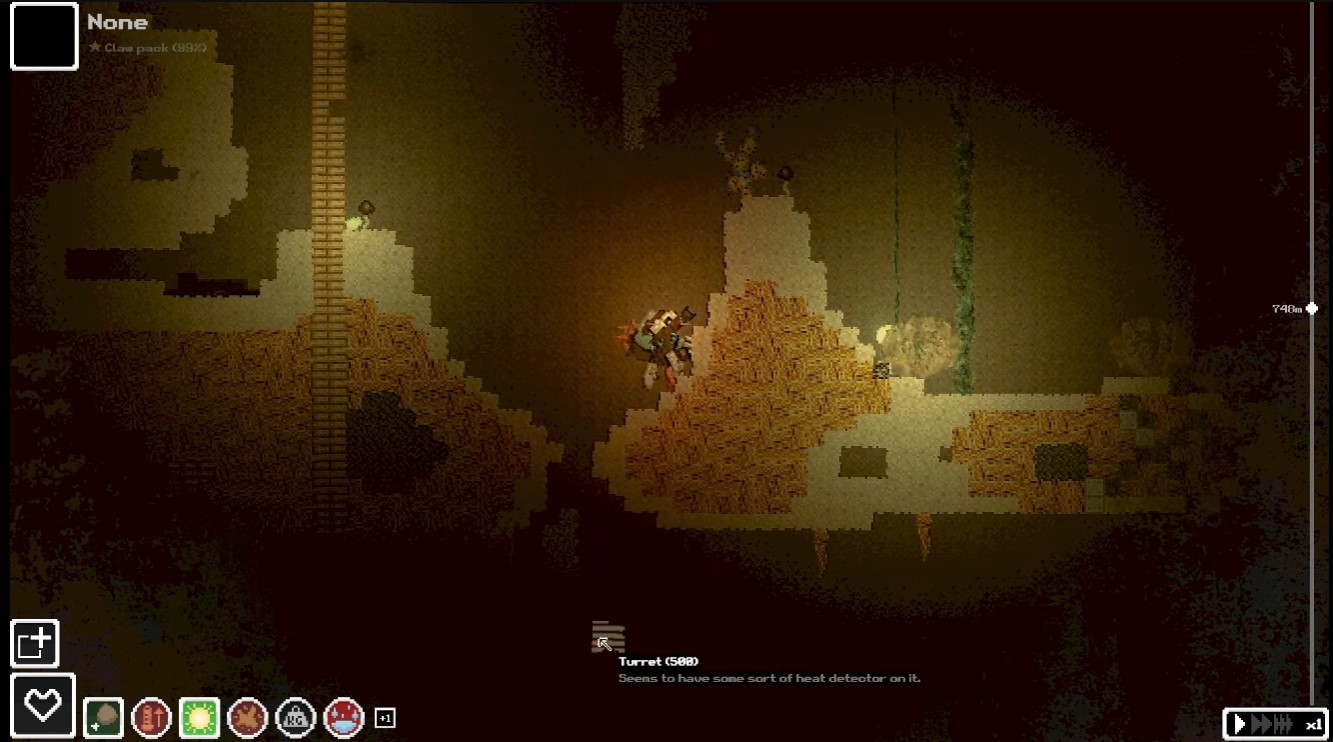
Turrets announce themselves with a distinct audio cue — learn that sound and treat it as a hard stop, not a suggestion. Do not walk into its line of fire to test it. Break line of sight, use cover, and time your movement through the gap rather than sprinting across open ground. If you can’t see the turret yet but you hear it, you’re already too close to move carelessly.
Hear the turret, stop moving. The cue is your only warning before its firing arc catches you.
Descending Past the Vines
When the route drops away, the vine is your way down — jump to it to continue descending rather than hunting for a safer-looking path that may not exist. Commit to the jump cleanly; hesitation on a downward traverse is how runs end. Clear the turret threat first, then take the vine so you’re not dodging fire mid-drop.
Keep the order straight in your head: secure the shipment, upgrade the workbench and storage, then push deeper — the gear you craft from those upgrades is what makes the next hazard survivable instead of a coin flip.
Looty Bay Landing: Sand Stalker Ambush and First Recovery
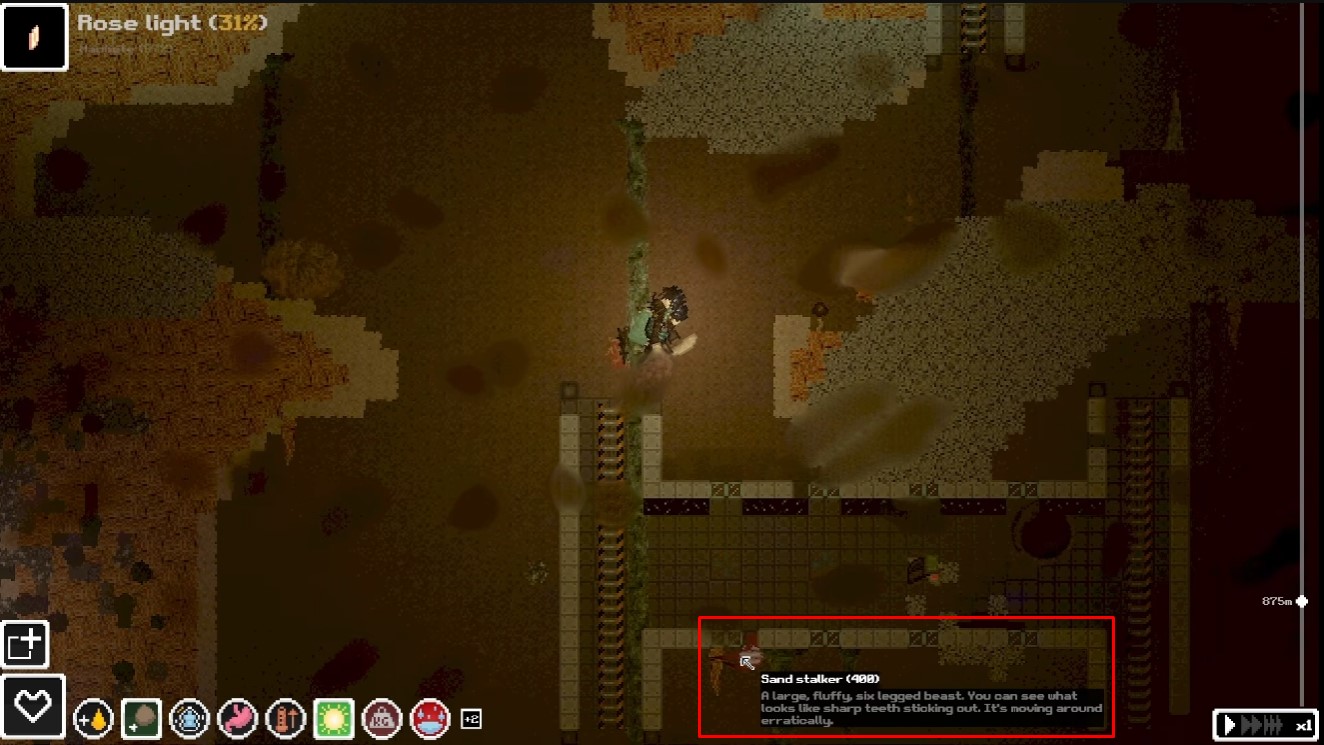
Your insertion goes wrong the moment you touch down. A Sand Stalker is already closing, your legs are wrecked, and your tools are scattered in the sand. This opening decides whether the run continues at all — treat the fracture before you trade blows, or you will not outrun anything on this layer.
Breaking Contact with the Sand Stalker
Do not stand and brawl on a fractured leg. Create distance first, then reassess. If you still have any ranged option, use it to soften the creature before it reaches you — every hit you avoid here is a hit you don’t have to heal later.
- Keep moving; a stationary target eats the full combo.
- Bait the swing, step out of range, then punish the recovery — its attack speed is slow enough to read.
- Only commit to melee once your leg is treated and pain is managed.
Fracture, Bleeding, and Pain Management
Stop the bleeding and set the bone before anything else. A splint is the fast fix; without one, expect roughly 21 in-game minutes of healing time and no jumping until the fracture closes. That downtime is the real cost — plan to hold position rather than push deeper into the bay.
Opium injected into the thigh kills the pain enough to fight and move. Treat it as a bridge, not a habit: it is addictive, so save doses for moments when the alternative is dying on the sand.
If you have no splint, do not wander. Park somewhere defensible, let the timer run, and keep the machete ready — a second Sand Stalker during the heal window ends the run.
Recovering Your Kit and Securing a Rest Point
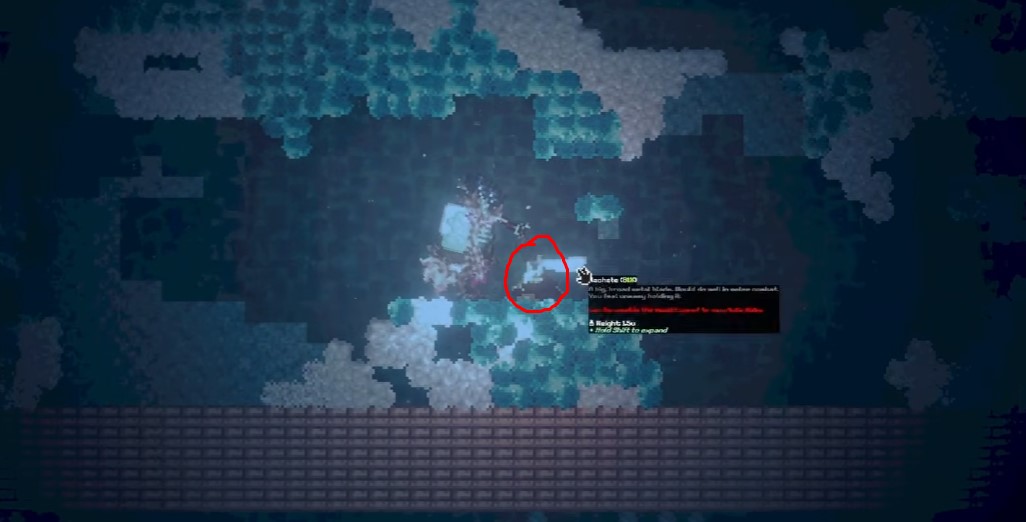
Once the creature is down and your leg holds weight, sweep the landing area for your dropped flashlight and machete. The flashlight is non-negotiable for cave navigation on the layers ahead; the machete is your reliable close-quarters answer when a Sand Stalker gets inside your guard.
Finish by locating a life pod and resting inside it. The pod is your safe heal and save point — take the full recovery before you leave Looty Bay, because the next stretch gives you no such courtesy.
Wasteland to the Frozen Chasm: Traps, Trade, and the Last Descent
The wasteland is where the game stops forgiving sloppy movement. Landmines, fan blades, and sound cannons punish anything that isn’t a slow, deliberate crawl, and the injuries they inflict stack on top of whatever you carried down from earlier layers. Treat this stretch as a hazard-clearance run first and a loot run second.
Crossing the Wasteland Without Bleeding Out
Grab the lantern the moment it’s available — several of these layers are near-black, and the audio cues that warn you about traps are useless if you can’t see the ground you’re stepping on. Move at walking pace and scan for the red markers that flag landmines; they’re often half-buried and easy to miss at a jog.
- Fan blades are instant-kill. Never drop into a shaft blind — look down first, every time.
- Sound cannons hit you with deafness and internal bleeding simultaneously. Time your crossing behind cover or wait out the firing window rather than sprinting through.
- Sound traps work the same way as the cannons. Watch for red indicators and route around them; the deafness alone will blind you to every other cue in the room.
- Without a chest pump, rest and food are your only recovery from internal bleeding. Sleep and eat before you push deeper — don’t carry a bleed into the next biome.
Two enemies guard the path down. Keep moving during the fight; standing still is how you eat a hit you didn’t need to take. Skip the drill pod entirely — it’s off-limits, and using it means going through each layer manually anyway. Before you leave the safe zone, top your health off completely.
Layer 6 Frozen Chasm: Cold Management
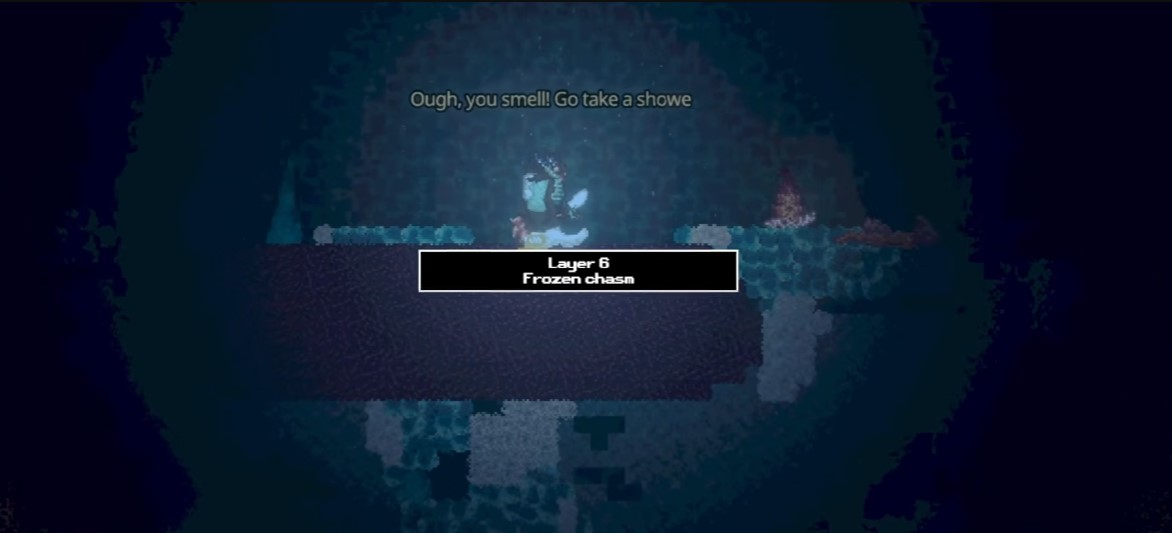
Equip a scarf before you step onto the ice. Without cold resistance your temperature craters fast, and the layer’s hazards compound quickly once you’re shivering. The heat fern warms you back up — use it in short bursts, since breathing it in too long messes with your immune system.
- Regular ice kills your traction. Walk, don’t jump, and expect to slide.
- Never enter the water. Even with insulating gear it drains body temperature to freezing almost immediately.
- If you want the “complete a layer without ragdolling” achievement, this is the layer to attempt it on — but a single slip or enemy hit voids it, so play conservatively.
Camp Setup and Cooking
Gather wood and build a campfire as soon as you find a defensible spot — it’s both warmth and your cooking station. Use unpolluted groundwater only; polluted water won’t make bread. Two loaves per batch is realistic here, and stockpile extra wooden scraps so you can raise a second fire later without backtracking.
Snow Strider and the Fall
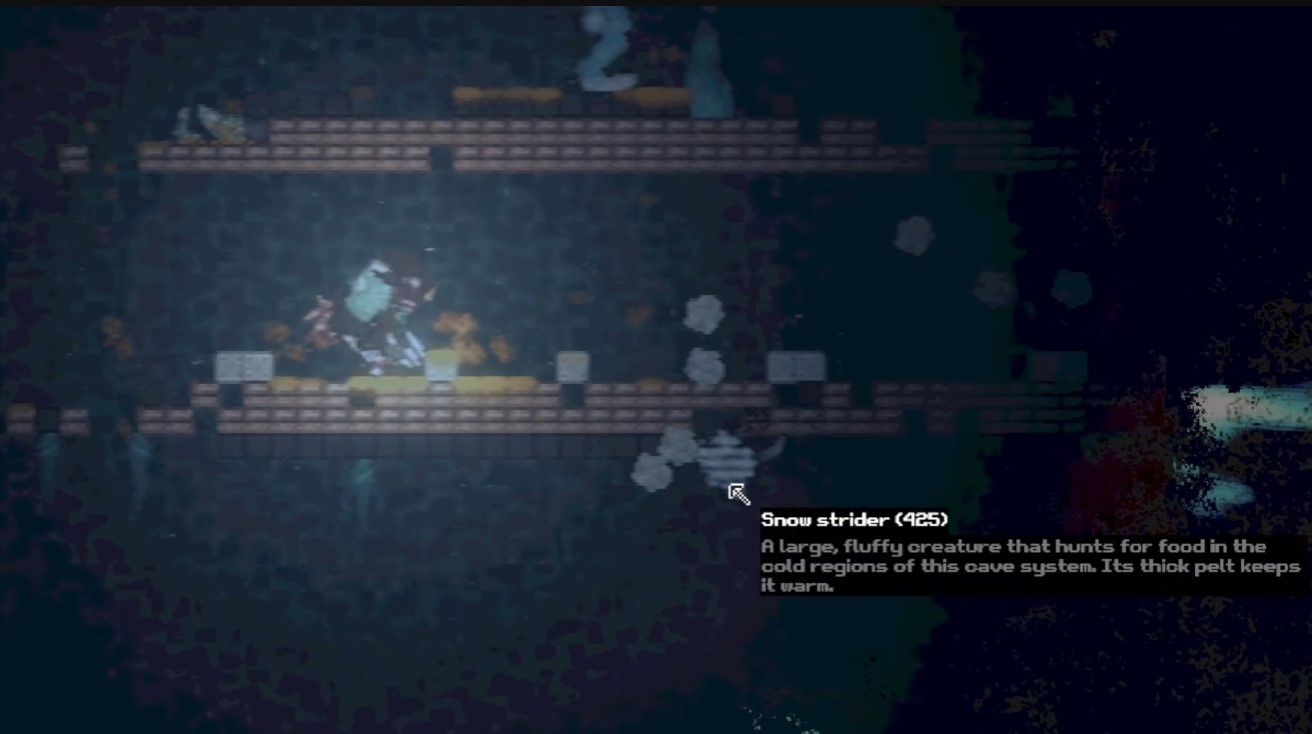
Falling into the chasm dislocates and fractures you — treat the injuries before you do anything else. The Snow Strider is the layer’s real threat: a large, aggressive hunter that closes distance fast. Stay mobile, use your claws, and attack in the gaps between its lunges rather than trading blows.
Fungal Pools and the Mushroom Biome
The next layer is wet and rainy, which means you can still catch cold even out of the snow — keep warming up and keep moving. Harvest the banana plant and grab the sterilized bandage for wound treatment on the way through.
Warm yourself at the fern to stave off lung infection, then deal with the side stabbers. These stationary traps launch spikes and are genuinely hard to spot, so sweep with the flashlight before advancing. Throwing an object at one deals massive damage; melee works if you’re already close. Expect several clustered together in the lower section.
Heal to full before descending out of the mushroom biome. The lower area is significantly more dangerous, and you don’t want to enter it carrying an untreated wound.
Crystals, Glitches, and the Trade That Saves the Run
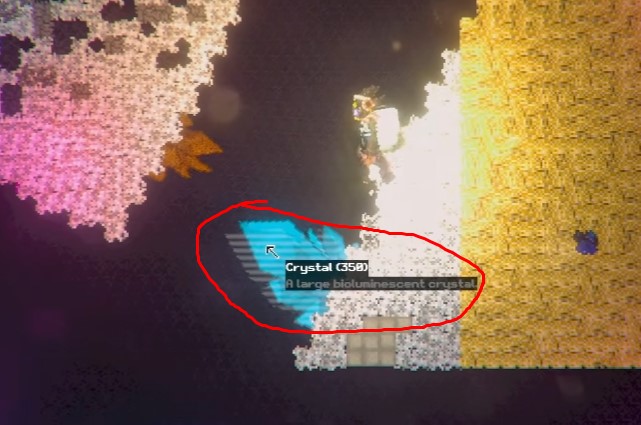
Approach the heavy rock cautiously — it may detonate. The pulsing, glitchy enemies behave like reskinned versions of earlier foes, so watch one before committing to a fight. Do not touch the moving water, keep clear of the bright sun-like object, and jump over the crystal of anger rather than brushing it; it chips ten health on contact.
Milky is the most important stop in this stretch. Selling here funds the gear that carries the rest of the run — the machete, bread, soup, and bow, plus extra bread for the road. You’ll need roughly fifteen of the trade currency to cover it. Buy the machete and the healing food first; eat the bread immediately to top off health.
The crystal layer is a maze that plays on your nerves more than your health bar. Touch the green crystals — they’re safe and bounce you upward. Avoid the angry crystals and the apparition crystal that teleports you down a level. The written note confirms the rule: green is good, and the geyser counteracts activating the green ones.
Into the Geothermal Vents
The lava zone is the final layer, and the heat hazards here are relentless. Your digging tool is gone from earlier, so drop what’s left of that plan and commit to the descent with a full stock of healing items. This is the last stretch — spend your consumables rather than hoarding them.
Layer 9: Geothermal Vents — Heat Is the Real Boss
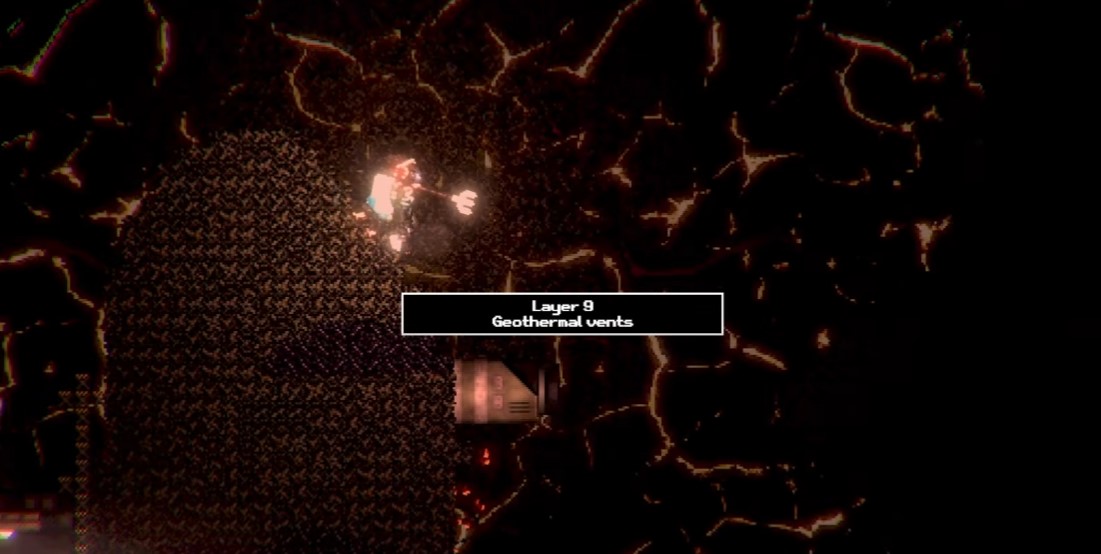
The ninth layer is a lava zone where your temperature gauge is a bigger threat than anything with a health bar. Heat climbs fast, and letting it max out starts eating your XP on top of cooking you. Plan every crossing before you commit — the shortest line through open lava is rarely the safe one.
- Air-conditioned rooms reset your body temperature completely. Treat them as checkpoints and memorize their locations; on a repeat run they’re the difference between a clean descent and a heat-stroke death.
- Lava is instant death. Don’t gamble on a risky jump or a ragdoll — a bad landing drops you straight in.
- Ice packs are your emergency buffer. Pop one the moment heat stroke starts ticking so you can reach the next cooling room instead of dying in transit. Carry them whenever you’re heading into a hot zone.
- Cold puffs cool you down hard but leave you short of breath for a moment — fine when heat is already critical, wasteful when you’re comfortable.
- Pistons crush on contact. Watch a full cycle before you cross, then move on the gap. They also work as platforms if you need the height.
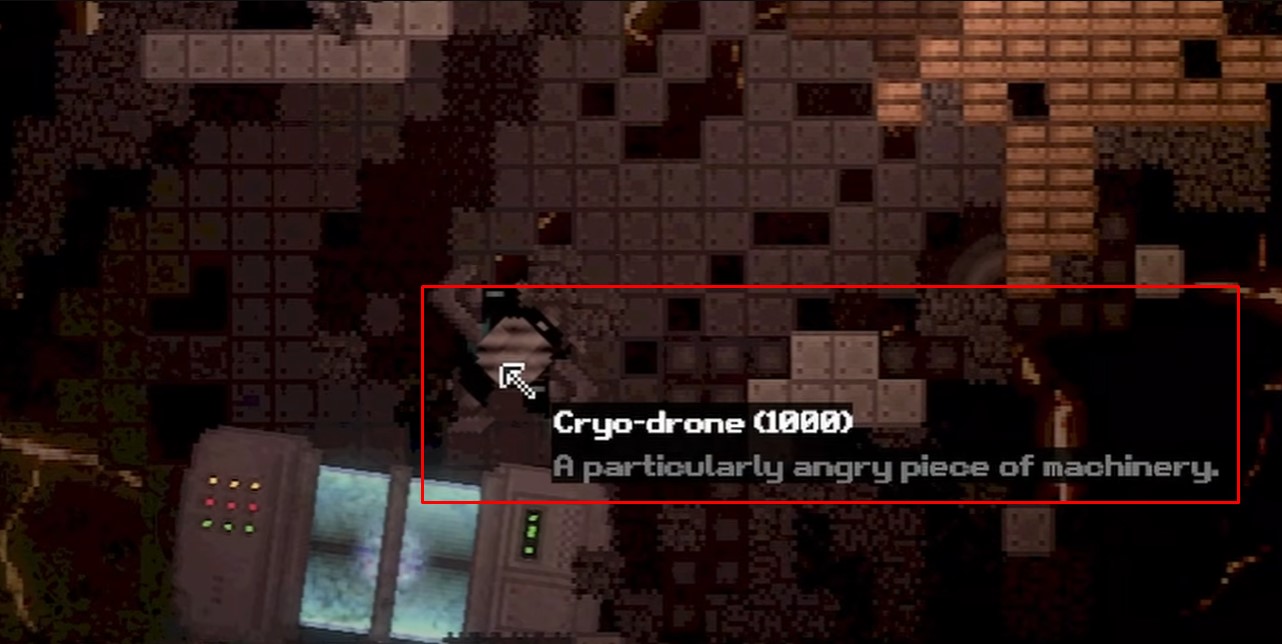
Grab the clean water jug on the way through — it’s worth the inventory slot for cooling or crafting later. If you spot a Cryo Drone, do not fight it. That ranged unit packs 2000 health and pelts you with projectiles; disengage and find another route rather than burning resources on a losing trade. Obsidian, on the other hand, is your friend: mine straight through it to carve bypasses around hazards and drones alike.
Cooling-room ambush and ceiling turrets
Not every air-conditioned room is a free breather — one has an enemy waiting inside. With strength sitting at 19 you can punch through it, so fight hit-and-run: land melee, break line, circle back. Keep moving or you’ll eat free hits while standing in the cold. Wound glue may be lying around nearby; grab it only if you have space, otherwise leave it.
Ceiling turrets are the other silent killer in this stretch. Their shots are fast and hit hard, so stay out of the firing line, hug cover, and time your dashes across open ground. If you can destroy one from a safe angle, do it — otherwise treat its lane as a no-go zone.
If an “Opioid Craving” mood appears, watch your status closely. Its exact effect isn’t spelled out, so react to what it does rather than ignoring it — and don’t let a debuff stack on top of heat stroke.
Mining Routes, Sound Cannons, and the Drill Pod
When a corridor is too hot or too well-defended, break blocks and make your own path downward. Mining past a drone’s patrol is almost always cheaper than fighting it. Watch your health after any fall — even a small drop chips your life juice, and chip damage compounds fast in a zone with no safe floor.
Pick up turbulent crystals as you find them; they’re the key mobility item for the back half of this layer. A ceiling turret guards one approach — stay mobile and use cover to slip past its line of fire.
The sound cannon is a timing gate. Wait for the window, then move; mistime it and you take the hit. Once you’re through, another turbulent crystal is waiting on the far side.
Activating the high-power drill pod
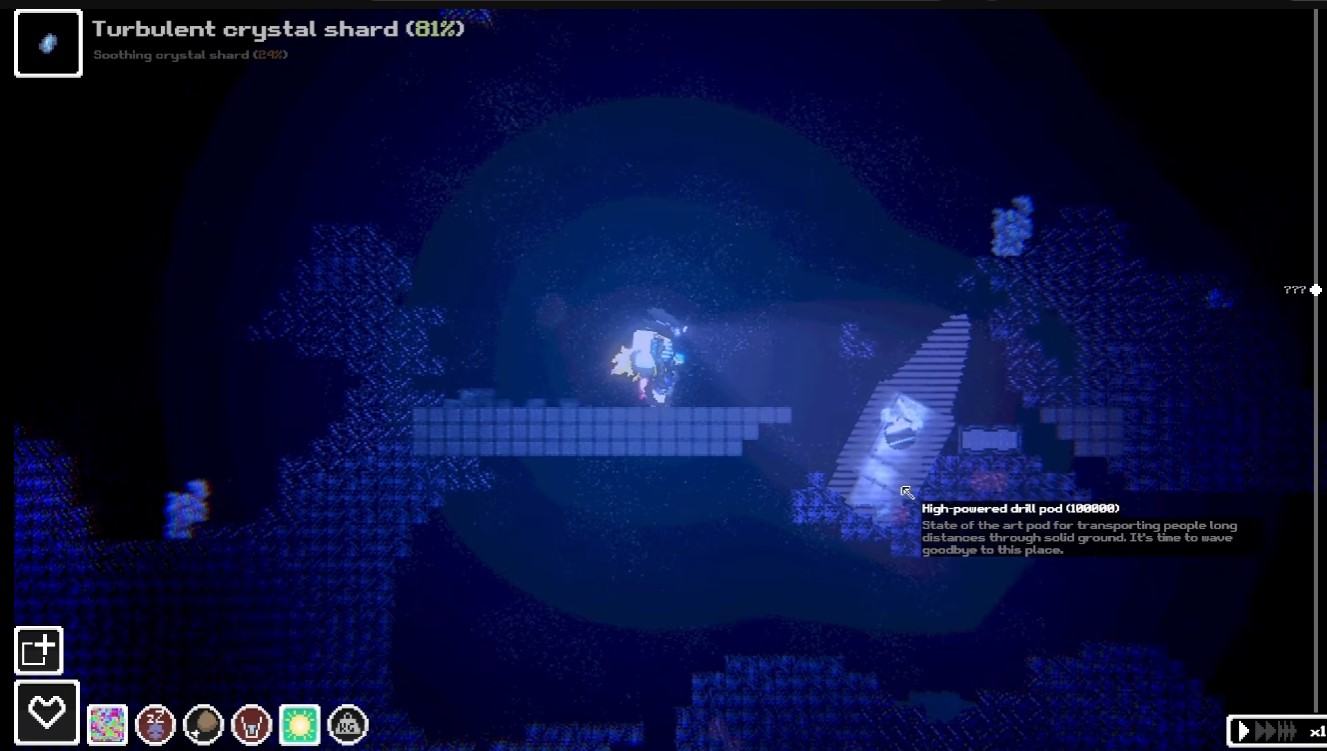
You’ll find a high-power drill pod that won’t fire without a strong power source — the source is nearby, so scout the immediate area before writing the pod off. The pod punches you through solid ground to a distant section of the layer, which is exactly the shortcut you want.
- The ride isn’t clean: the pod drills into you and you start bleeding. Stop the bleed immediately — dig through your inventory for medical supplies before you explore.
- You surface in unfamiliar territory. Stay alert, reorient, and expect fresh hazards rather than assuming the pod dropped you somewhere safe.
Flying Out and the Scientist Ending
Grab one more turbulent crystal to enable flight, then ride it upward. Watch the distance markers tick down — 25 meters, 15, 10 — and keep climbing without stopping; losing altitude means starting the ascent over. Clear the shaft and you reach the surface.
Completion doesn’t mean freedom. You’re captured and brought before a scientist, who explains the objective lodged in your abdomen is coming out and you’re going to be studied. You’re marched to a biopod and submerged. That’s the Scientist ending — and rebelling is pointless, since the explosive chip in your skull ends that idea before it starts.
After the credits the game confirms other endings exist and unlocks the character Milky. If you want the full set, that’s your cue to run the descent again with different choices at the finish.
Optional Objectives Worth Chasing
- Sand Stalker: it can fracture your leg on the opening ambush — treat the break mid-fight and dose opium to keep swinging instead of retreating.
- Snow Strider: the Frozen Chasm fight is a cold-management check as much as a dodge test; solve temperature first, then learn its attack windows.
- Endings: the Scientist route is one of several — unlocking Milky opens the alternate paths, so bank that before committing.
- Temperature control: heat ferns and air-conditioned rooms warm you up; ice packs and cold puffs cool you down in the Lava Zone.
- Base raids: raids can strip your stockpile — build defenses before you push deeper layers, not after a loss.
- Drill Pod power: the pod needs turbulent crystals as its power source; gather them before you expect the objective to complete.
- No-Ragdoll achievement: clearing a full layer without ragdolling demands hazard-avoidance routing over speed — pick the safe descent.