

Hard mode in Imperial Grace is the kind of difficulty that punishes you for the small, invisible decisions you never had to think about on a normal run — and this guide is my attempt to walk you through each major event without having to restart four times like I did. If you’re stuck, dying at the Siege, or watching your Virois’s power spiral out of control, this is for you.
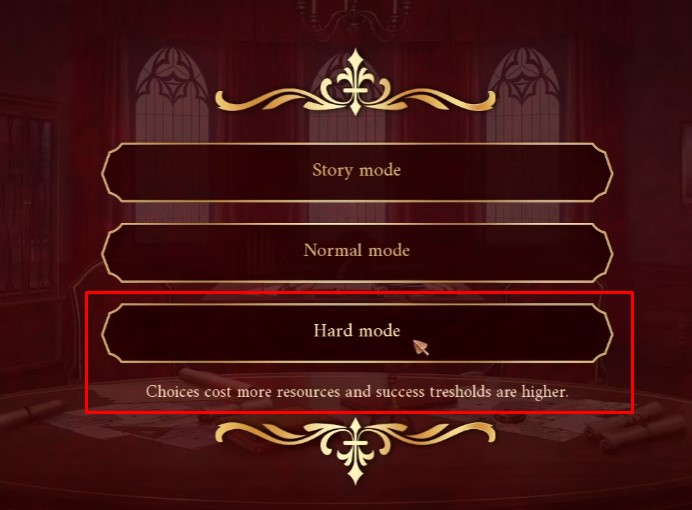
Before anything else, head into the settings and turn on Hidden stats once you’ve cleared normal mode. I cannot overstate how much this changes the experience — playing blind against numbers you can’t see is why the mode feels so brutal at first. With the stats visible, every decision becomes a calculated tradeoff instead of a guess.
The structure below follows the major events: War danger, Famine, Red death, and Virois’s power. Each chapter has its own rhythm, so don’t carry the same strategy into all four and expect it to work.
Core Rules to Live By on Hard Mode
A few habits I’d set from the first turn. Skip Event activity entirely during the tutorial — just click cancel. You lose nothing important and save yourself the headache. You can also reroll petitions by scrolling your mouse wheel until you’re back in the Activities menu, which gives you a fresh set to pick from.
Pay attention to decisions outside of petitions too — some of them affect the active major event, so check the stat window constantly. Plenty of petitions will look tempting but contribute nothing useful, yet clearing them still frees up space for new ones, so don’t ignore them entirely. The real rule: prioritize petitions tied to the major event you’re currently facing.
And the one that will kill you if you ignore it — do not fabricate anything on this run. Fabrication affects the final major event, and you’ll pay for it with your life.
The War Chapters
Before you save Sophie, you’re in a stretch of petition management, and there’s a specific one you need to dig for: Lady Alma de Belarius. Roll until you find her petition and help her — reducing War danger at this stage is critical, and skipping her makes the rest of the chapter noticeably harder.

When you reach the moment to rescue Sophie, do not change the positions of your spies when Master of Murmurs asks about it. That decision raises War danger, and every single percentage point matters here. When Sophie appears, you want War danger sitting at exactly 27.
From there, the loop becomes your best friend:
- Gather resources.
- Complete two petitions.
- Check whether War danger moved.
- Roll back if it went up. Some decisions shave off more than others, so check each one individually.
- Repeat.
Keep targeting war-related petitions while you’re doing this. Ride the loop until you reach the Siege stage — if War danger is too high there, you die. Get it down to 4 or lower and you’ll clear the War chapters. Getting over that hump feels great, trust me.
The Famine Chapters
Famine is by far the gentlest event — as long as your resource stockpile is healthy. Save as many people as you can along the way, but treat these chapters primarily as prep for Red death, which will demand an outrageous amount of resources. Aim to bank at least 25 of each resource before you move on.
You’ll also be switching politics frequently to keep the resources flowing. Stick to the same loop shape as before, just mirror the check direction:
- Gather resources.
- Complete two petitions.
- Check whether Famine changed.
- Roll back if it decreased.
- Repeat.
Here’s the moment that will end your run if you miss it: do not fabricate anything against Hazel. If you do, Theodore won’t help you against Virois later — and without Theodore, you are thoroughly doomed. I’ve seen this one bite people who thought they were being clever.
The Red Death Chapters
This is a step up in difficulty. Red death drops quickly compared to War danger, but there are nuances that catch first-timers off guard. My priorities throughout:
- Lean on Pragmatism — the illness doesn’t care about proper rites.
- Kill every sick person, even when people complain about it.
- You can burn down the city; it costs 5 prosperity but reduces Red death significantly.
- Give prisoners to the scholars for experiments and collaborate with them.
Once Red death is at 1 or lower, you can relax and focus on the next event as normal. The hardest part of this chapter isn’t the plague itself — it’s the fact that People and Nobility drop in huge numbers, and I noticed some decisions had already pushed up Virois’s power in the background. Keep an eye on that number: it should never be higher than -1 during Red Death or the earlier events.
Same loop, same discipline:
- Gather resources.
- Complete two petitions.
- Check whether event numbers changed.
- Roll back if they rose.
- Repeat.
The Virois Chapters
This is the hardest stretch in the game, full stop. Almost none of your petitions will reduce Virois’s power, so you’ll be checking the stat after literally every decision to see what moved. From what I could tell, the trick is making the nobility like you through your decisions rather than through raw stats. Your target for Virois’s power should be around -3 or lower.
On trial day, their power will spike — that’s built in. That’s why you need to shave it down as much as possible before the trial begins, and honestly, that’s the part that took me the longest. As long as Theodore has agreed to help you trap the traitors, you should come through it alive. Once Yacine has trapped himself in the temple, you can breathe — pick whichever method you like to draw him out, and nothing can seriously threaten you anymore.
That’s the full Hard mode clear. It reads easily on paper, but expect a grind — the mode is tedious in places, and you’ll probably be rerolling and rolling back more times than you’d like.
Final Word
This mode took me several days of restarts before it clicked, which is exactly why I put all of this down in one place. If something still isn’t working for you, leave a question and I’ll answer it when I can — and if you’ve figured out a trick I missed, share it with everyone else too. Good luck out there.