This will be a rough guide on what is needed to get all of the DLC achievements, as well as listing extra collectibles and potential bugs related to some achievements.
Introduction
Hello! In this guide, I will show you what you need to do to get the new achievements that were added with the Mea Culpa DLC. There has been a lot of confusion about some of these achievements, and I will attempt to clear that up as much as I can. This guide will also serve as a checklist of sorts, as getting all of the new items added in the DLC will be required to get all of the achievements. I will do my best to not completely spoil the story, but this guide will go through the entire DLC, so I will give as much context as needed for any particular situation.
Before you begin this DLC, I would highly recommend fully completing the base game. It is going to make this guide a lot easier to follow. This includes:
- Killing every boss and getting ending A
- Filling out the base game map completely
- Completing all side quests
- All weapon, health, fervor, and altarpiece upgrades
- All base game prayers
- All base game rosary beads
- All base game Altarpieces of Favor
Granted, the only things that are necessary for the DLC achievements in this list are the first and second points, so if you’re not a completionist (like me), then do not feel pressured to do any of this. However, if you do fill out this list, then it will be much easier for you to follow this guide, as you will be much more familiar with the game and the map layout. Listing out how to get all of these things is far beyond the scope of this guide. Technically, it’s for getting all of the base game achievements, but this will naturally lead you to completing most of this checklist. At the very least, it should point you in the right direction of what you’re looking for.
Mind Your Head / Cruel Compassion

“Make the prisoner’s grim wish a reality.”
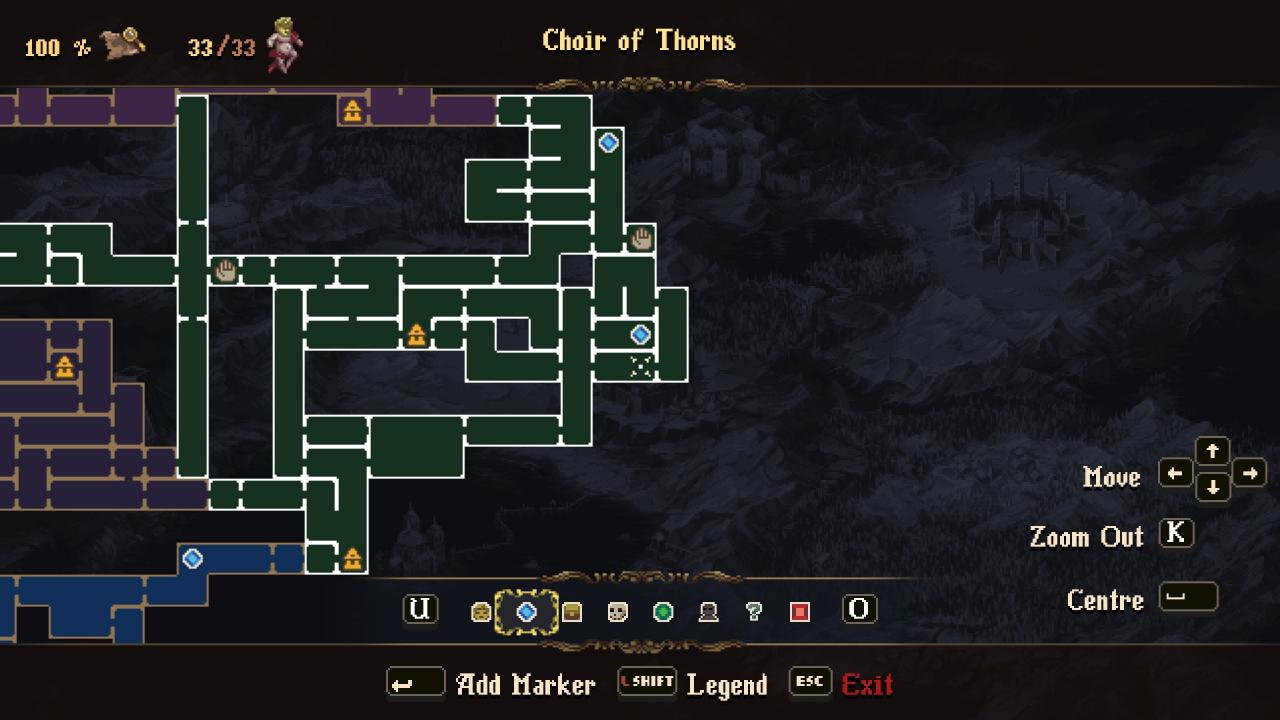
“Find the prisoner after releasing him.”These two achievements are story related, but before I get into that, you should go to this area in the Choir of Thorns first:

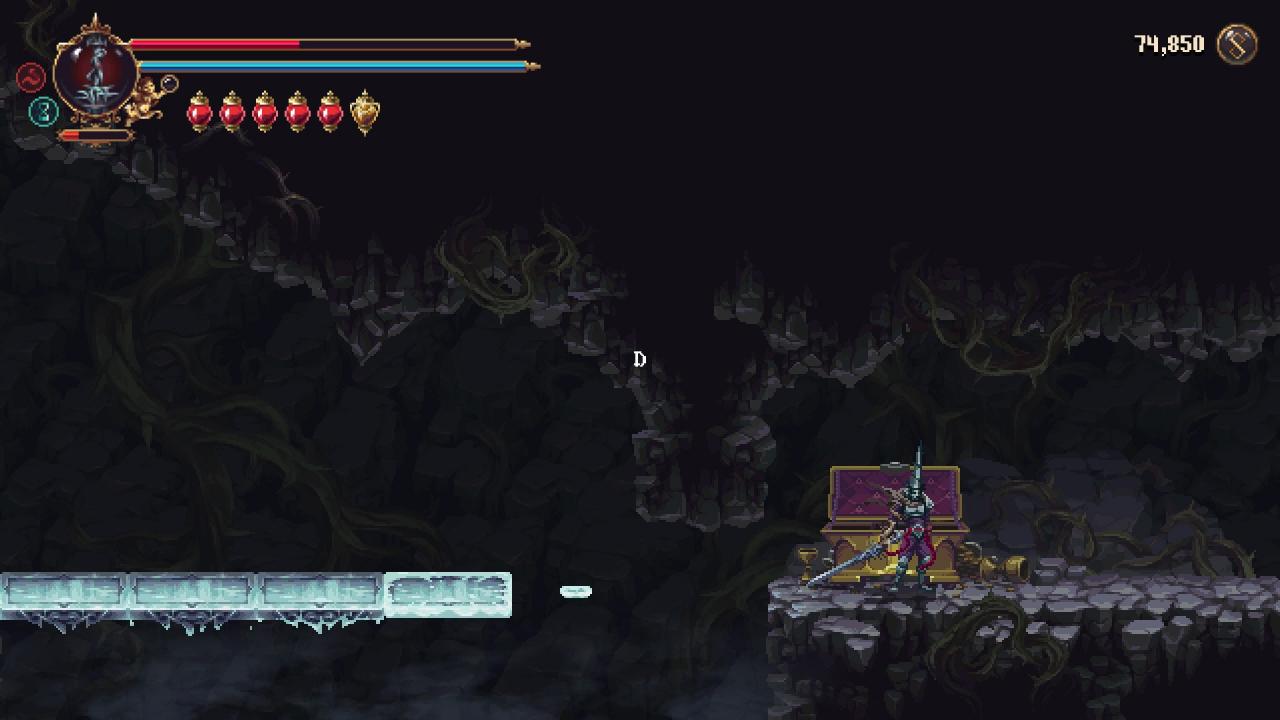
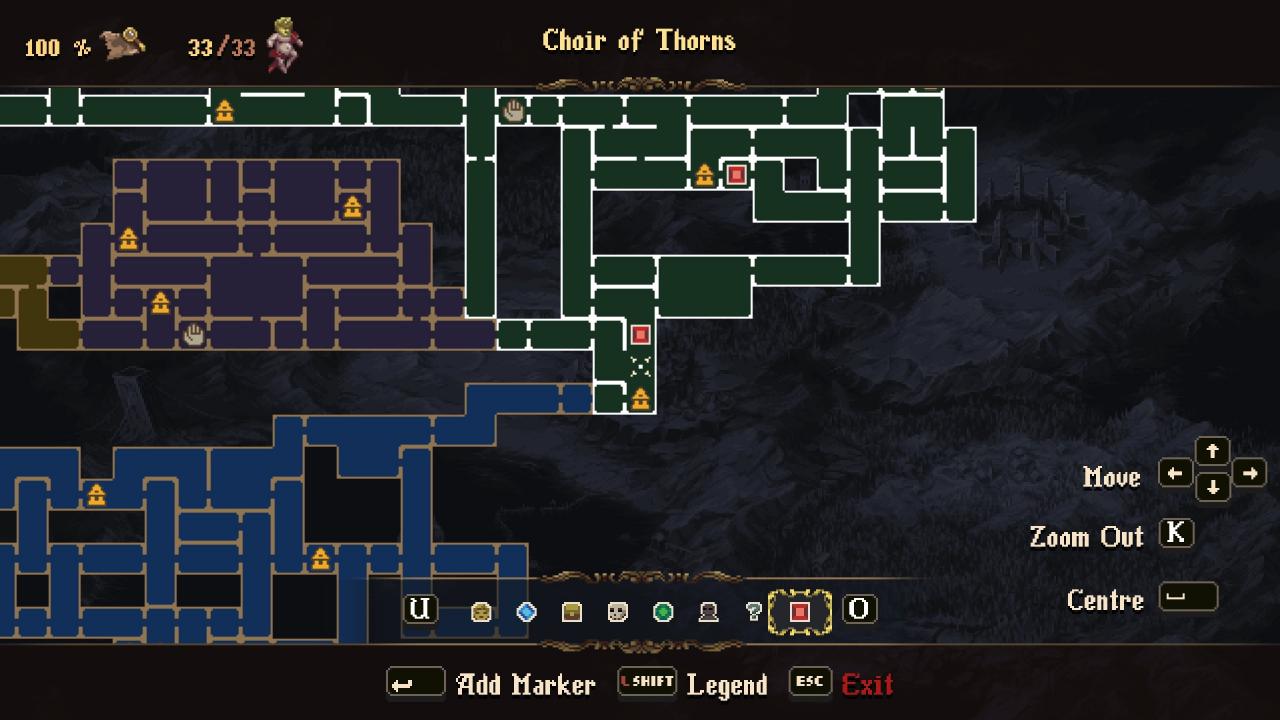
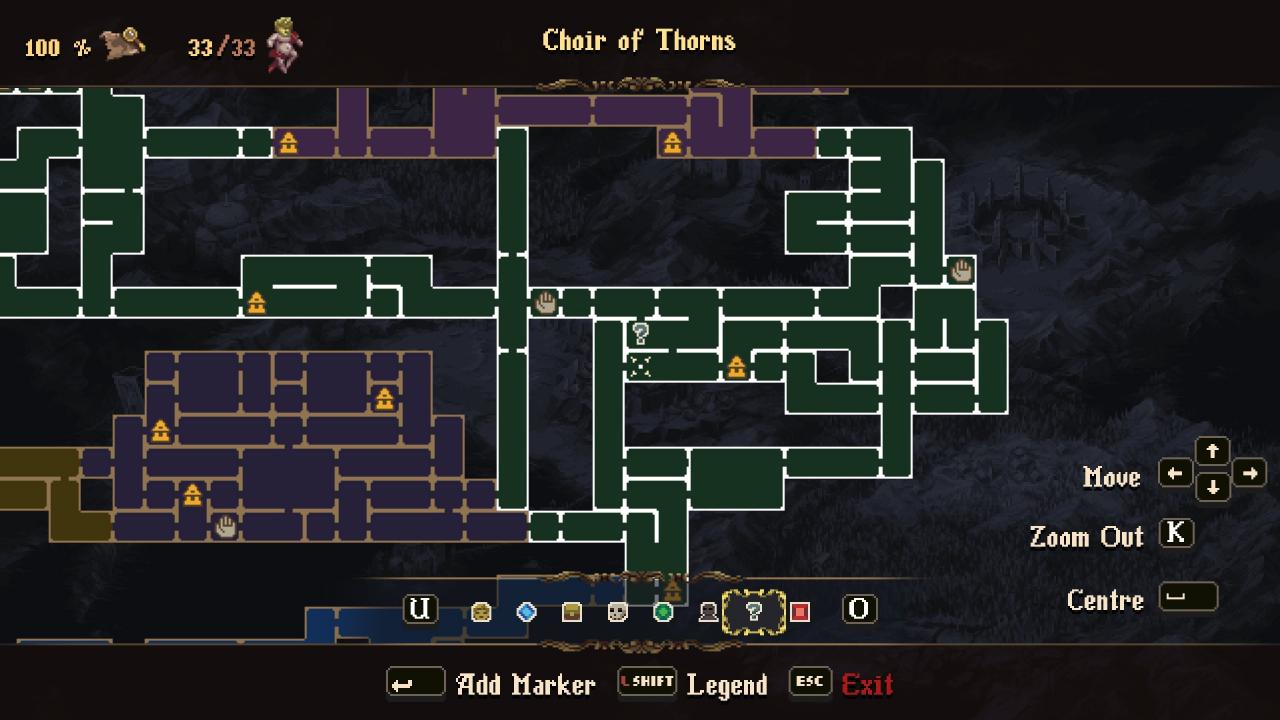 This is where you will get a new ability called Broken Step, which will allow you to walk on the new crystal tiles that litter the map. This will eliminate a lot of backtracking later on.
Now about those achievements.
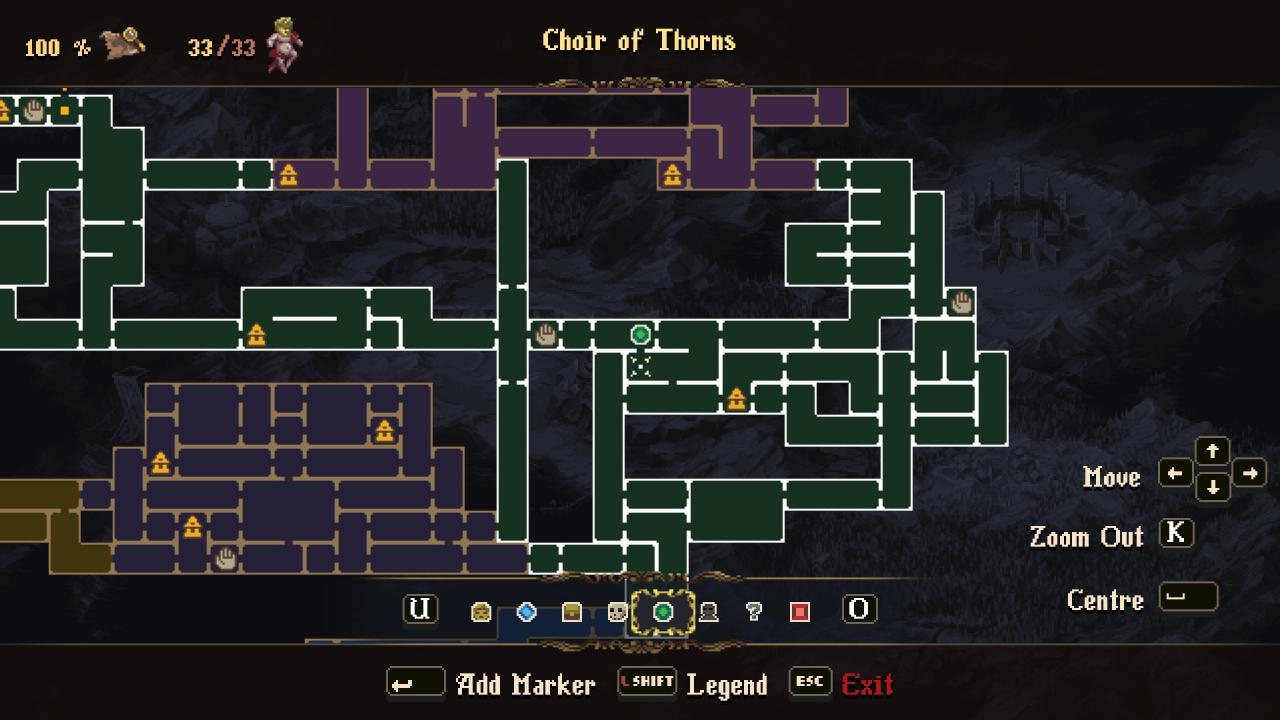
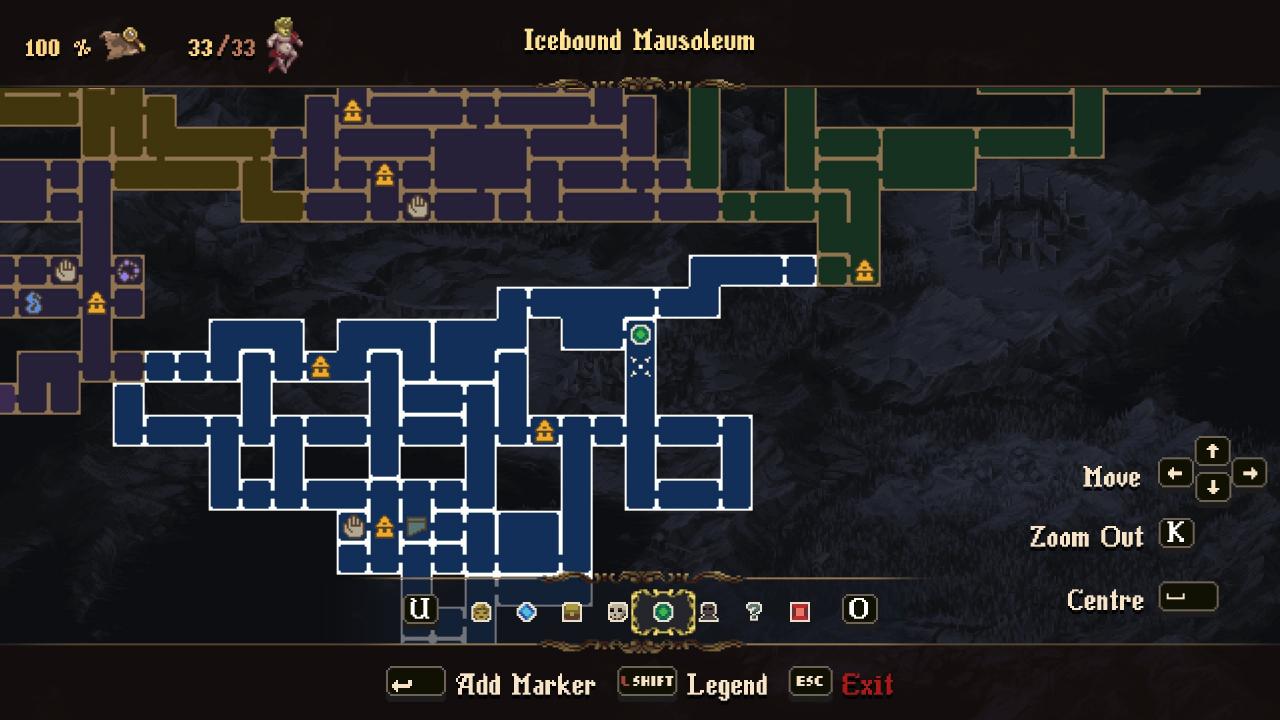
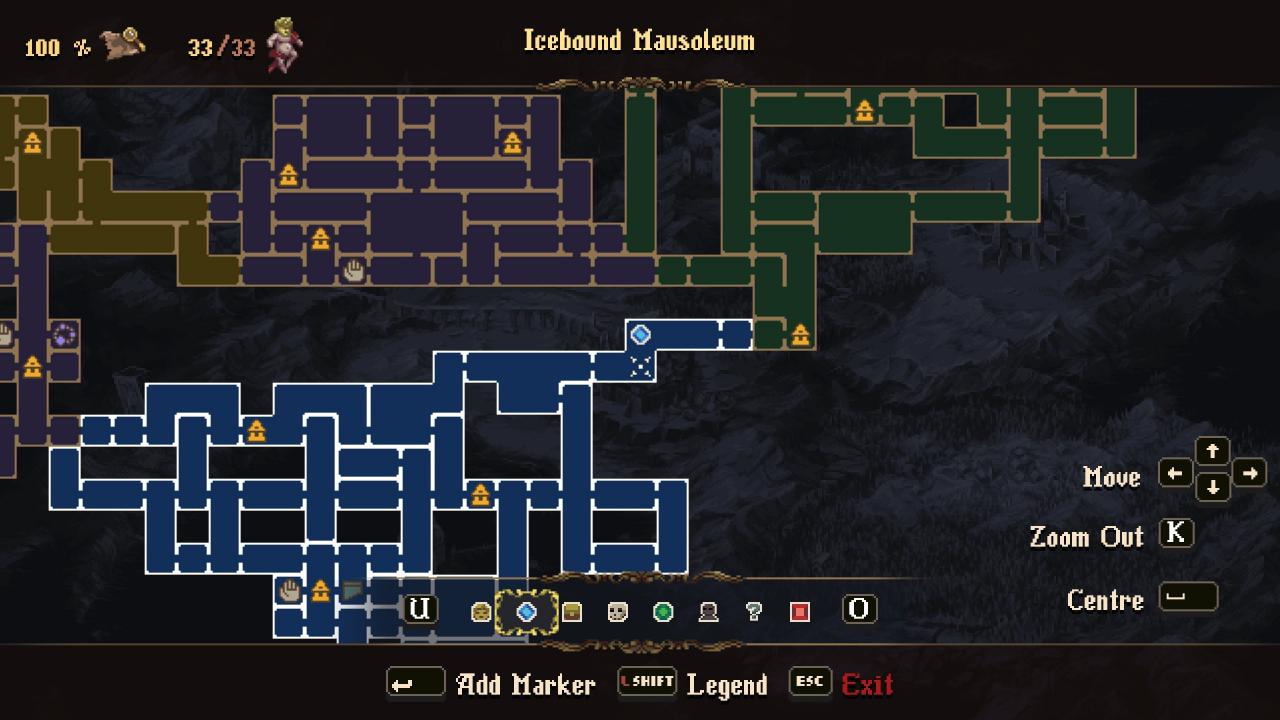
As I said, these are story related and are required for story progression, but they are also mutually exclusive. In the Icebound Mausoleum, you will encounter a new NPC that I’ll call the Prisoner. He is tied to a guillotine and begs you to pull the lever and end his life. The room is marked by the guillotine symbol on the map:
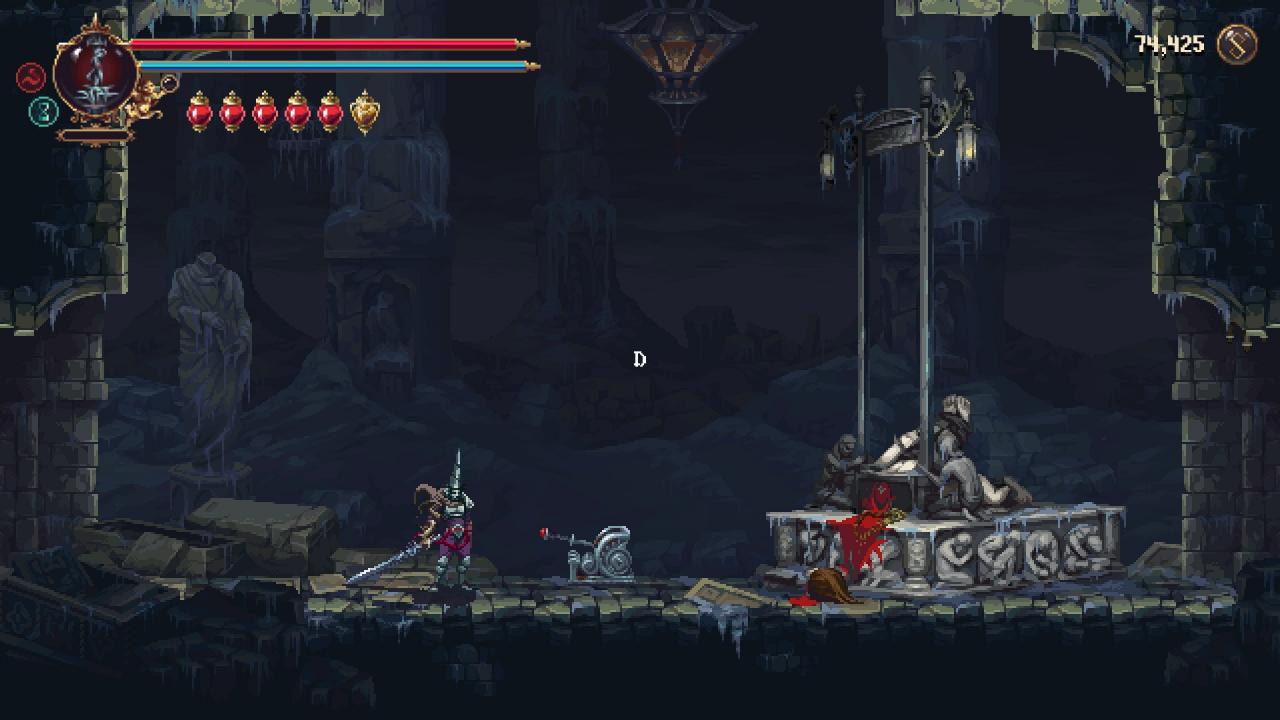
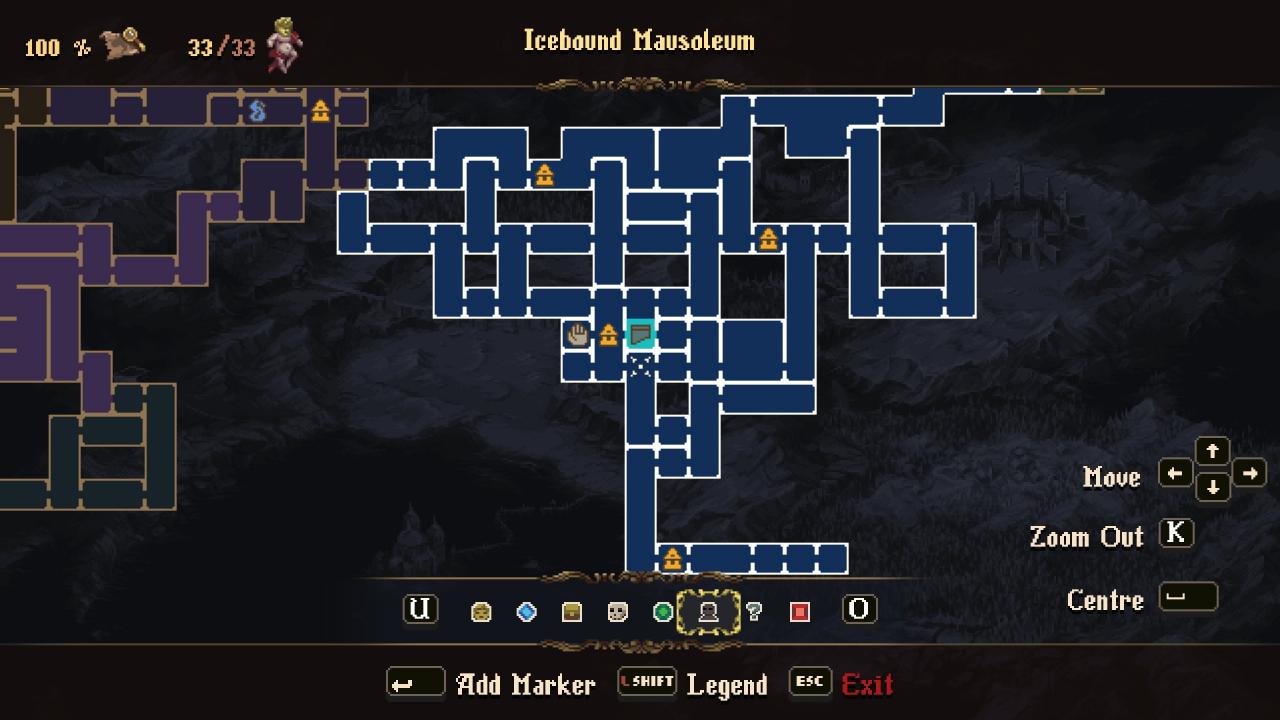
As you can see, I granted his wish. To do this, go through the Icebound Mausoleum and you will come across 3 levers. By pulling these levers, the blade will rise higher, and eventually will rise high enough to decapitate the Prisoner, in which you are given a choice: to end his life or to grant him his freedom. If you want to kill him, pull the lever, and if you want to spare him, destroy the blade by attacking it (any weapon will do). To get both of these achievements without replaying the whole game, duplicate your save file, kill him in one file, and spare him in the other.
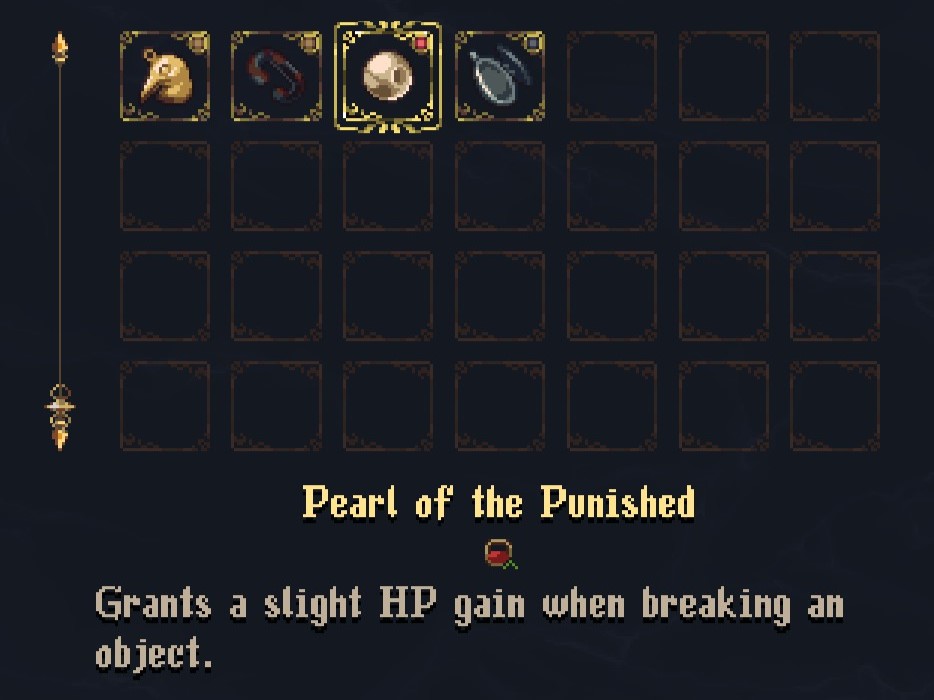
Regardless of which path you choose, you will be rewarded. If you kill him, you will be given the rosary bead Pearl of the Punished:
If you spare him, you will eventually find him again, and he will thank you for giving him his freedom and give you the altarpiece The Prisoner:
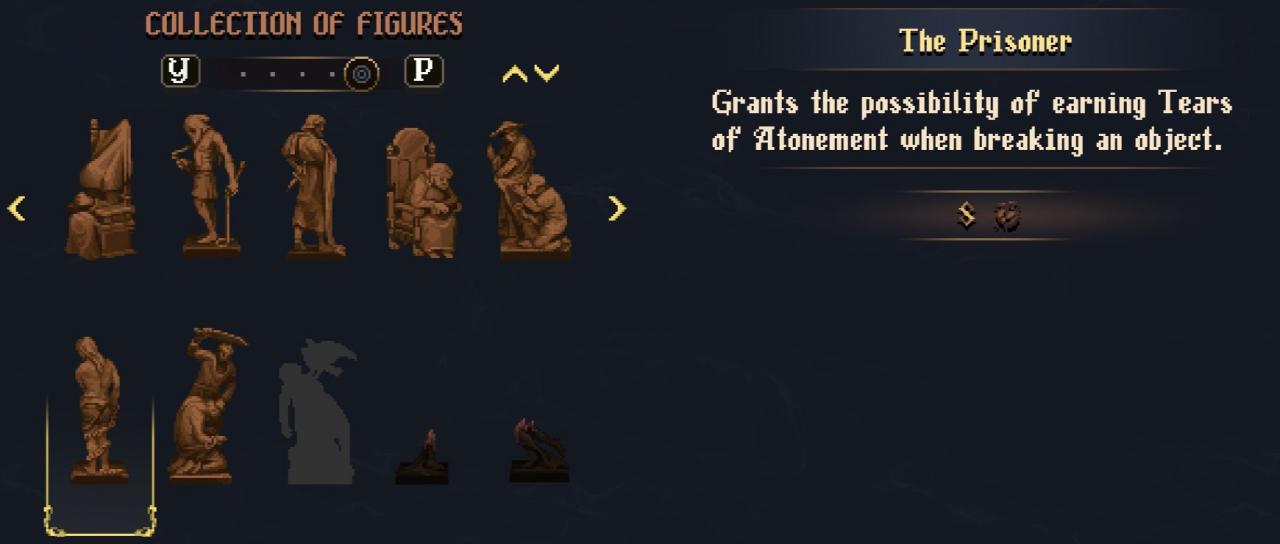
You need both of these items for the Consummate Collector achievement, but you can only get one from the Prisoner himself. Luckily, the merchant Medardo and Escolástico sells the other item you need, and they can be found here:
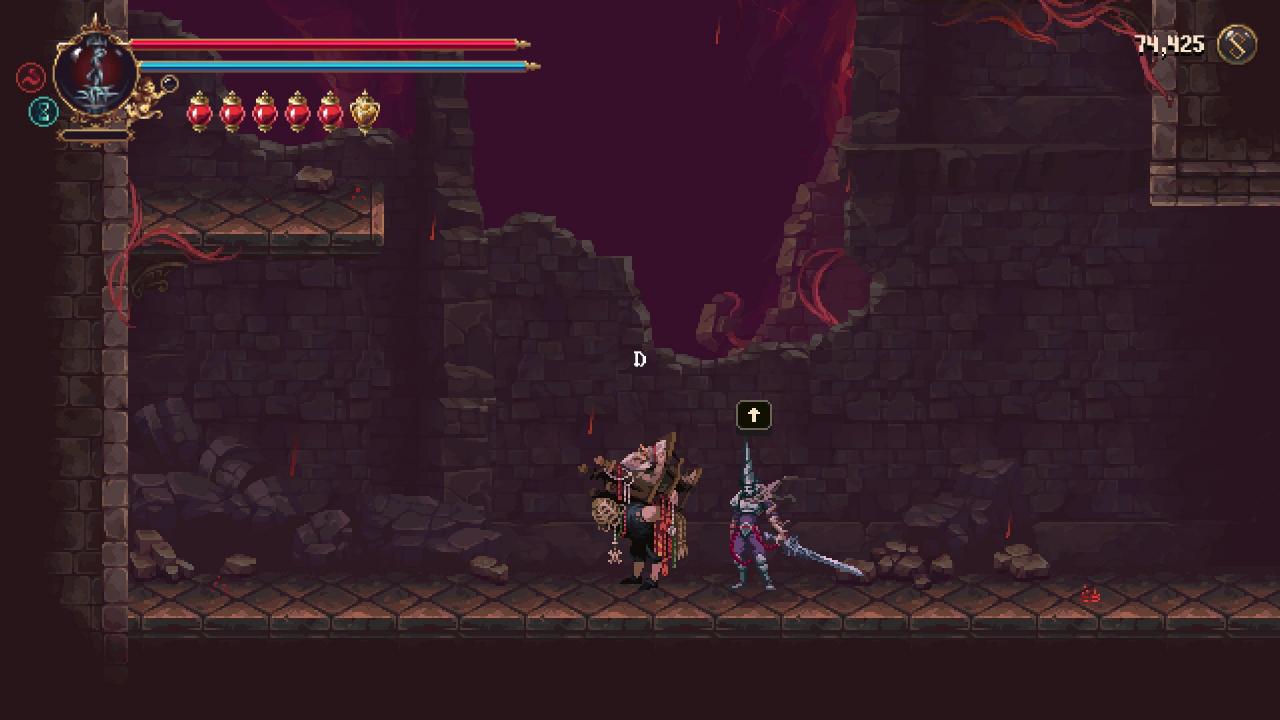
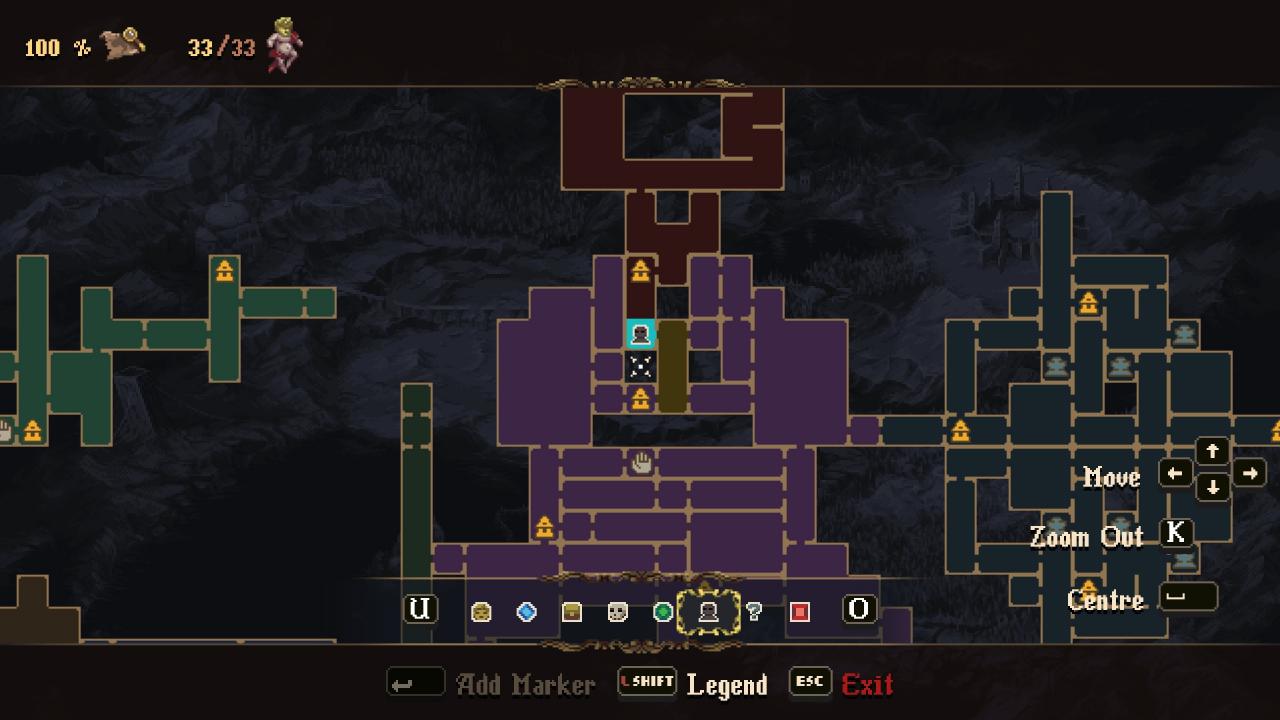
Note: I cannot confirm that the Pearl of the Punished is able to be purchased. I cannot find any information on where that can be found if you decide to spare the Prisoner (NeatPick spared him in their playthrough, but they did not collect the bead unfortunately). I’m going to assume that Medardo and Escolástico will sell it, but if not, please let me know in the comments, and I will update this guide accordingly. If they do not sell it, then my next best guess on its location is the guillotine area. If its not there, then I honestly don’t know where it is. Just in case, continue the story on the file where you kill the Prisoner.
In Repose / At the Mercy of the Grievous Miracle

“Defeat Sor Cautiva del Silencio.”
“Restore the Mea Culpa sword.”These two are also story related, and you will get these naturally as you progress the story. You will get the former by defeating Sor Cautiva del Silencio, and the latter by receiving the restored Mea Culpa.
Also, I would also recommend getting the Mea Culpa before exploring the other areas, as this will reduce backtracking significantly. Reference the YouTube video I linked earlier if you are struggling at any particular part.
Legacy of the Twisted One

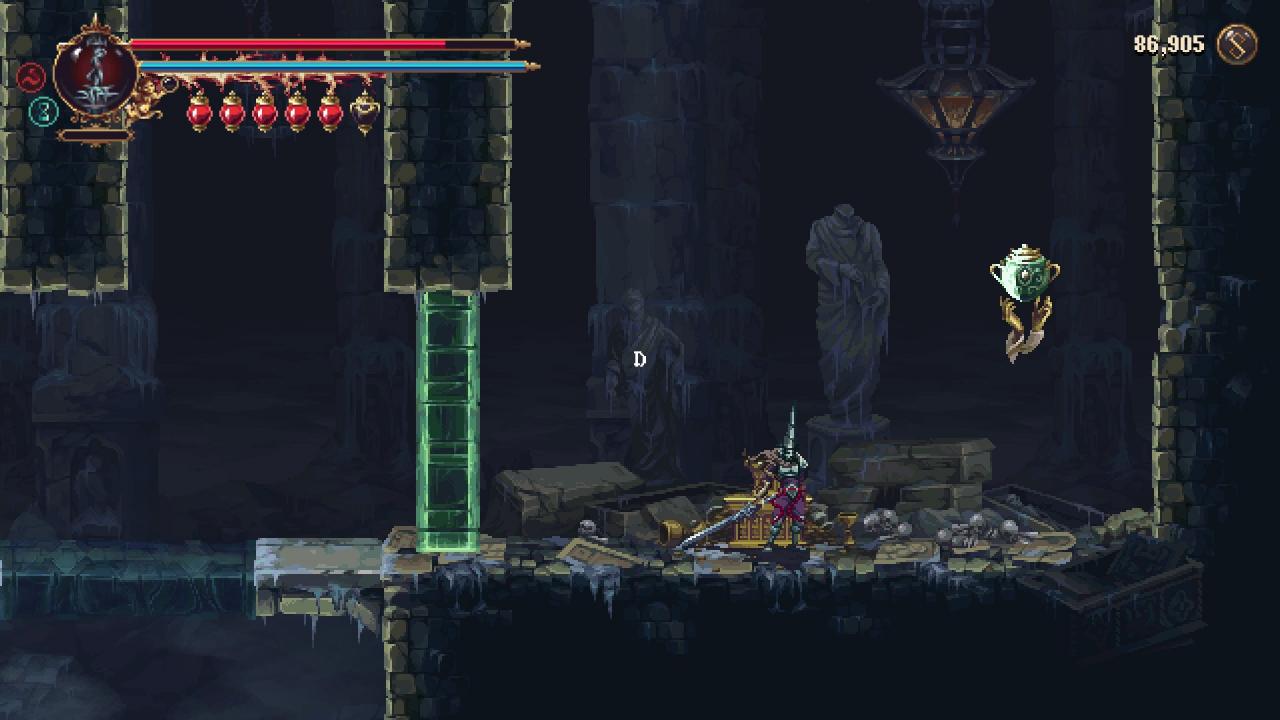
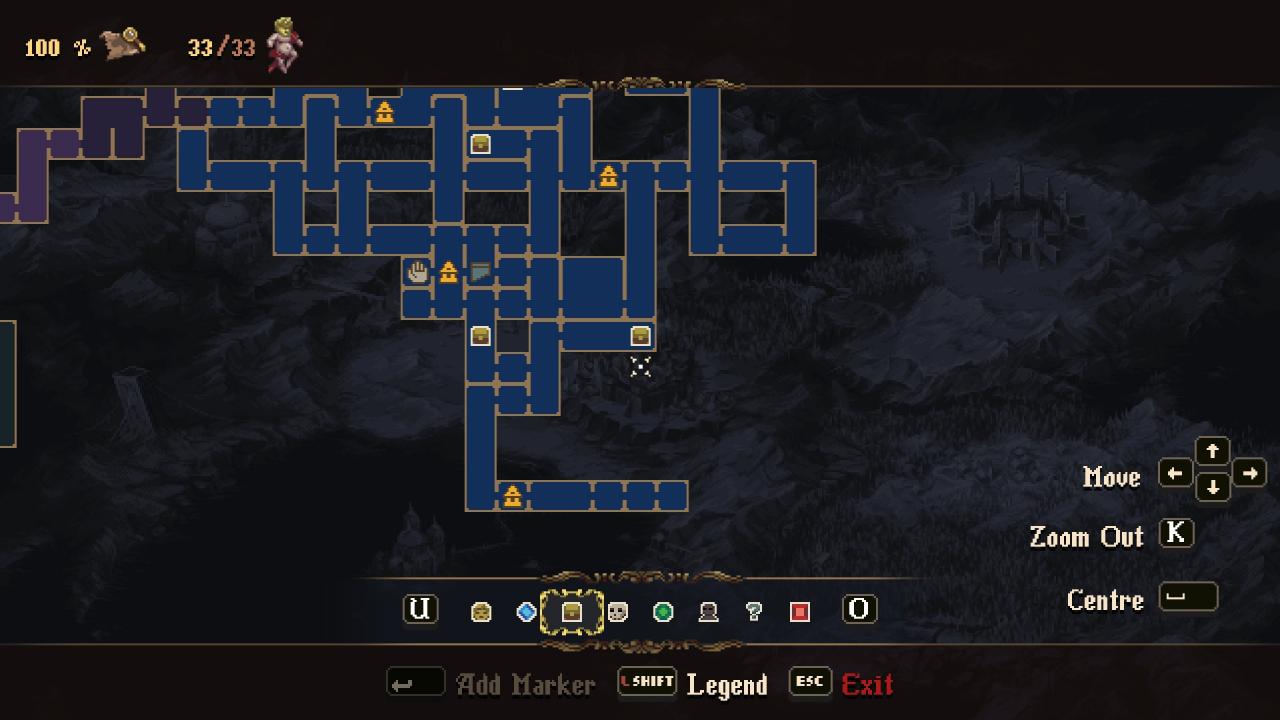
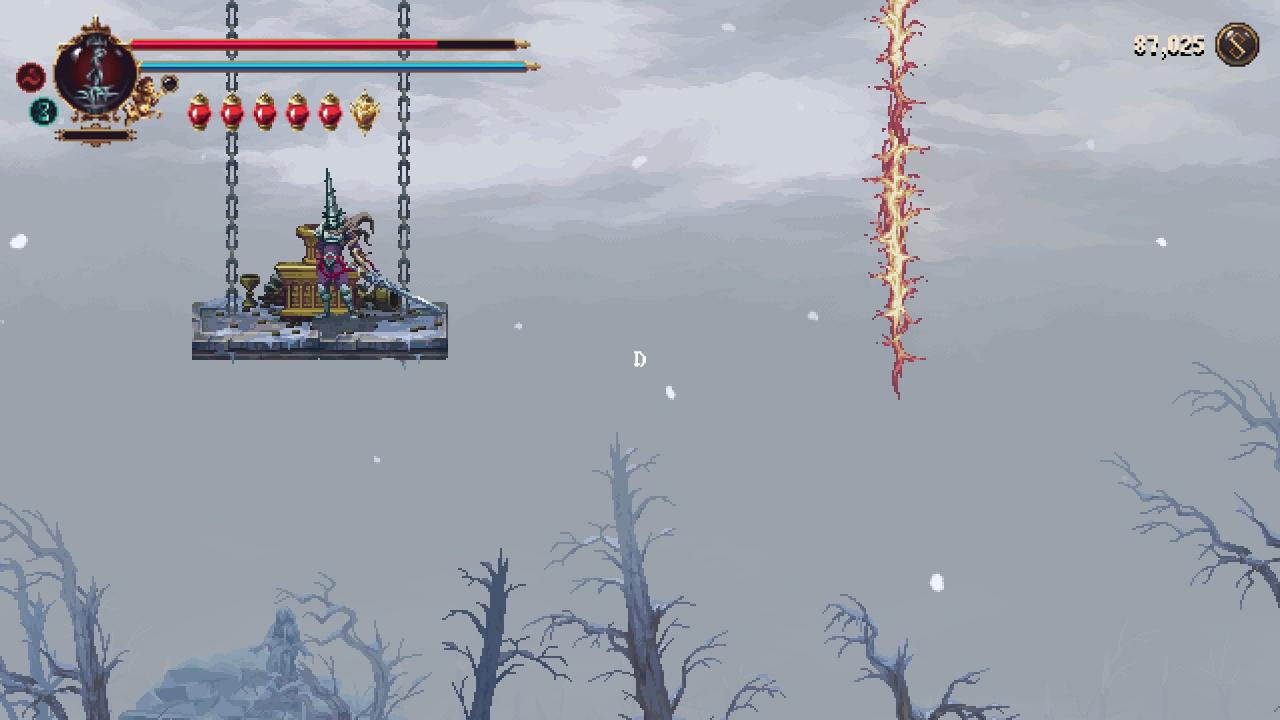
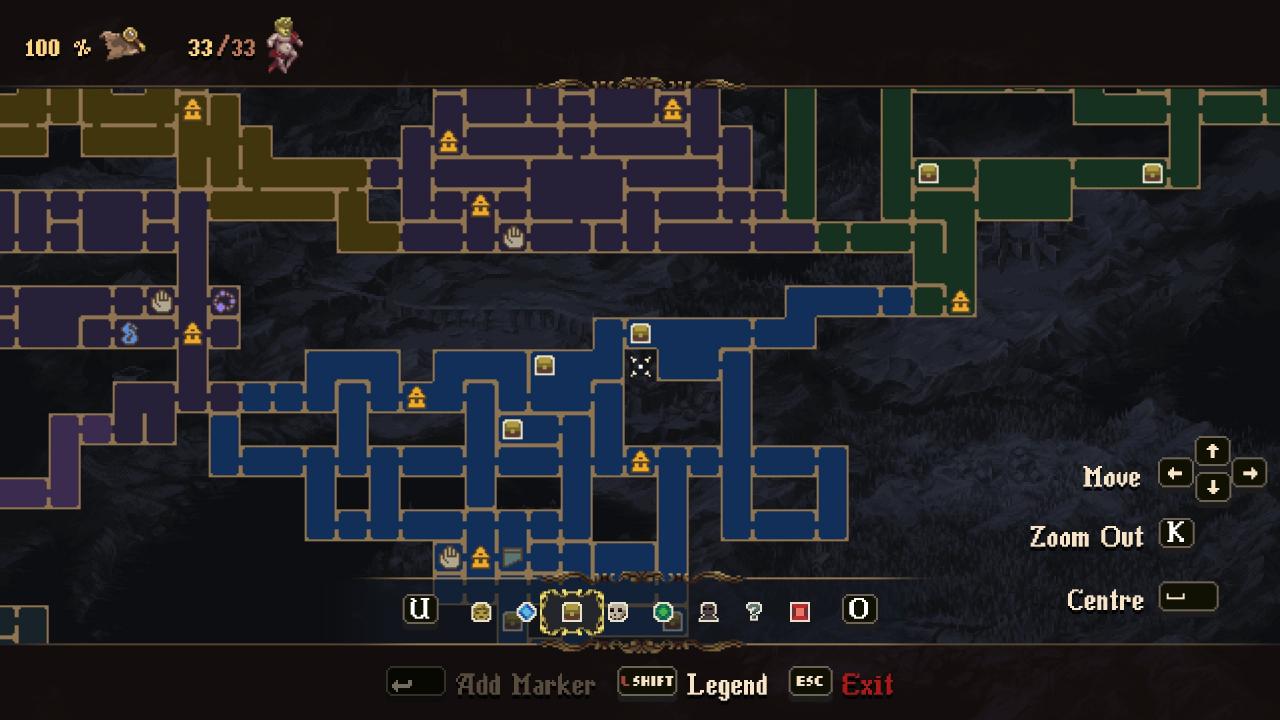
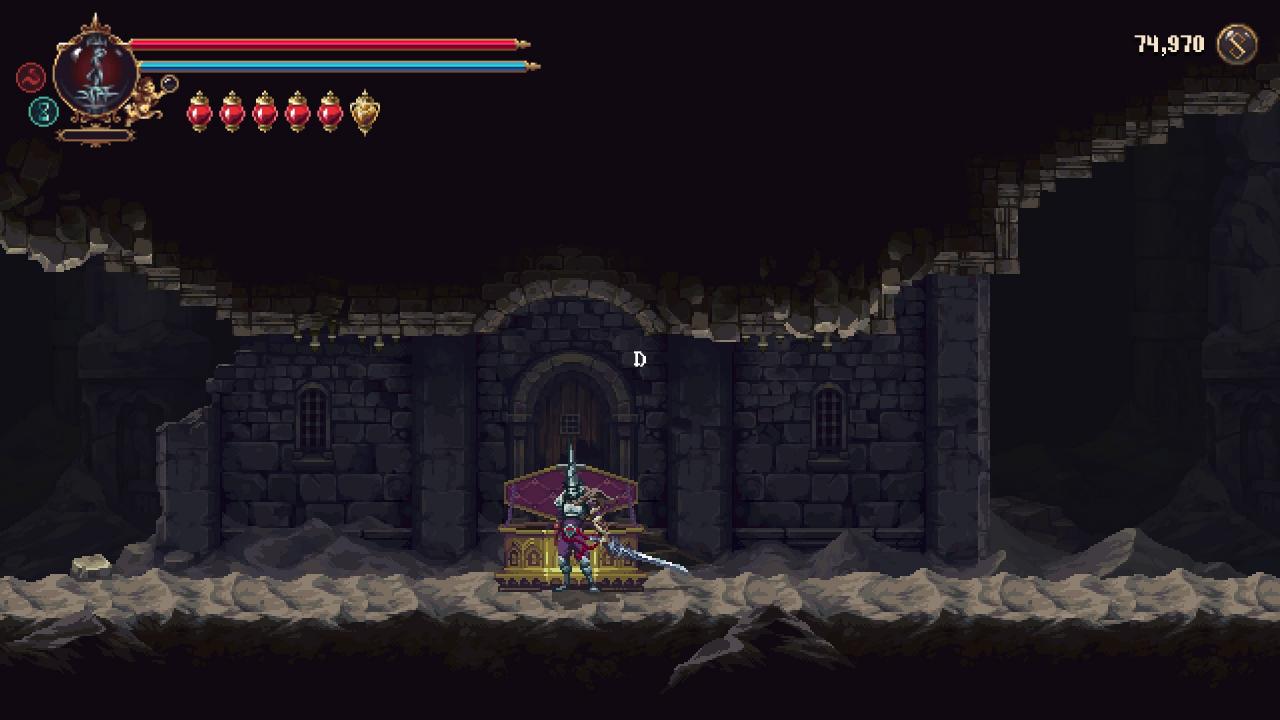
“Unlock the true power of Mea Culpa.”Now that you have the Mea Culpa and Broken Step, all of the DLC areas are accessible to you, meaning that you can finally explore freely without needing to keep track of what you need to come back to. To get this achievement, you need to fully upgrade the Mea Culpa. You need 14 Marks of the Preceptor to upgrade the sword, and there are 14 chests located around the map with 1 Mark each. The locations of these chests will be listed here, and will be organized by what area they can be found in. I will also include timestamps for the YouTube video in case you need help getting them:
Timestamp: 3:00:41 – 3:01:17
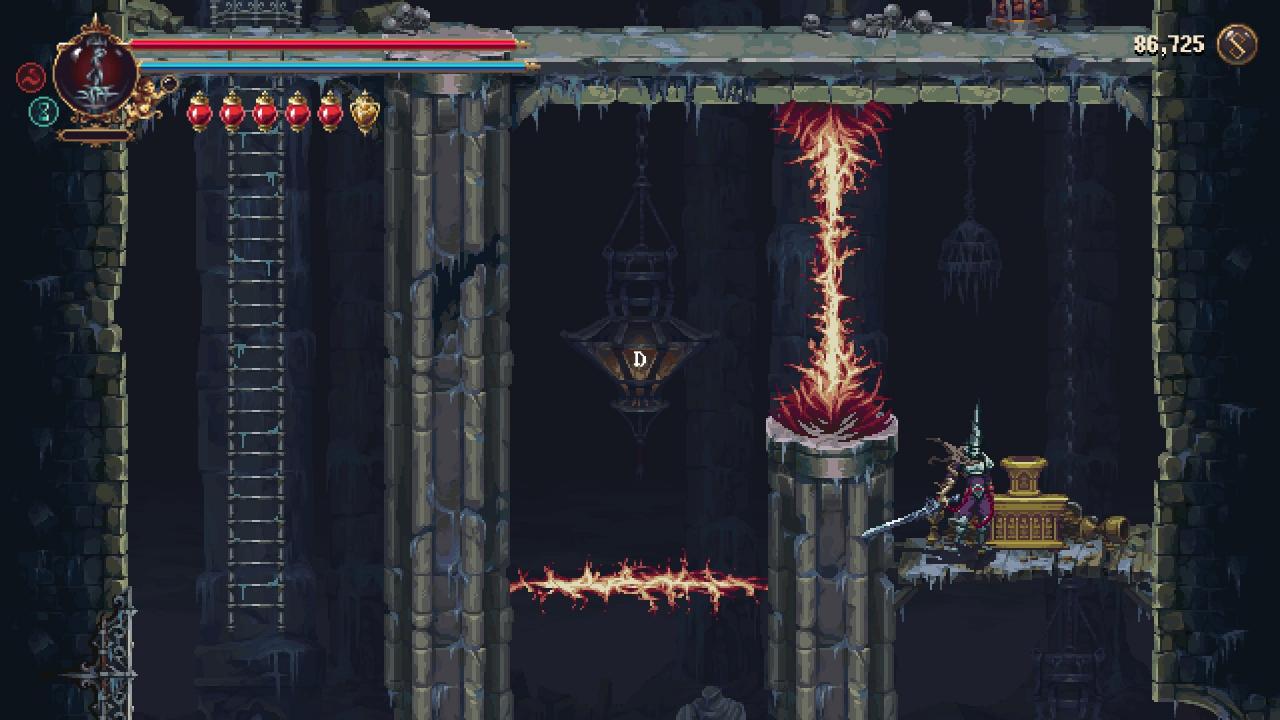
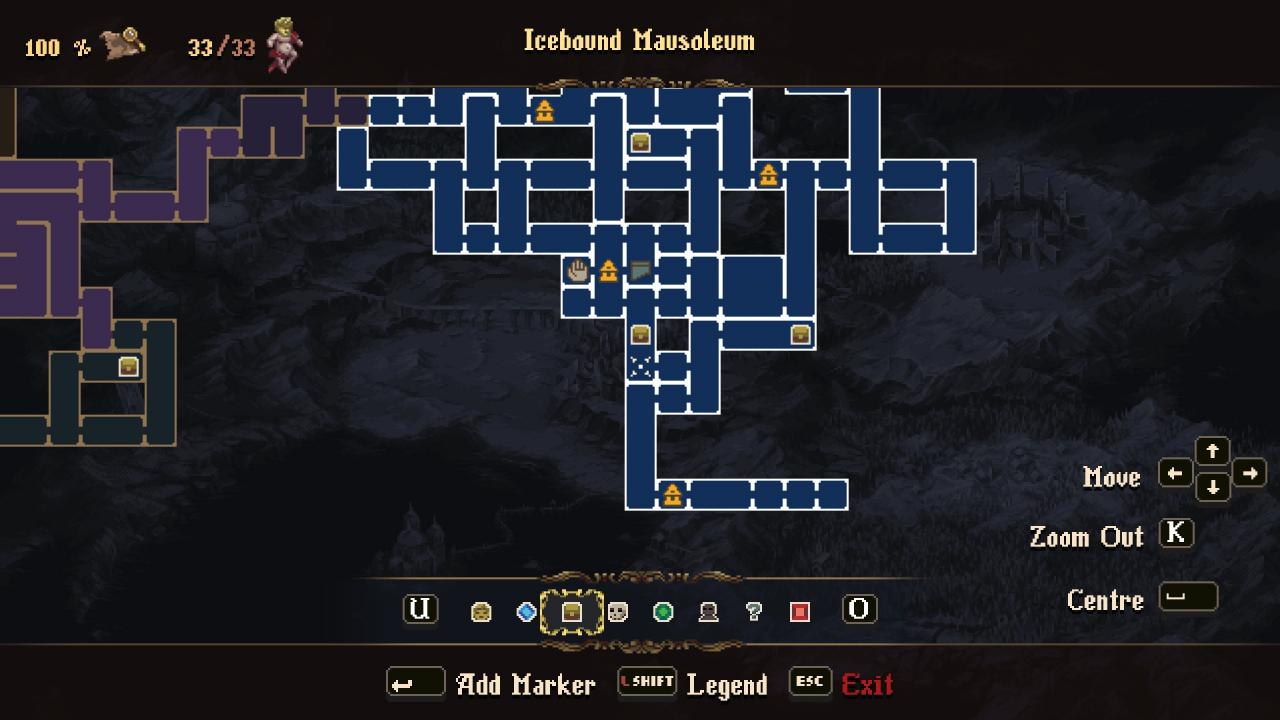
Timestamp: 3:01:17 – 3:03:11
Timestamp: 3:05:37 – 3:06:52
Timestamp: 3:06:52 – 3:07:26
Note: you have to start from the location of the previous Mark to be able to get this one.
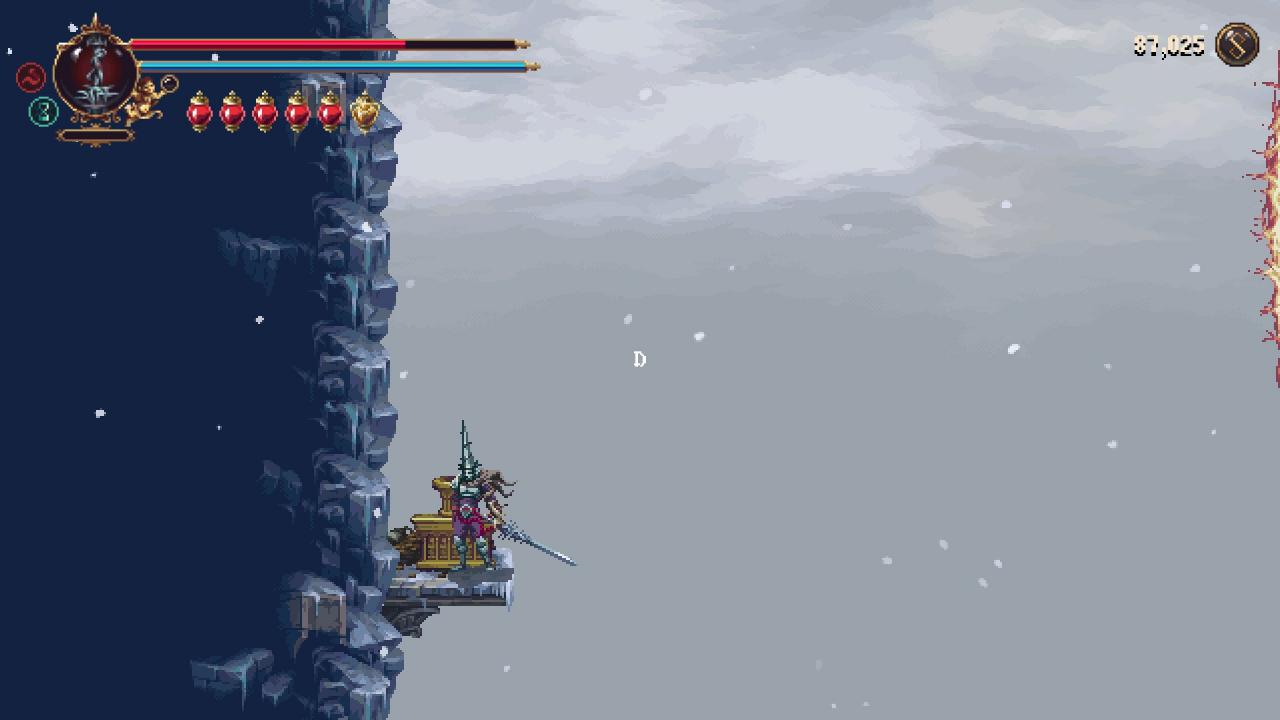
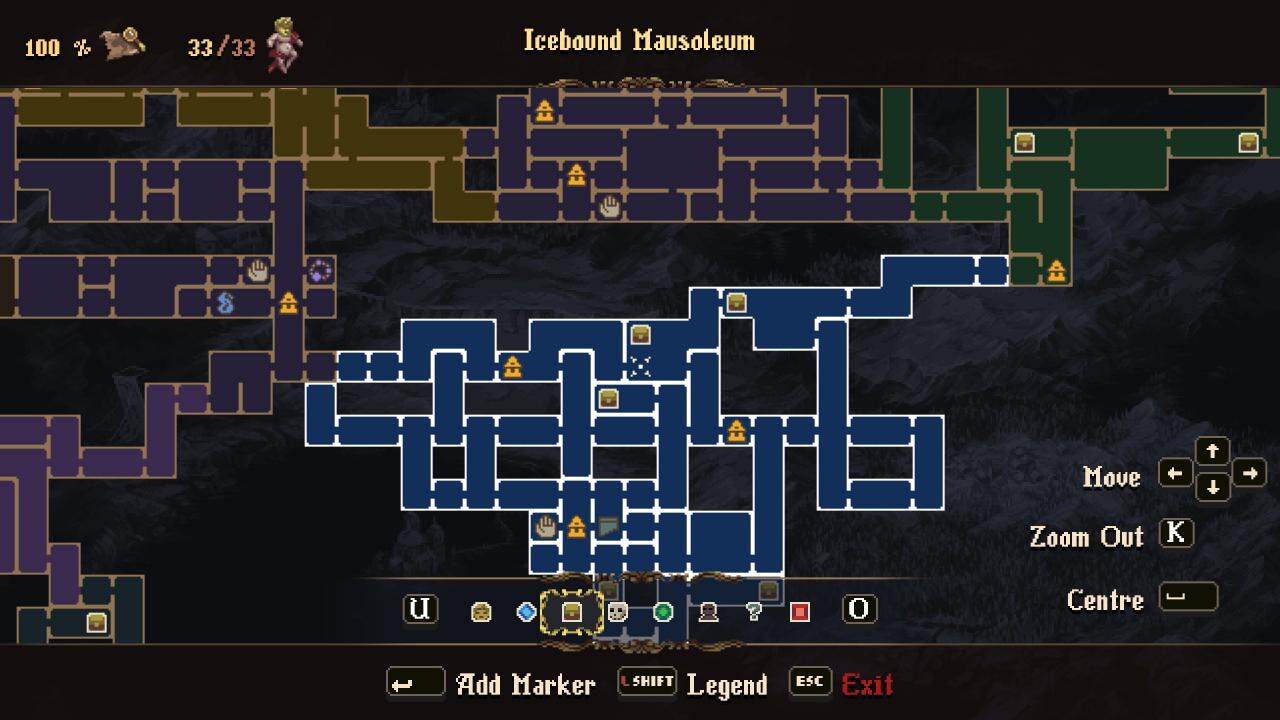
Timestamp: 3:15:14 – 3:16:26
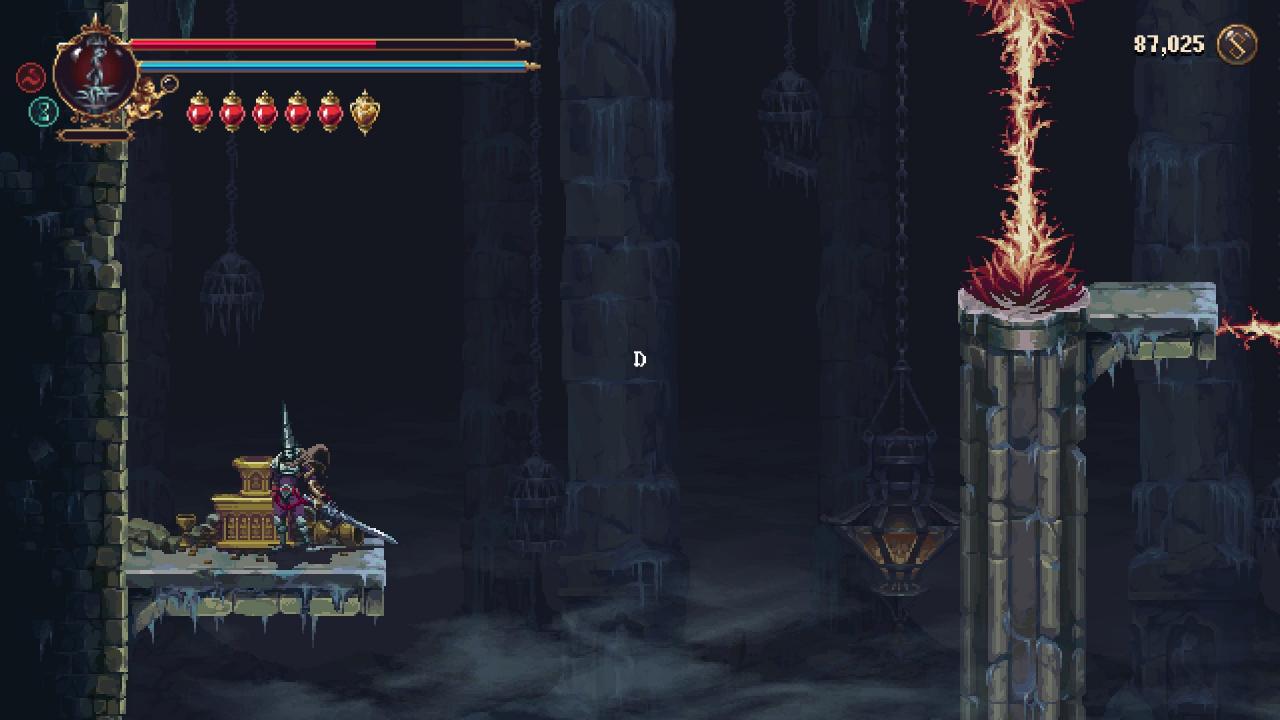
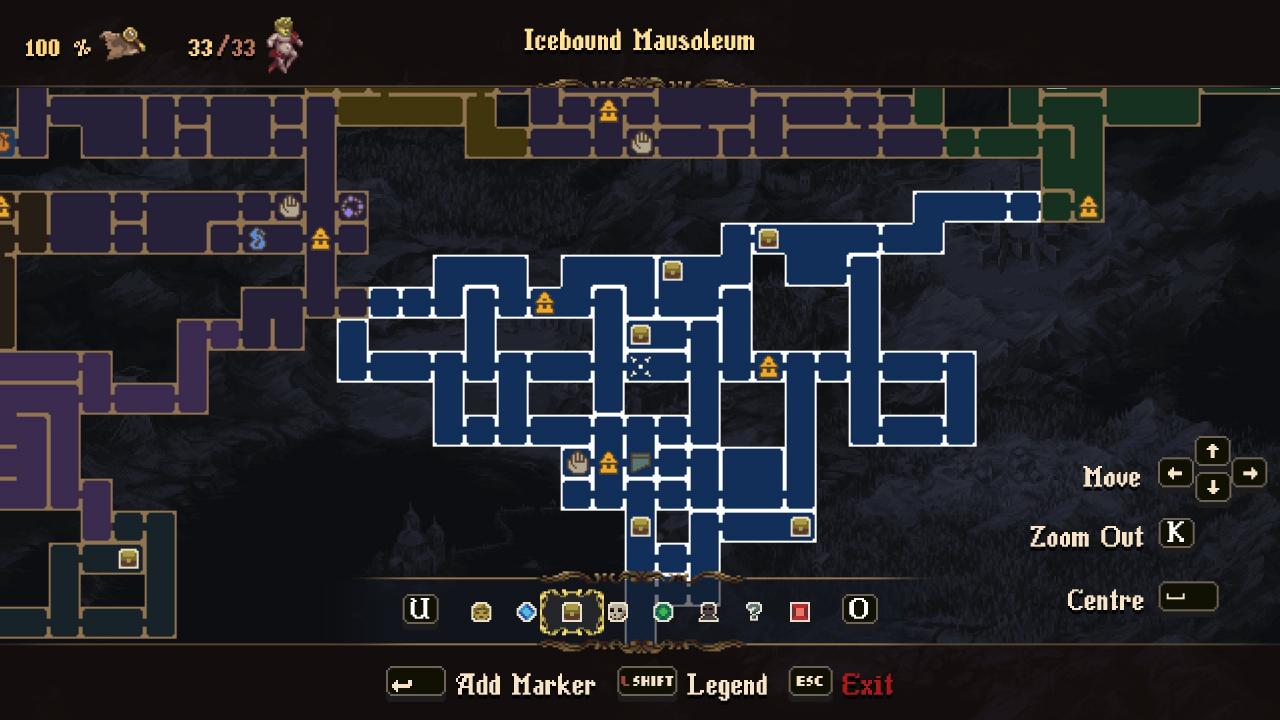
Timestamp: 3:10:27 – 3:12:41
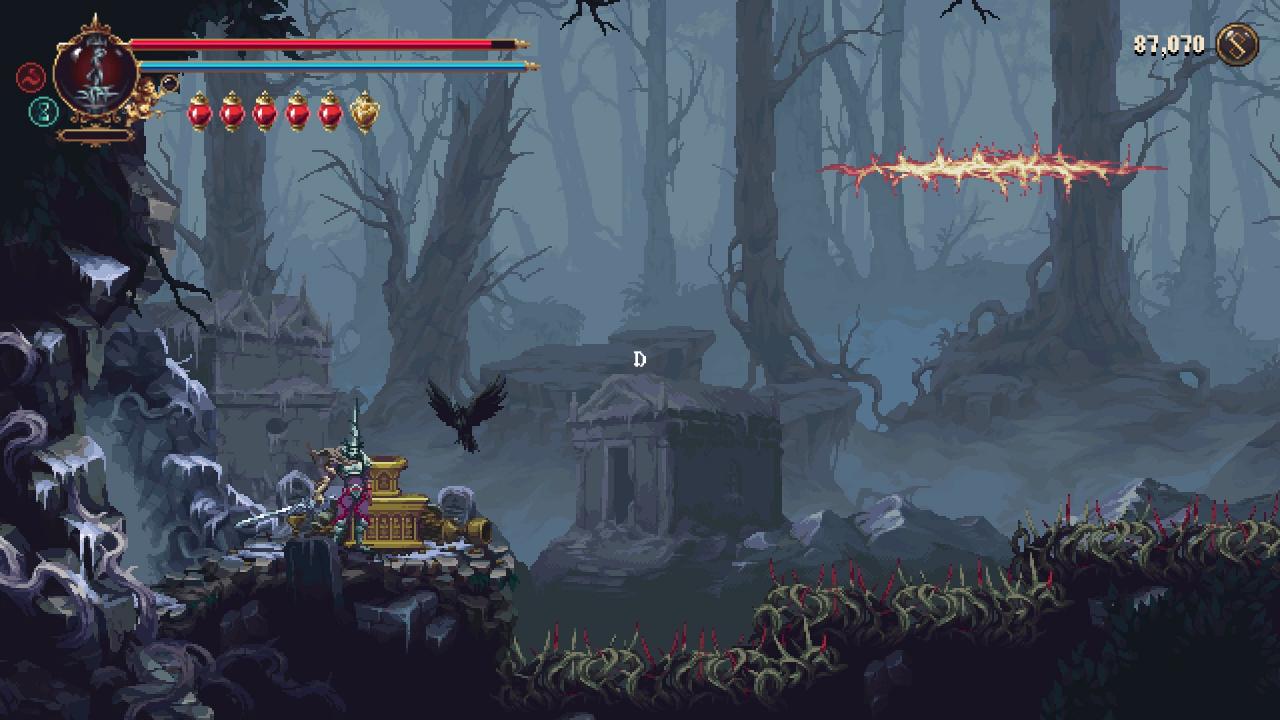
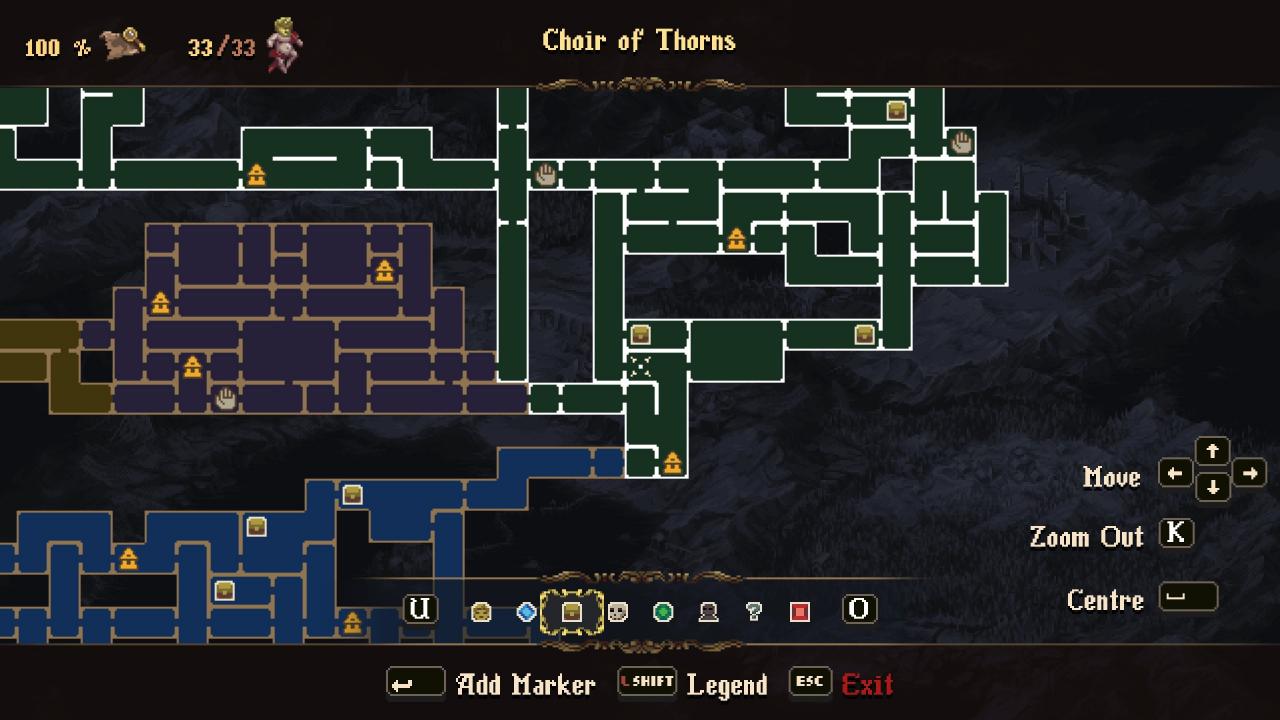
Timestamp: 3:12:41 – 3:13:59
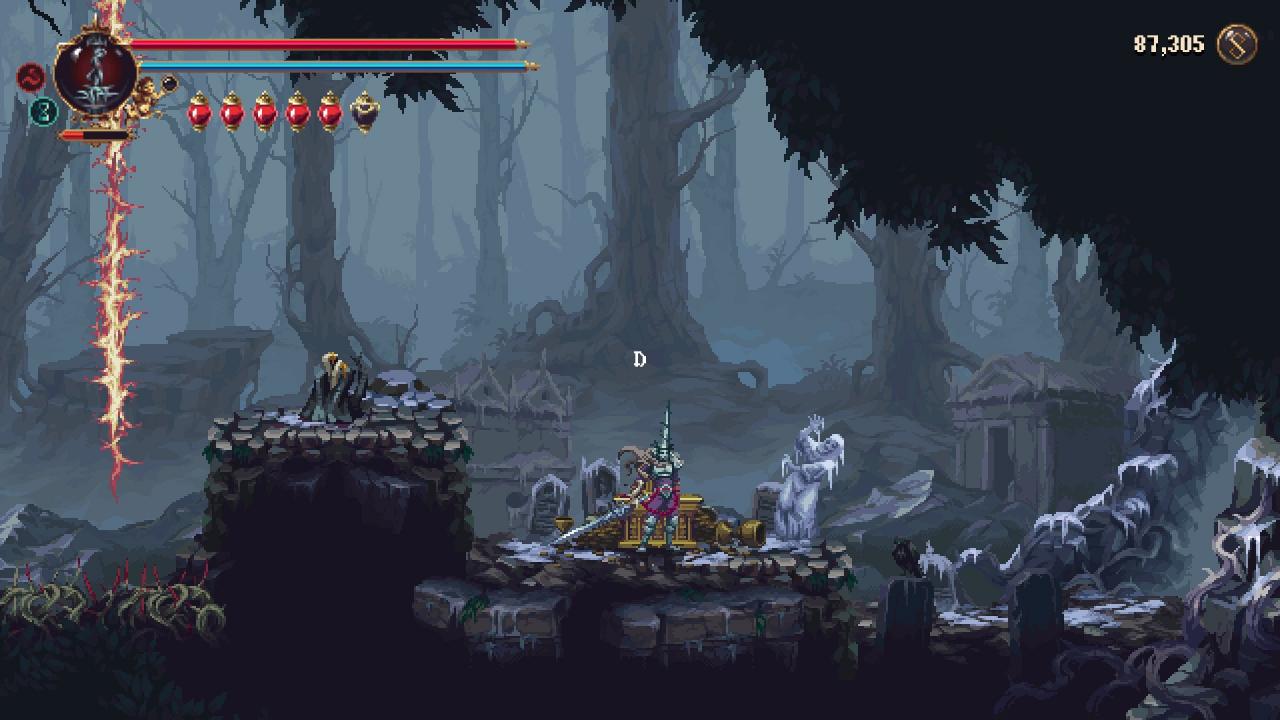
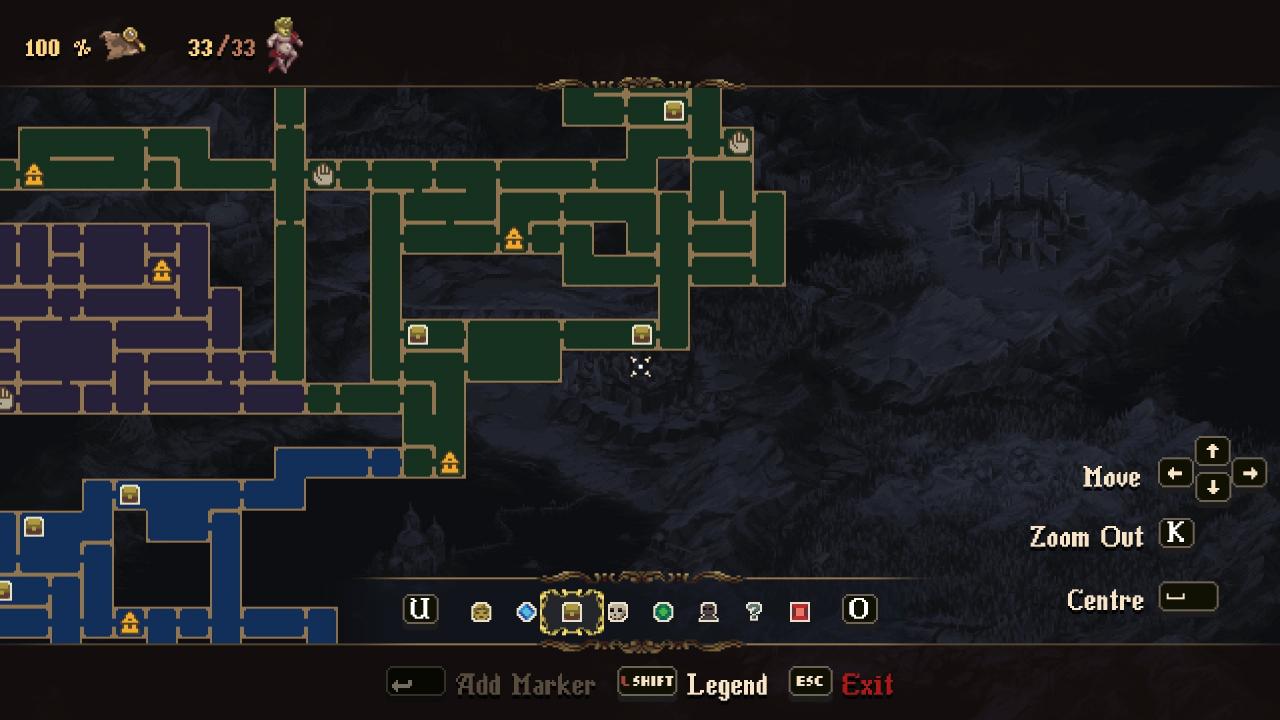
Timestamp: 3:16:43 – 3:18:39


Timestamp: 3:19:15 – 3:21:07
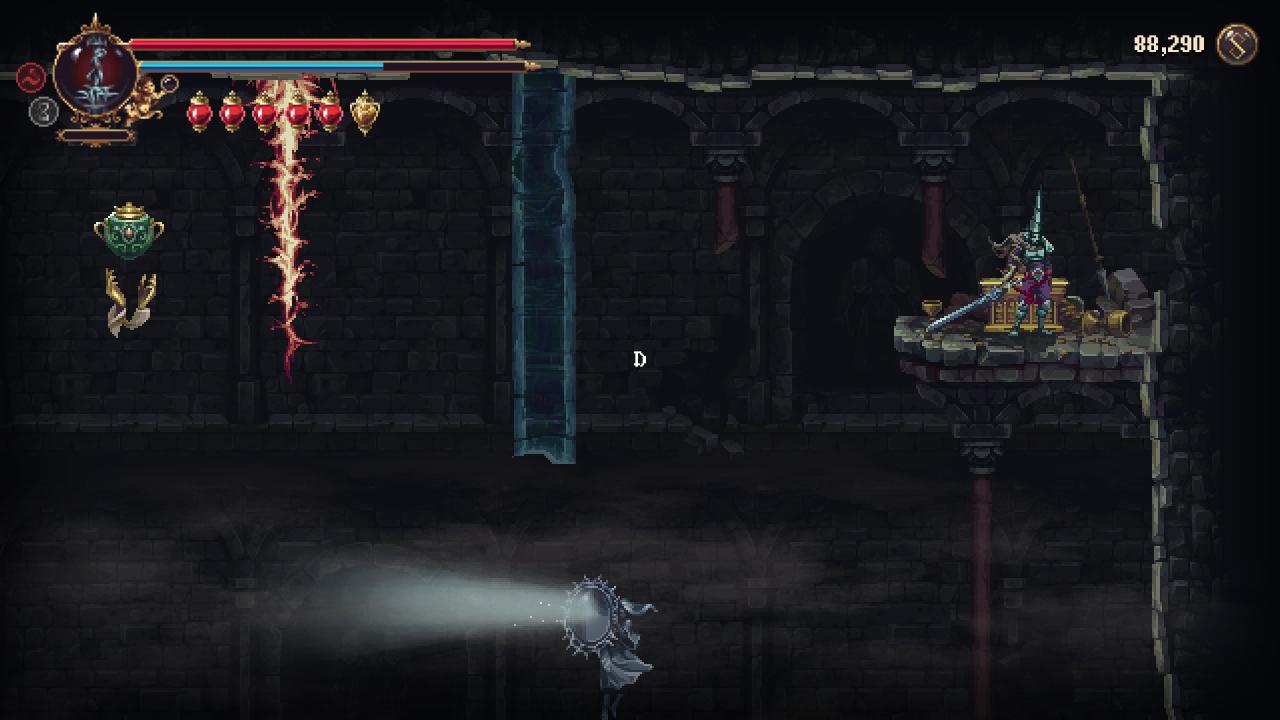
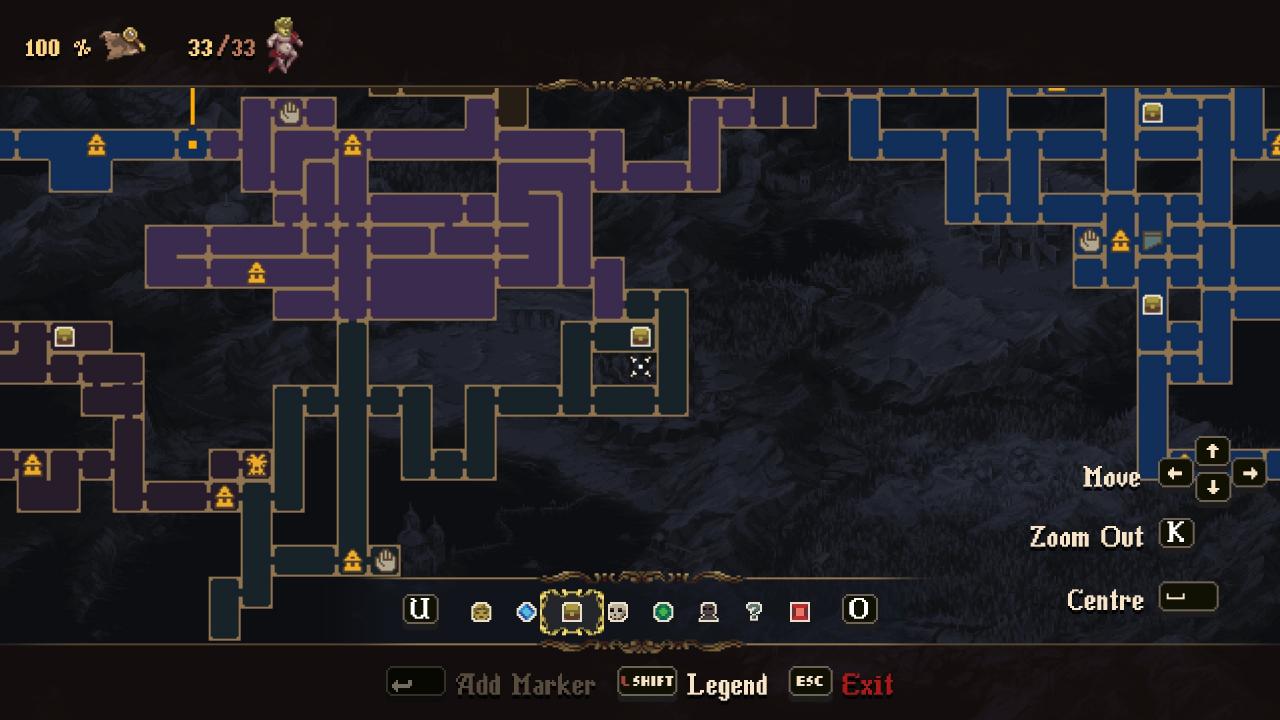
Timestamp: 3:22:17 – 3:24:27
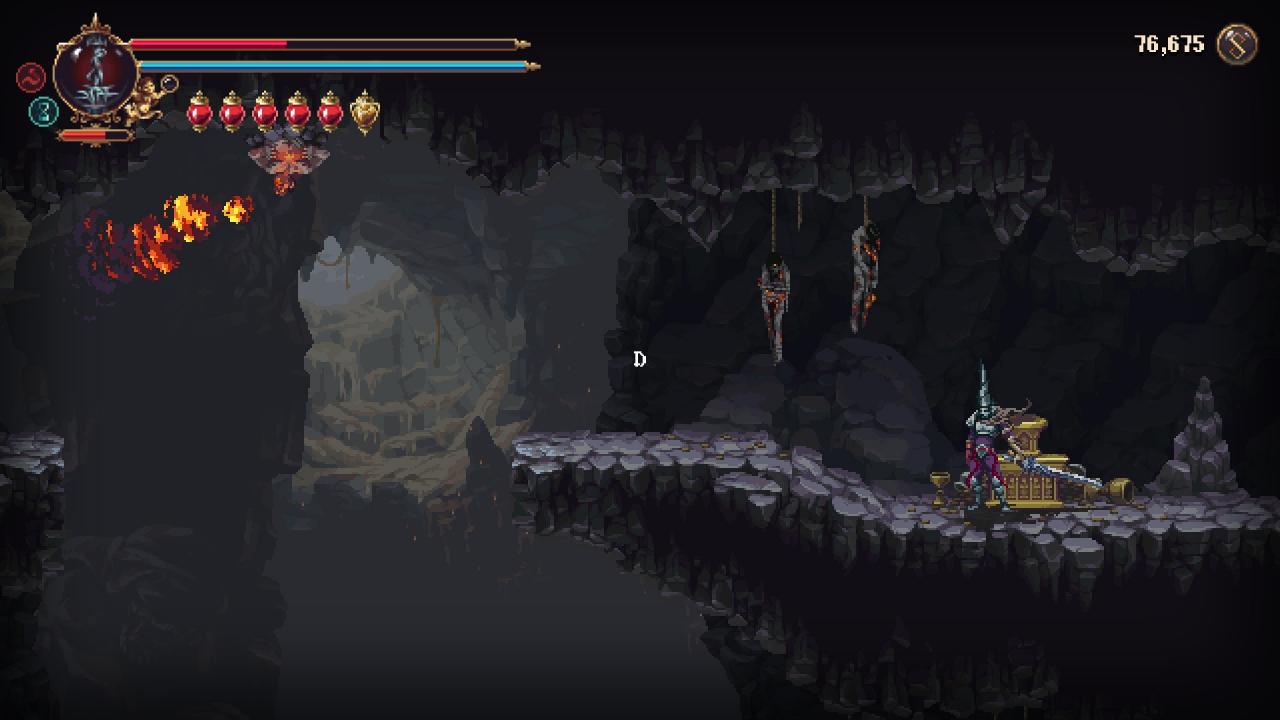
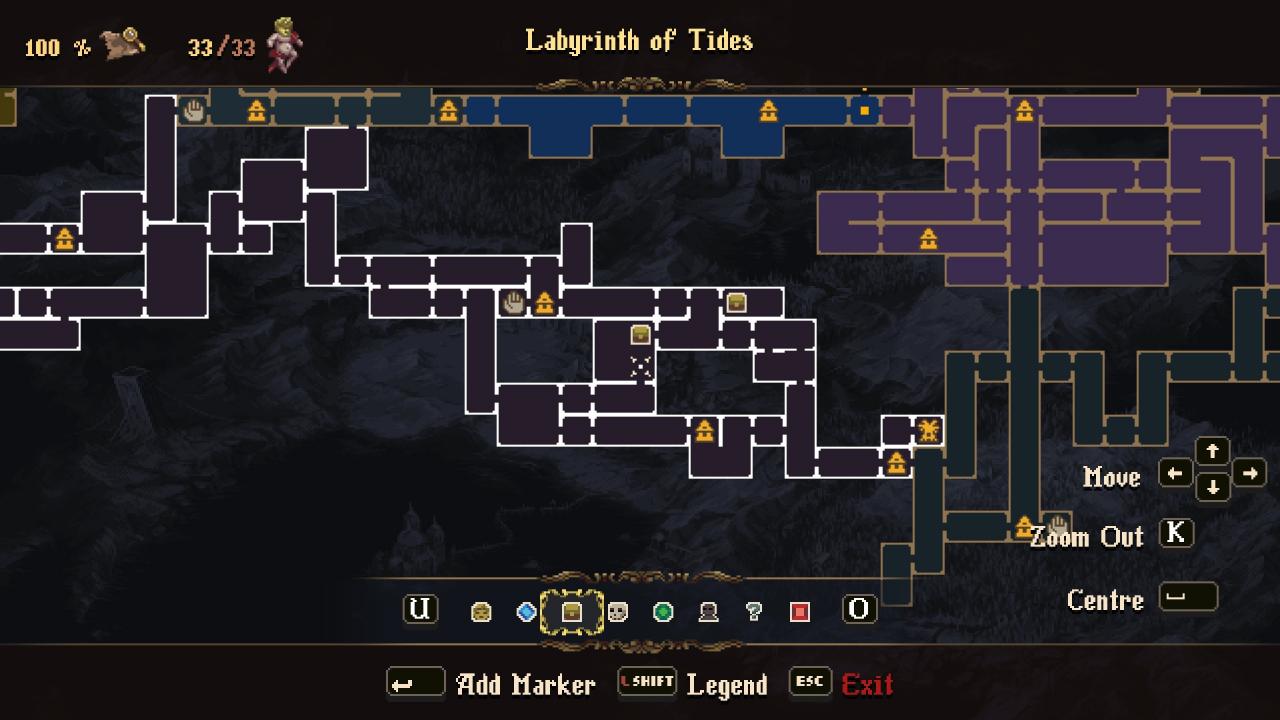
Timestamp: 3:24:27 – 3:25:44
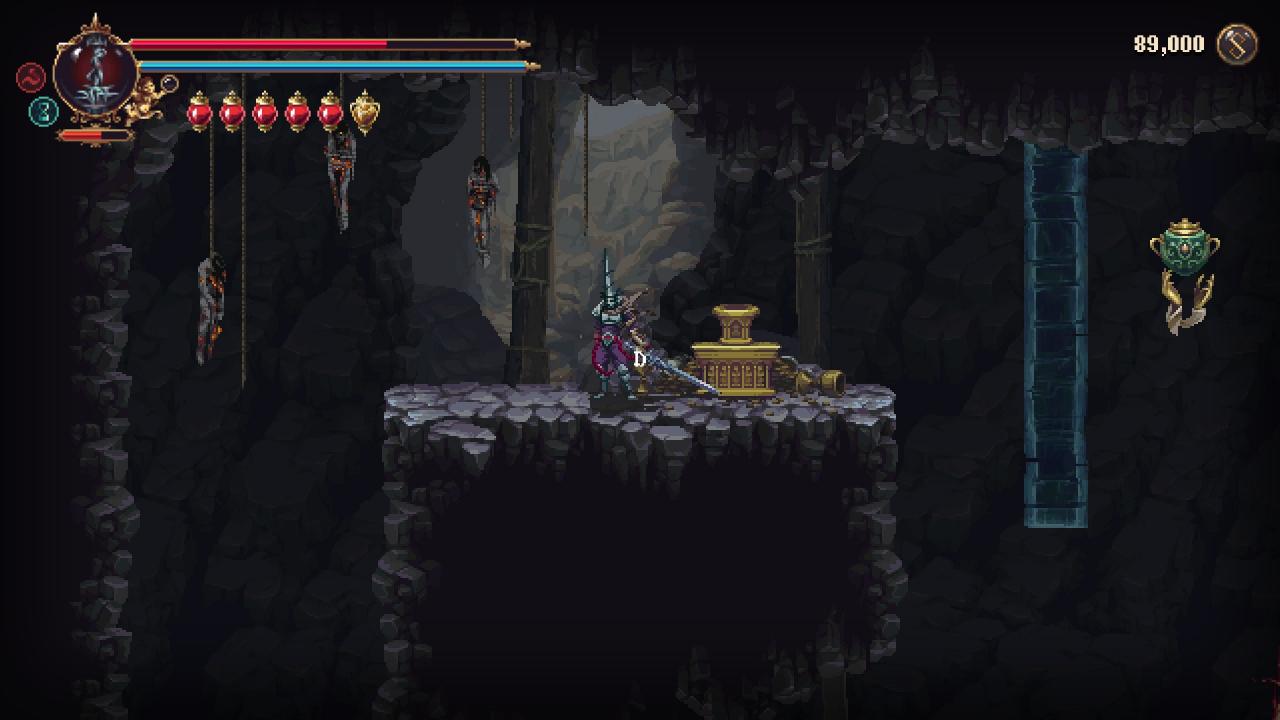
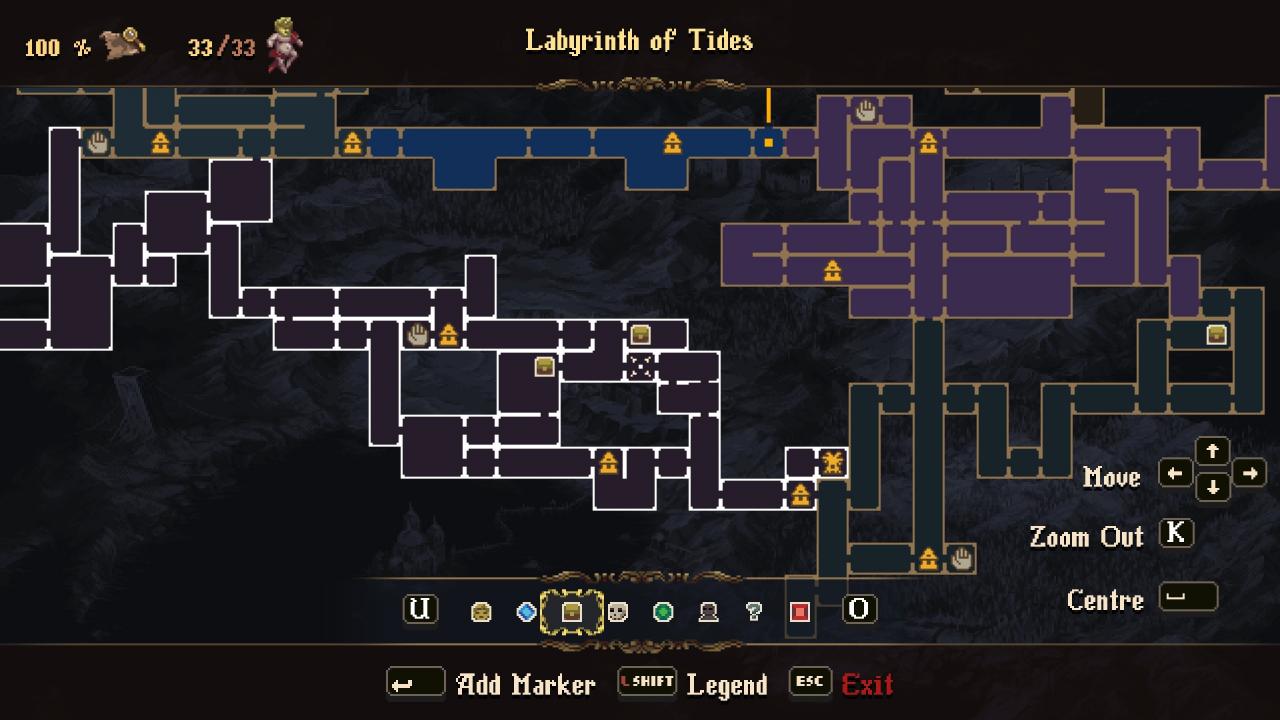
Timestamp: 2:20:13 – 2:21:41
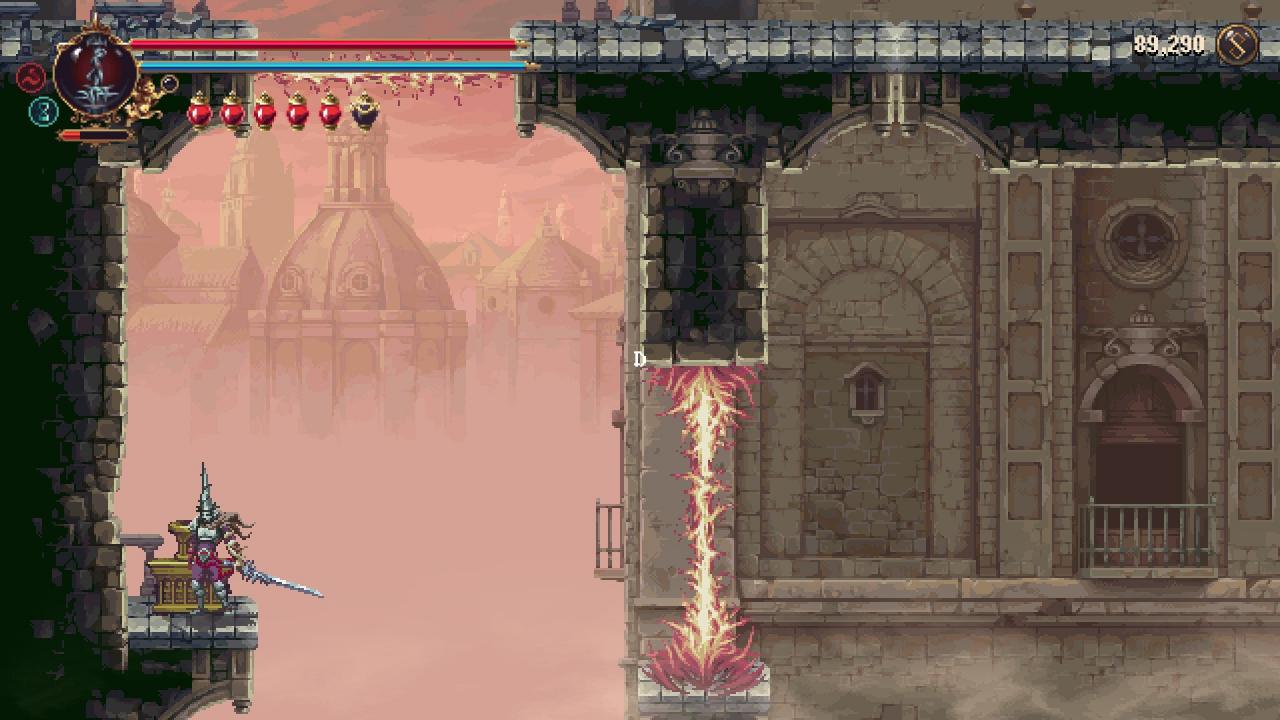
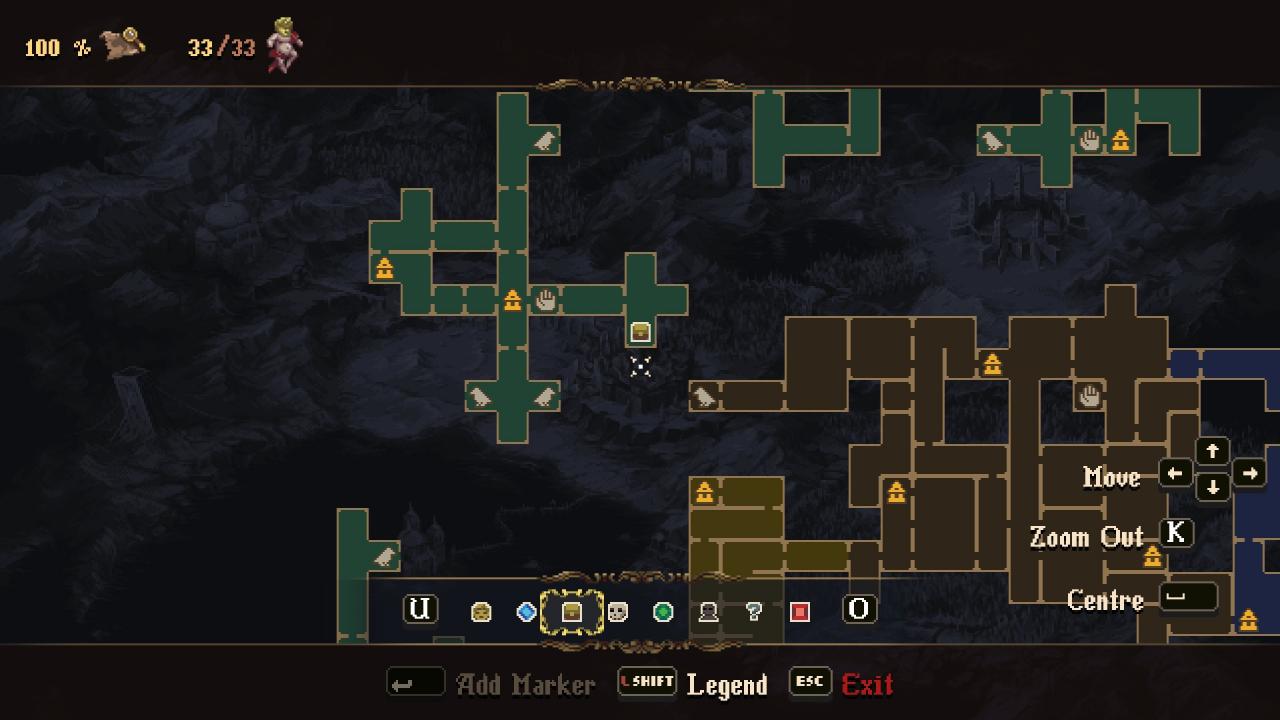
Timestamp: 2:25:52 – 2:27:39
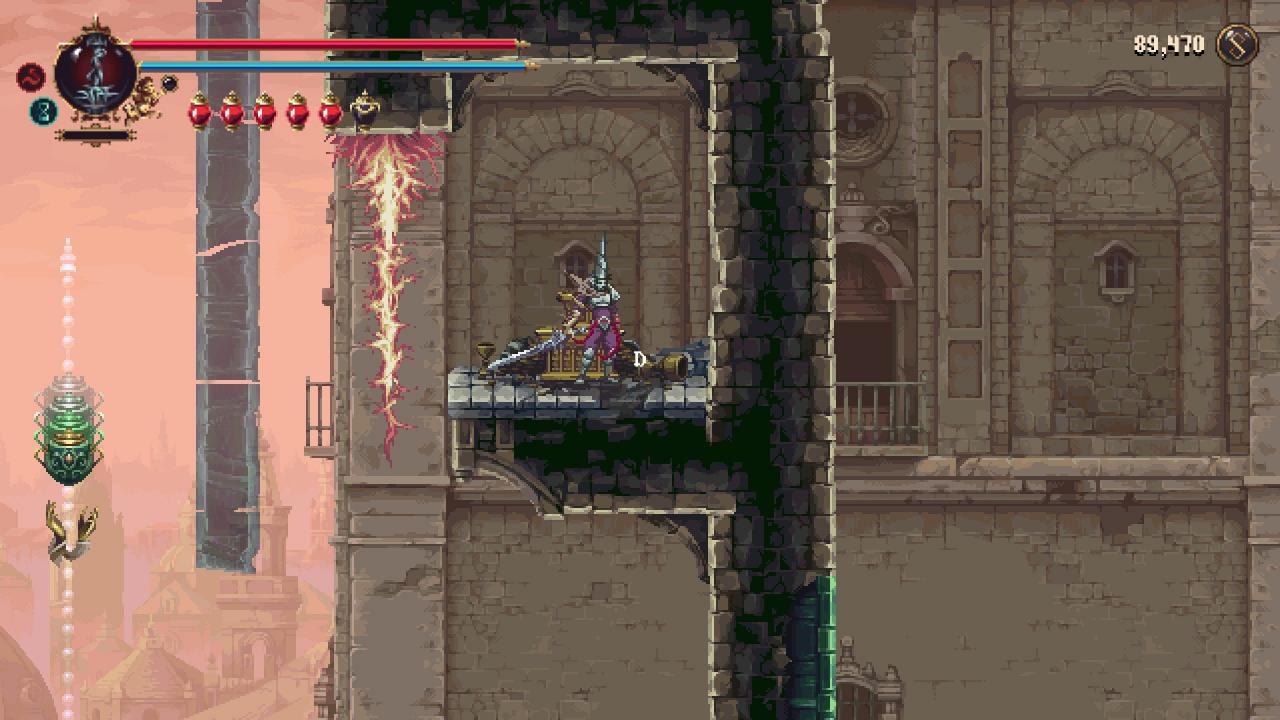
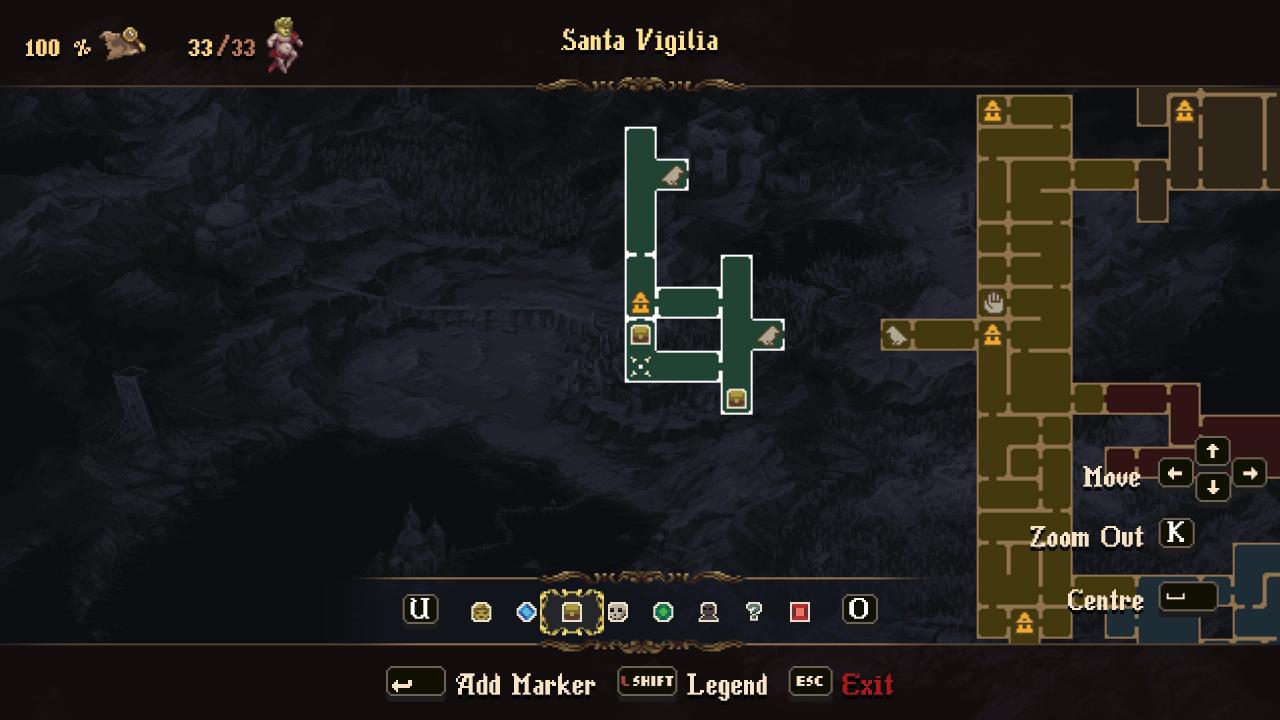
Timestamp: 2:27:39 – 2:29:40
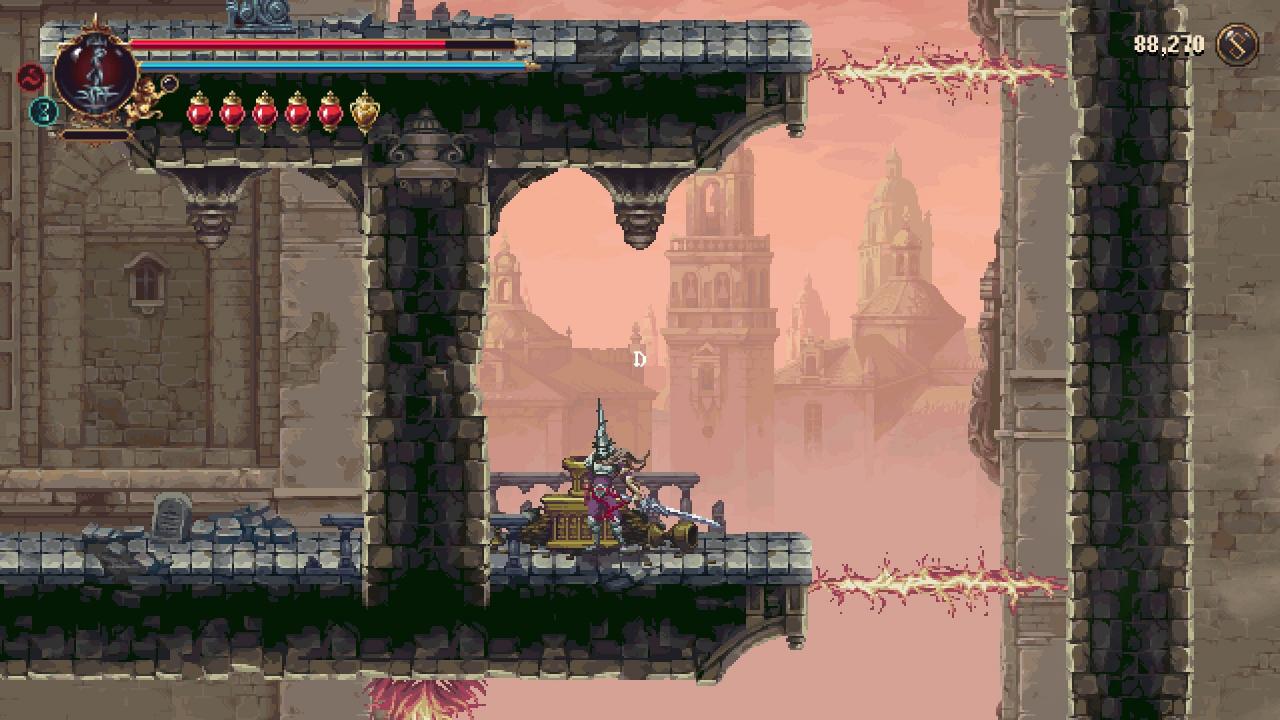
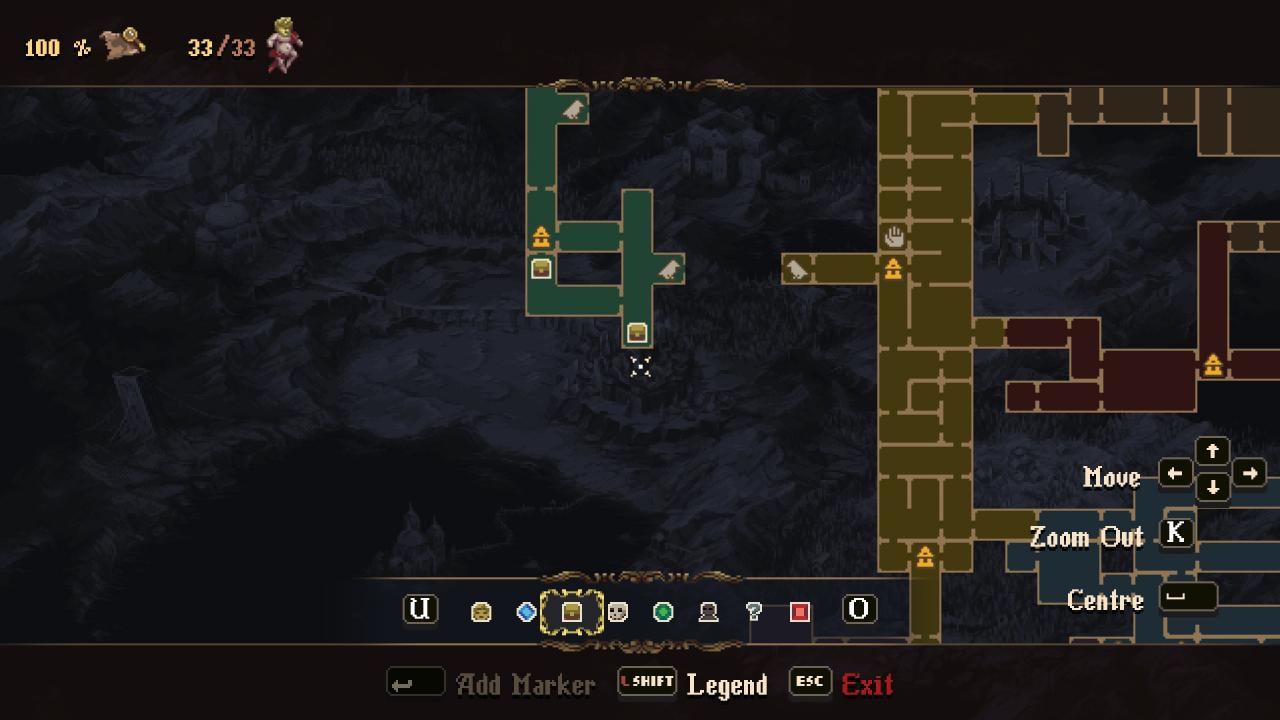
Consummate Collector – Part 1

“Find every item.”This is easily the most complicated achievement of the bunch, and that is partially due to its vague description (I also think it’s bugged, which makes things much worse, but more on that later). However, from what most players can tell, this achievement wants you to find all DLC and NG+ exclusive items. NG+ is another can of worms that I will cover at the end of this guide, but only briefly, as I have not begun my NG+ playthrough yet. Like I said, I think this achievement is bugged in some way, so I would rather not waste my time before this achievement gets patched.Back to the topic at hand, you need to collect all the new rosary beads, prayers, and altarpieces. This is not a difficult task, and I’ll list out each new addition and how/where you can find them. I will also provide timestamps of each item:
I covered this already, so this is just to list out every item.
Location: Choir of Thorns, in a chest
Timestamp: 7:19 – 8:46
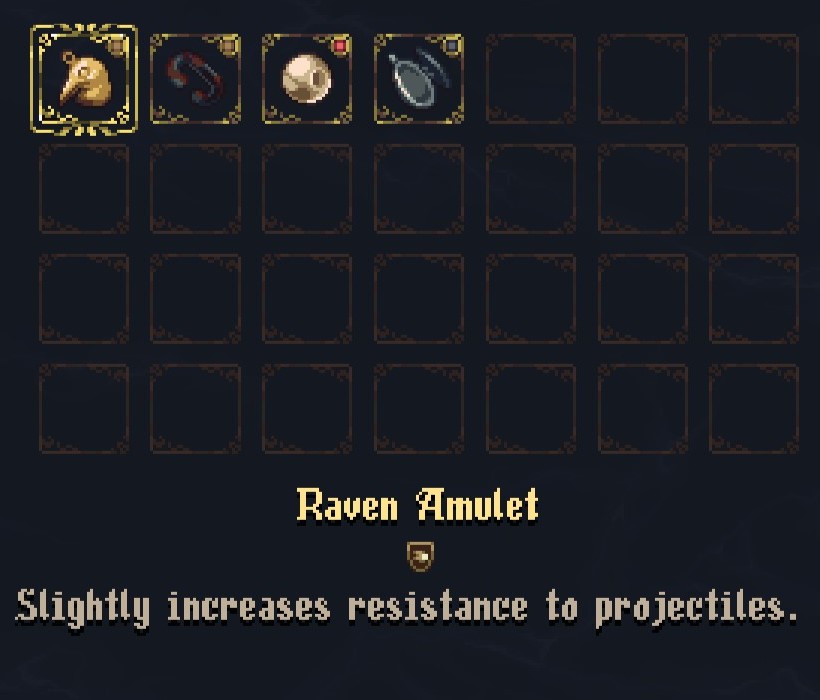
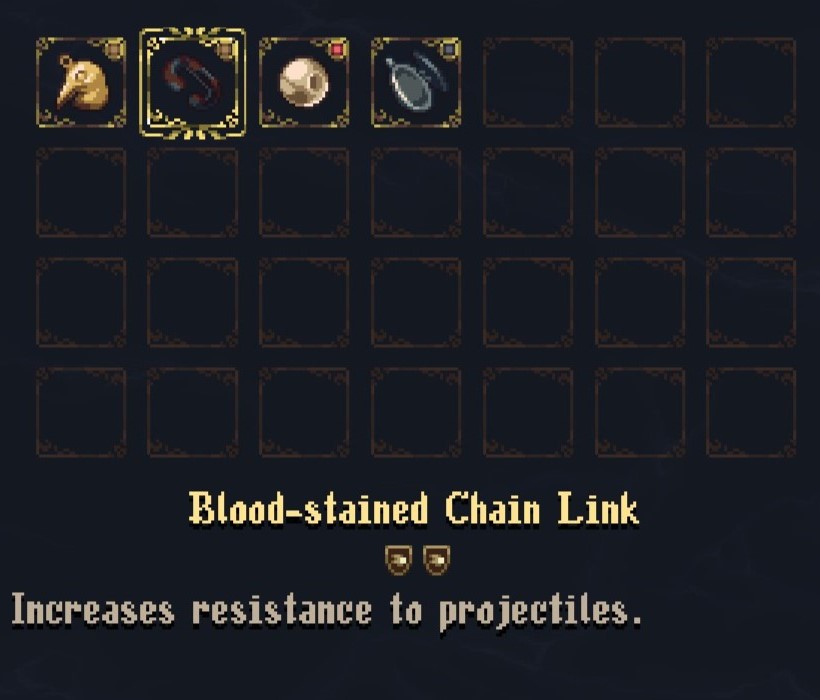
Location: Grilles and Ruin, in a chest
Timestamp: 22:15 – 22:33
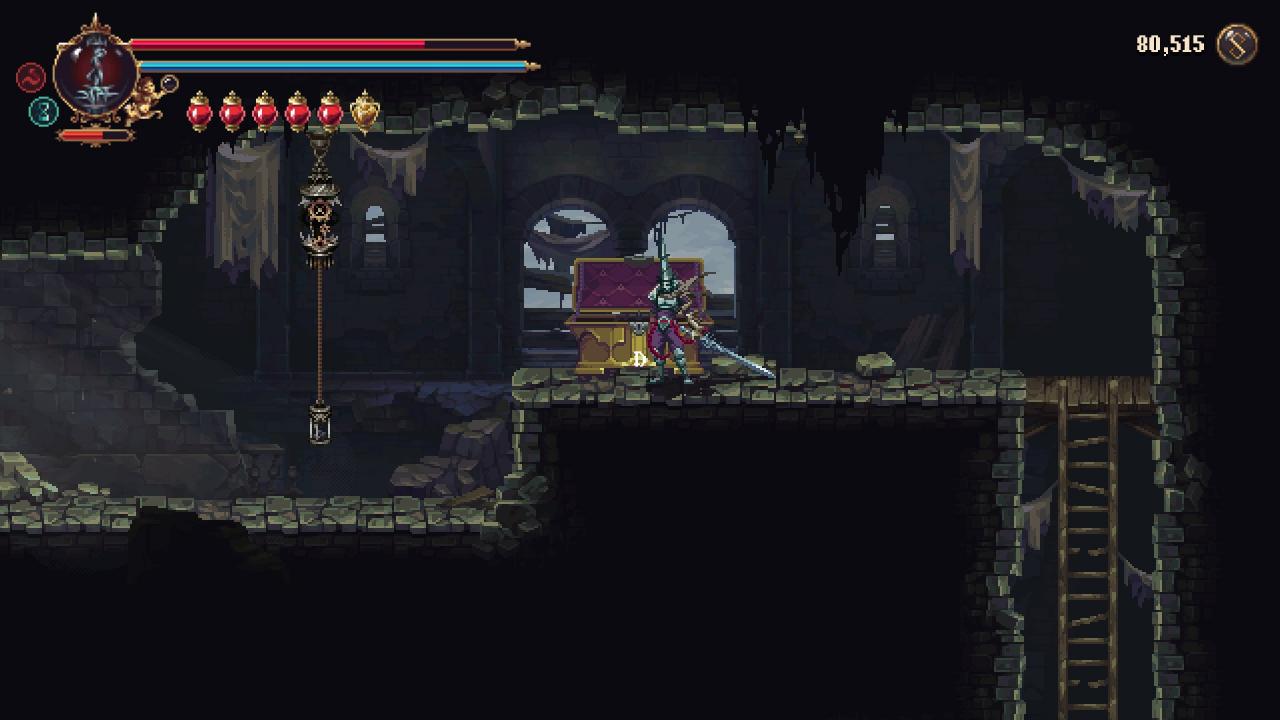
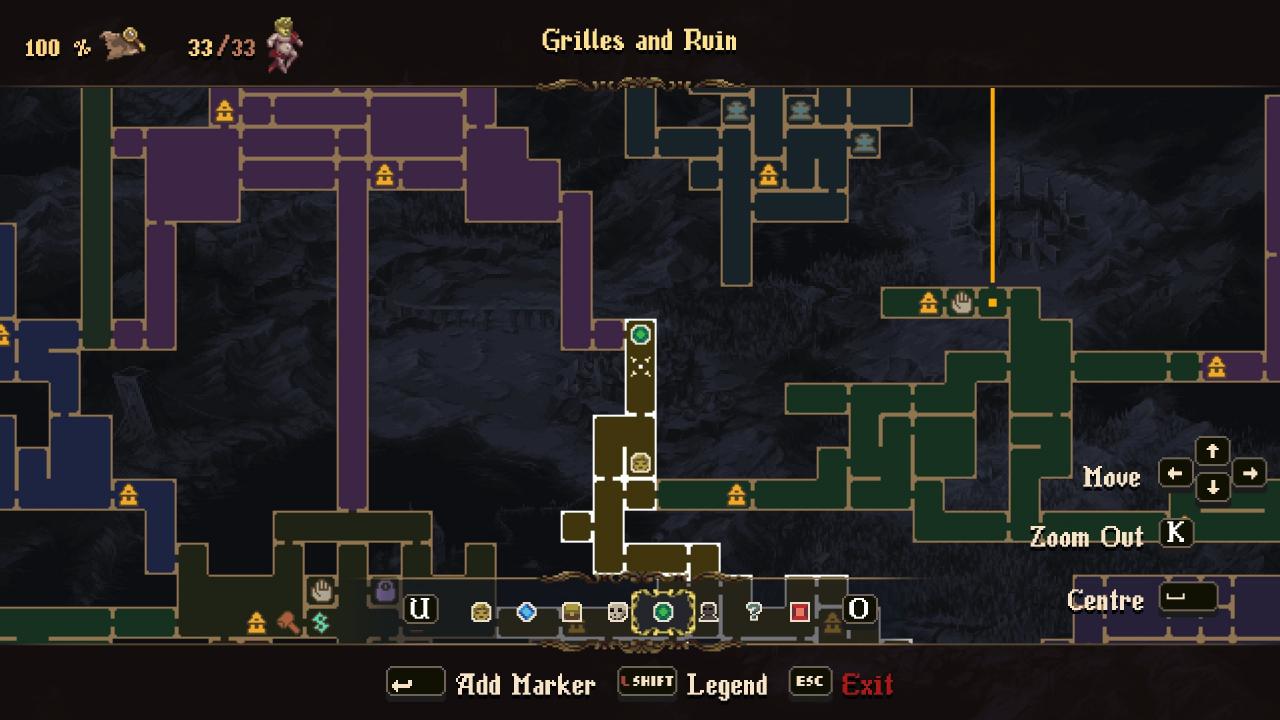
Location: Beneath Her Sacred Grounds, in a chest
Timestamp: 50:29 – 53:05
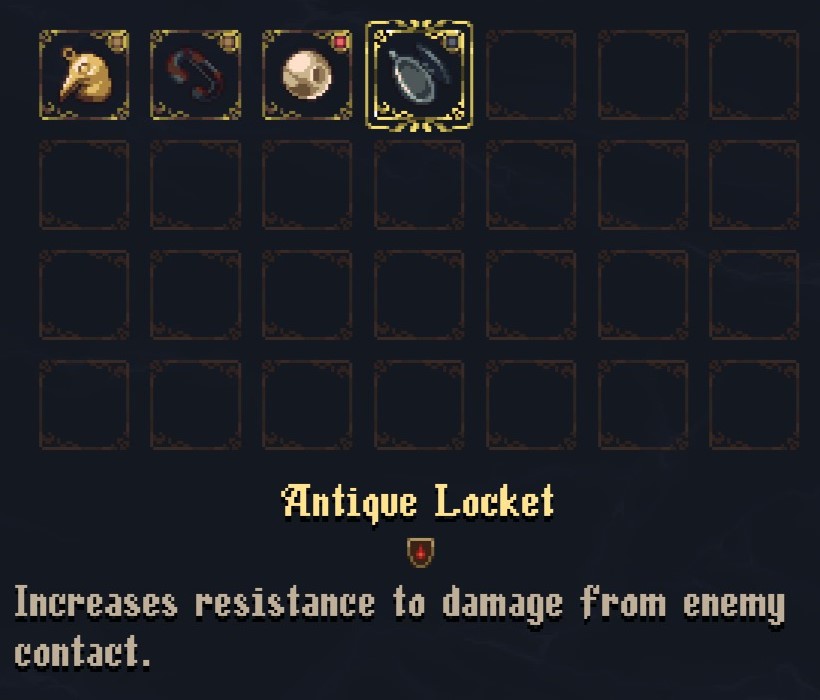
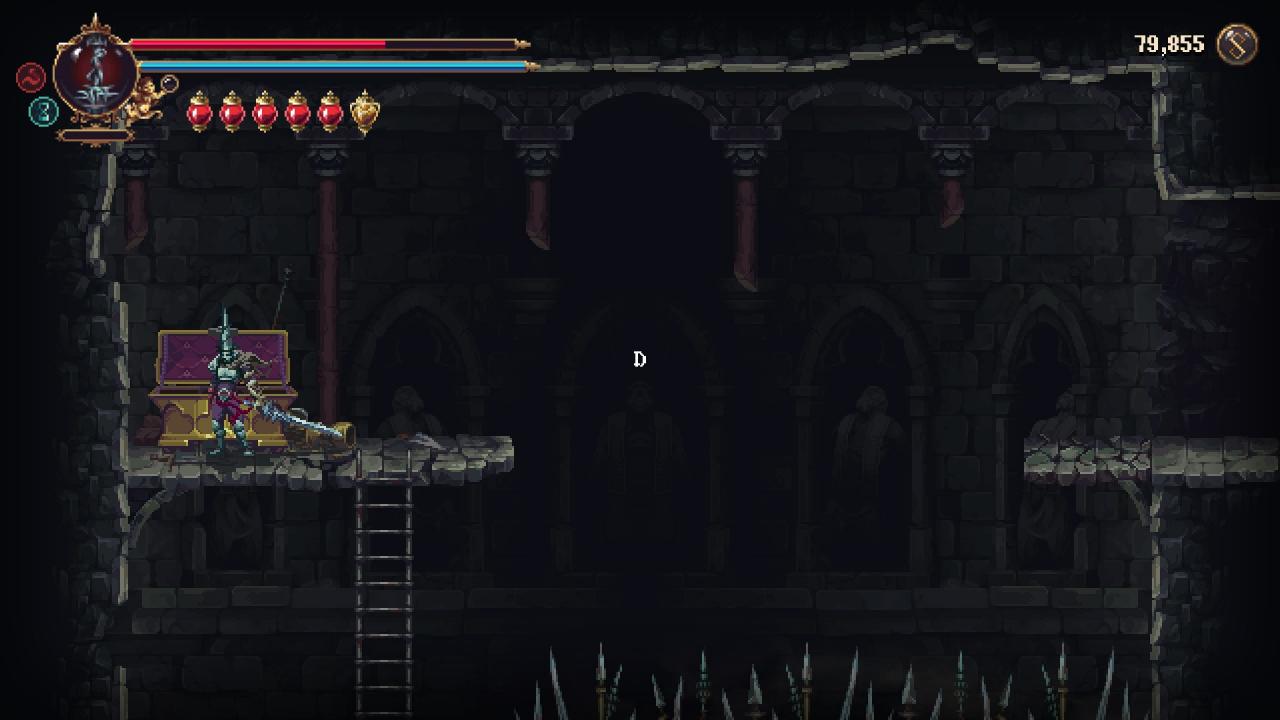
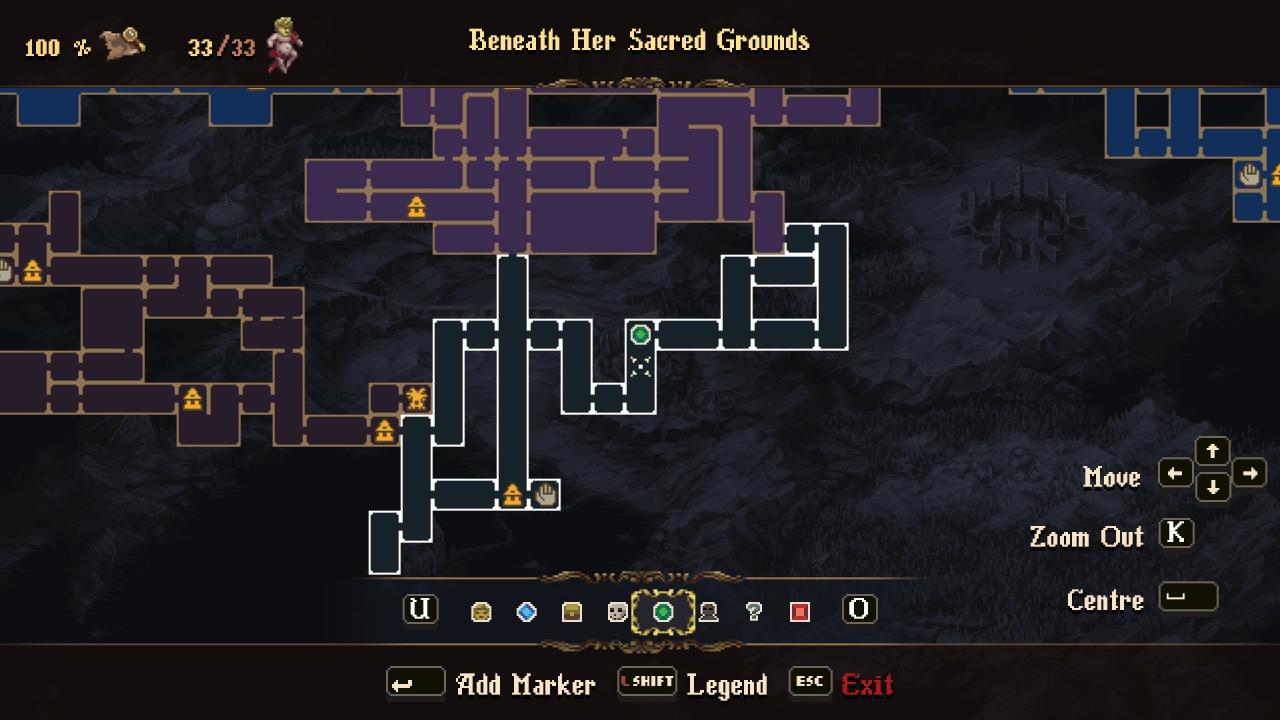
Location: Icebound Mausoleum, as a puzzle reward
Timestamp: 1:15:14 – 1:16:45
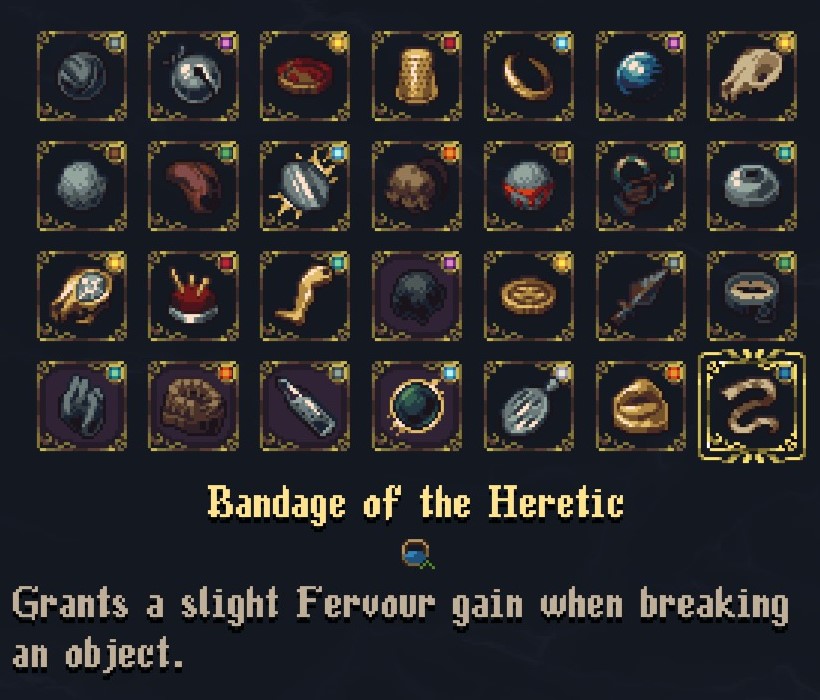
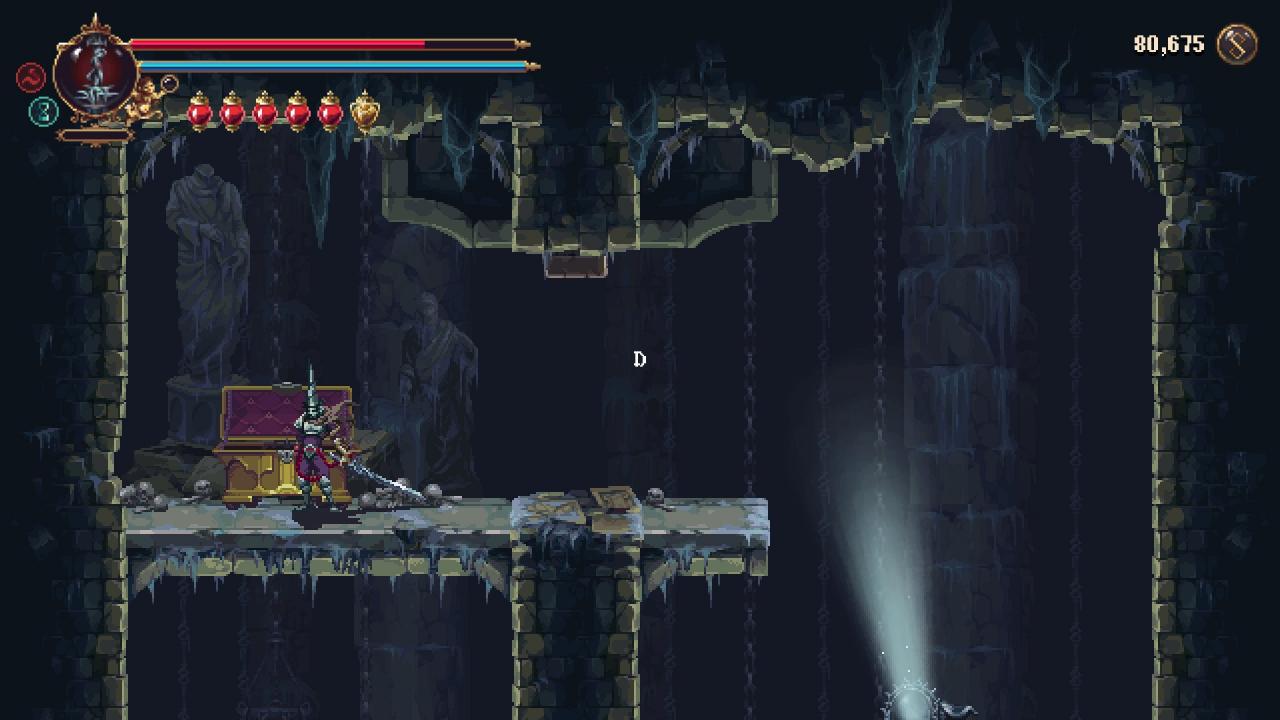
I’ll cover this one in the next section, because it’s a bit complicated.
Location: Labyrinth of Tides, in a chest
Timestamp: 42:54 – 44:15

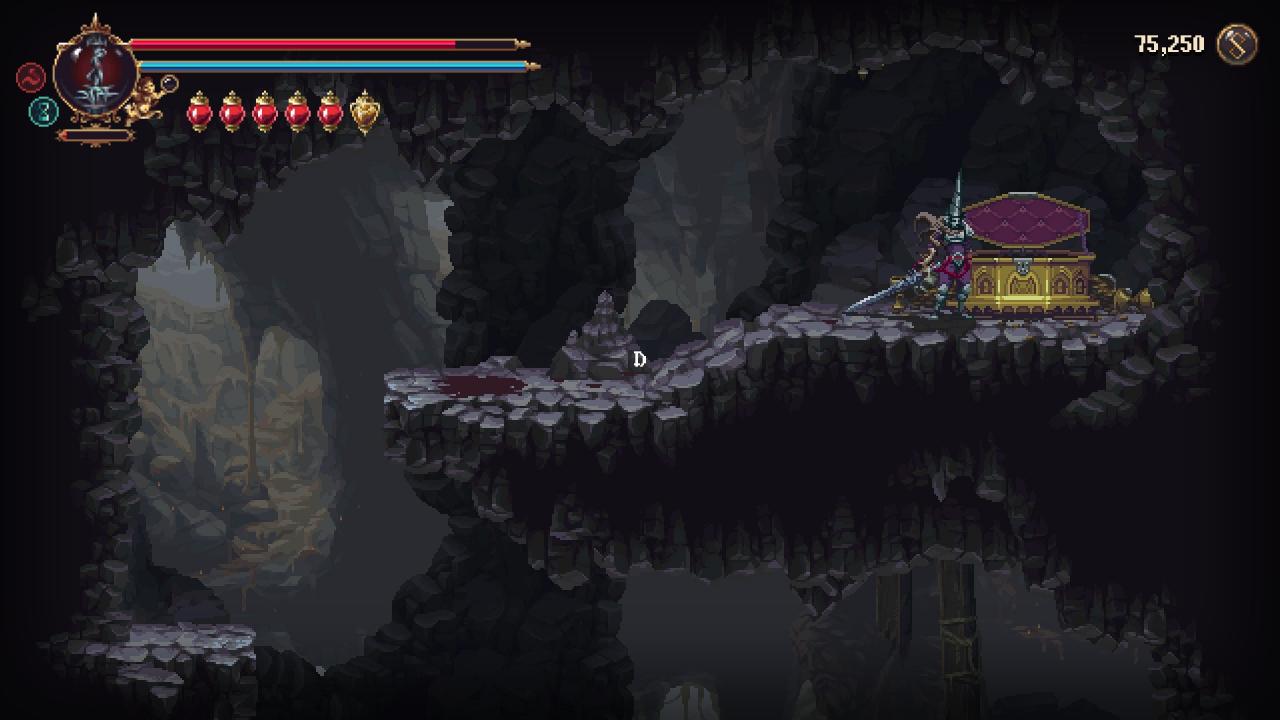

Location: Labyrinth of Tides, in a chest behind an illusory wall
Timestamp: 48:21 – 48:45
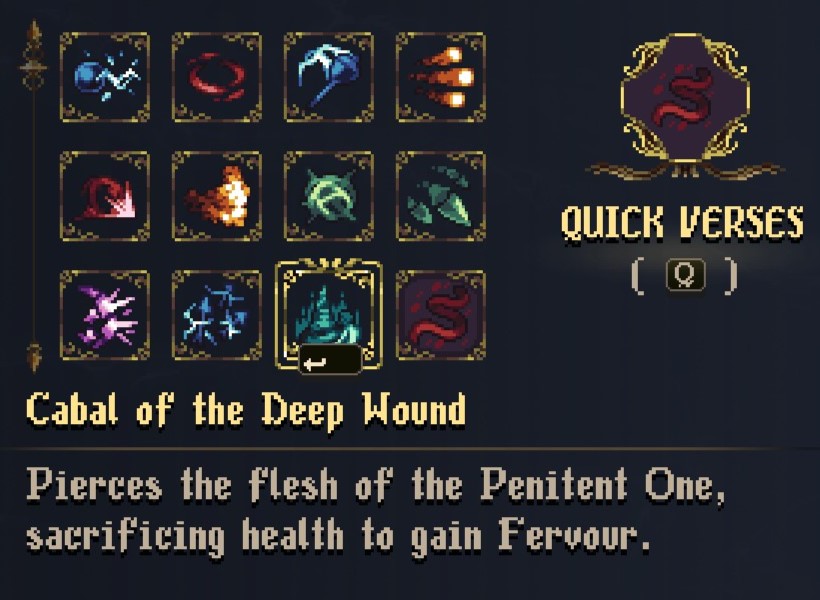
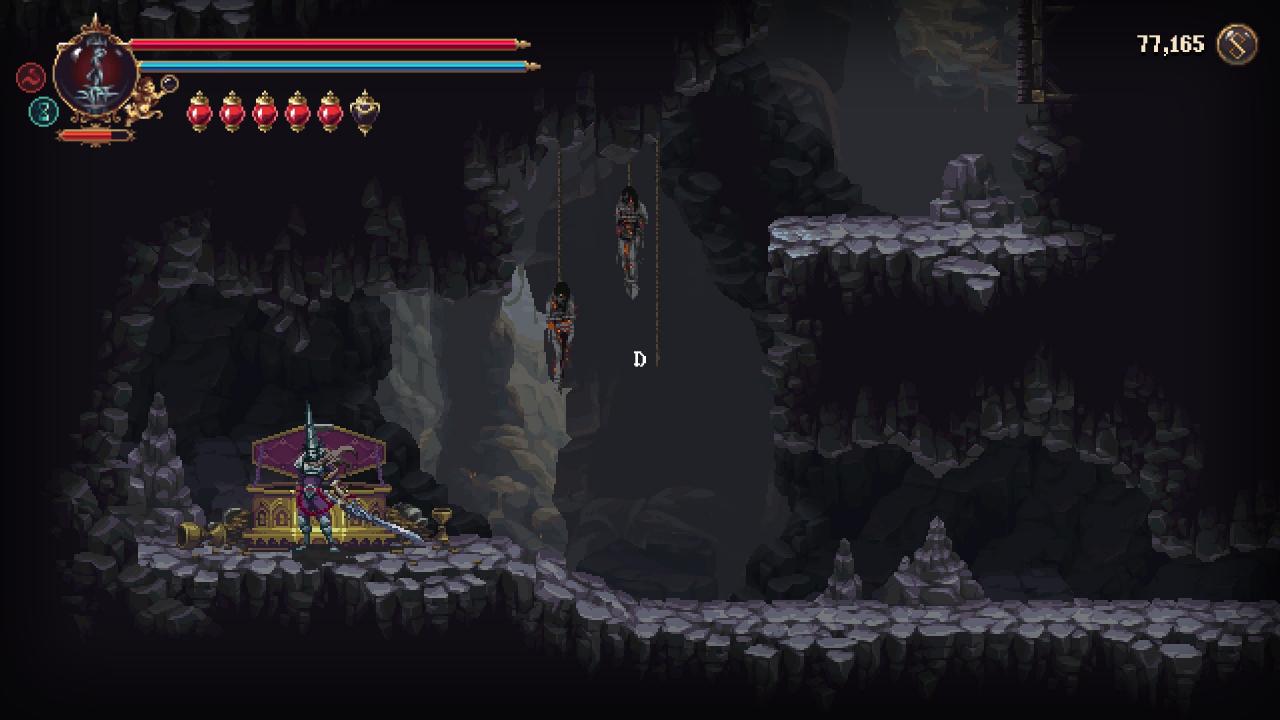
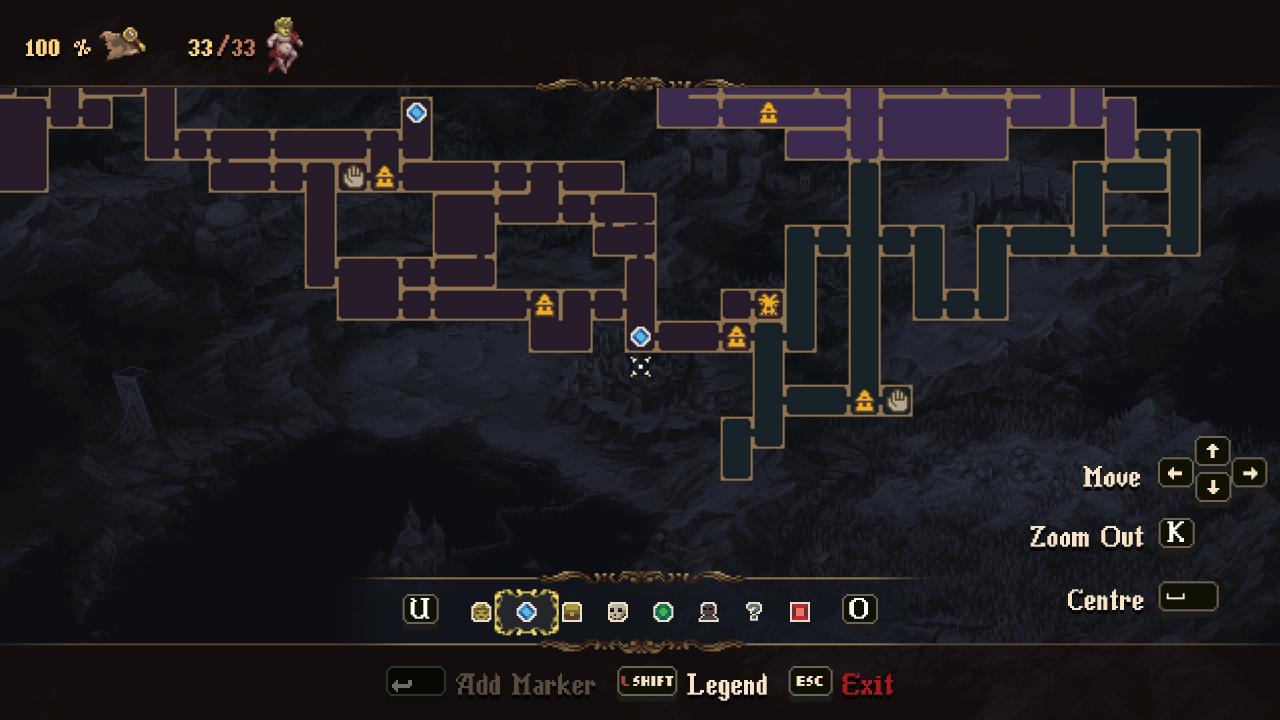
Location: Icebound Mausoleum, as a puzzle reward
Timestamp: 3:07:26 – 3:09:51
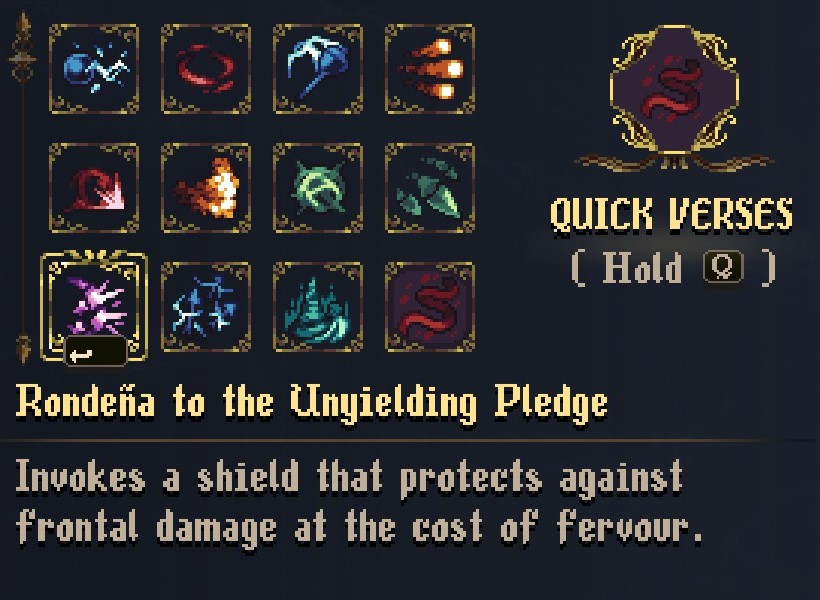
I’ll cover this one later as well, as the process to get this is tied to another achievement.
Location: Choir of Thorns, as a puzzle reward
Timestamp: 4:54 – 5:49
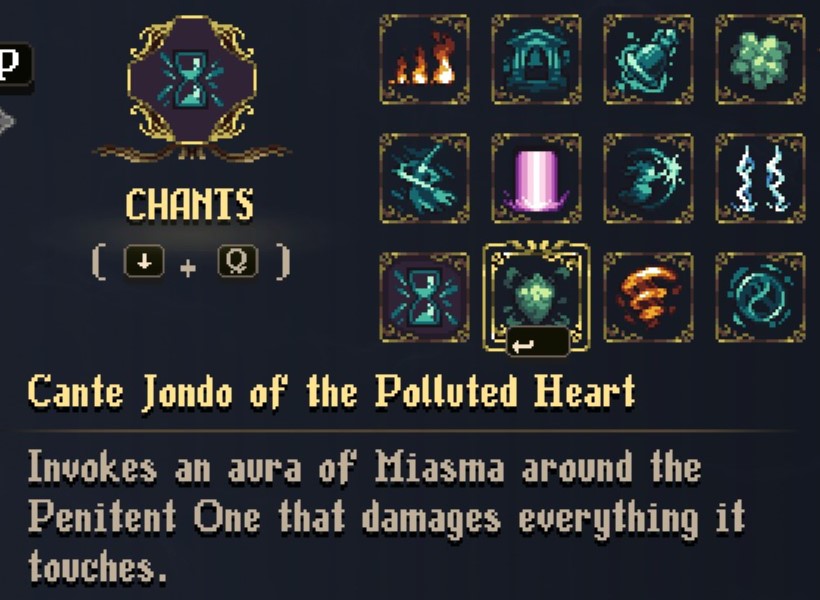
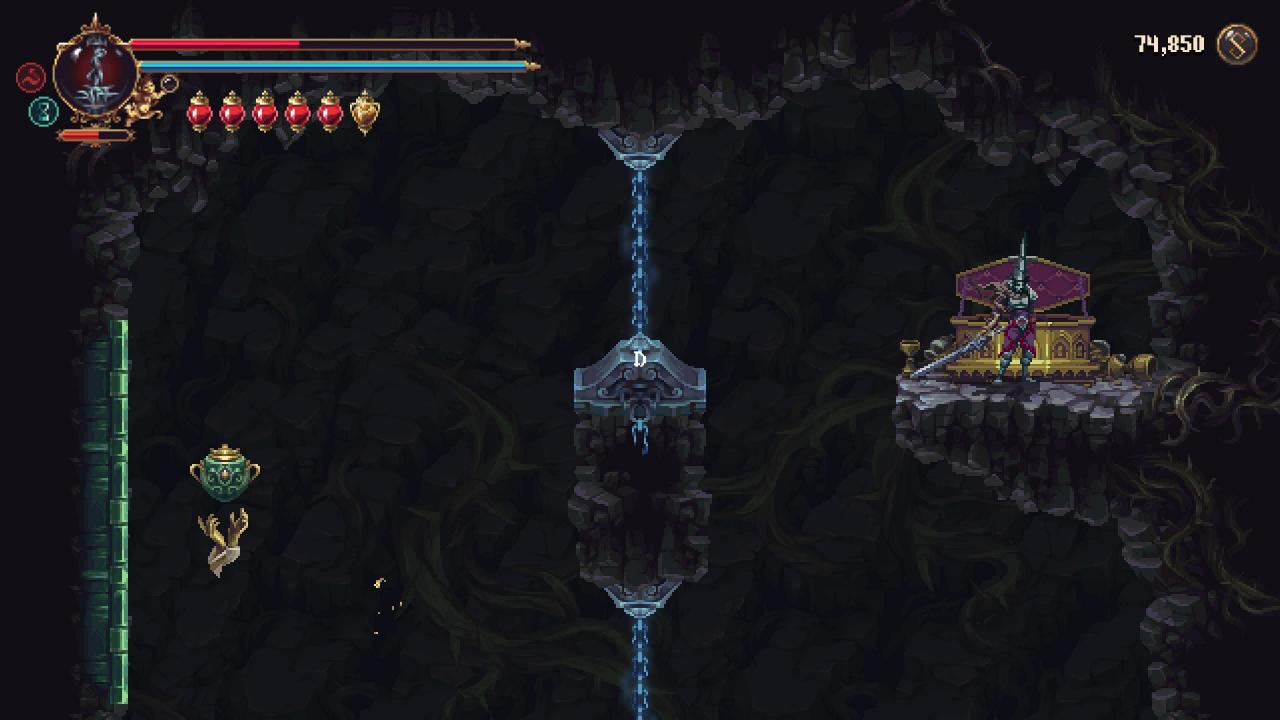
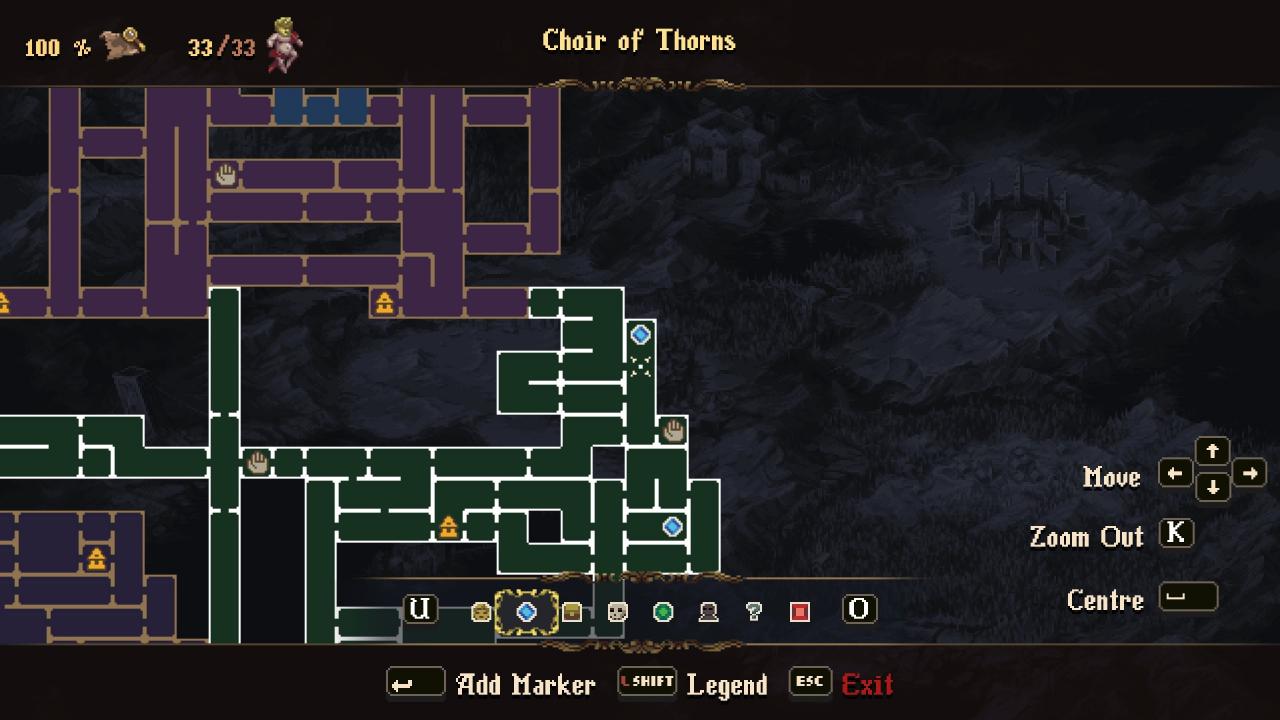
Location: Choir of Thorns, as a puzzle reward
Timestamp: 15:23 – 16:30
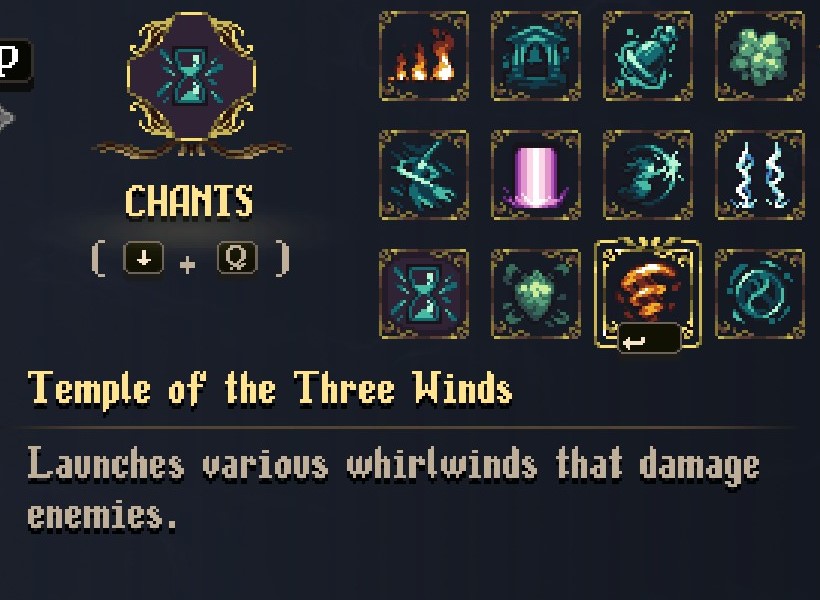
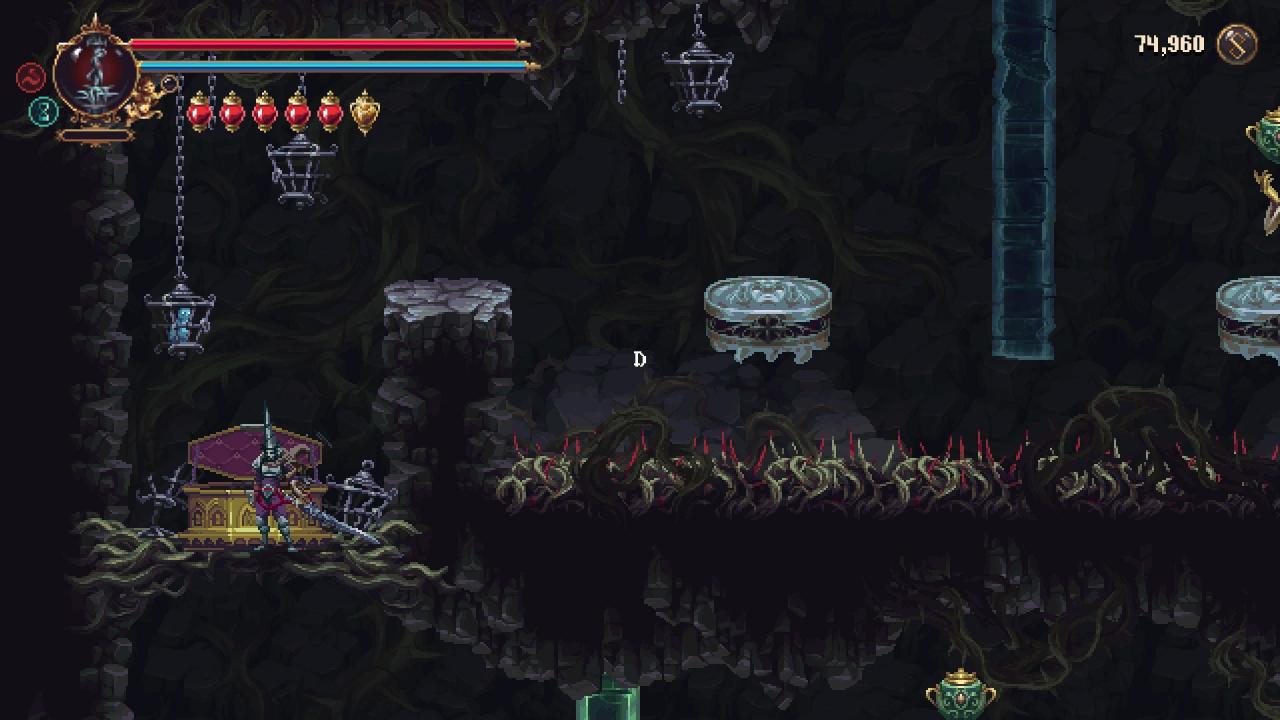
Location: Sacred Entombment, as a puzzle reward
Timestamp: 24:14 – 26:57
Note: requires going through a shortcut in the Repose of the Silent One
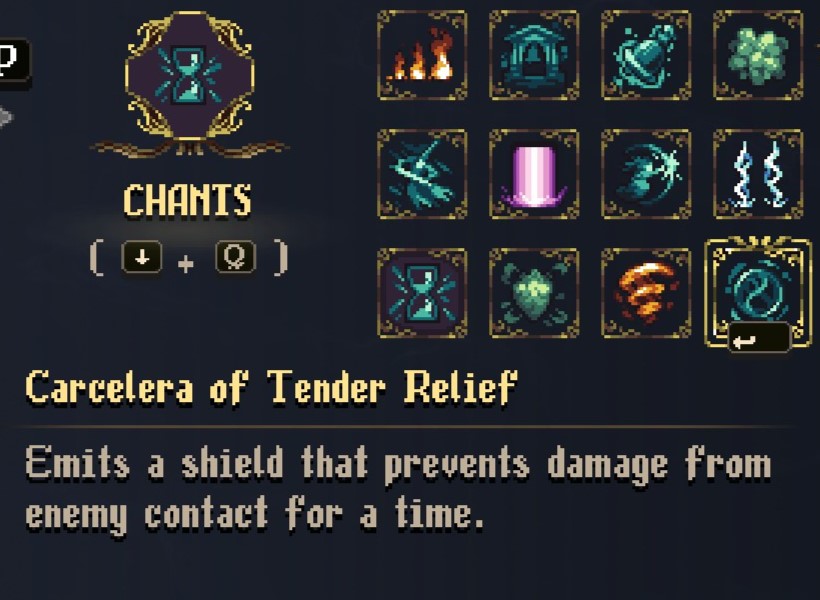
I covered this already, so this is just to list out every item.
Location: Labyrinth of Tides, as a puzzle reward
Timestamp: 41:22 – 42:53
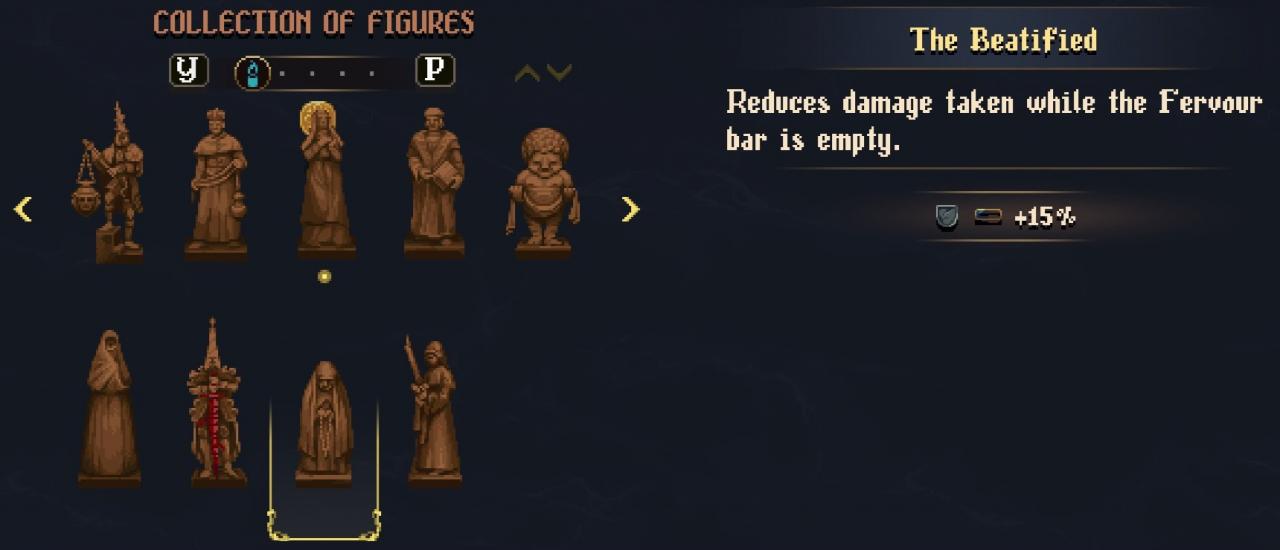
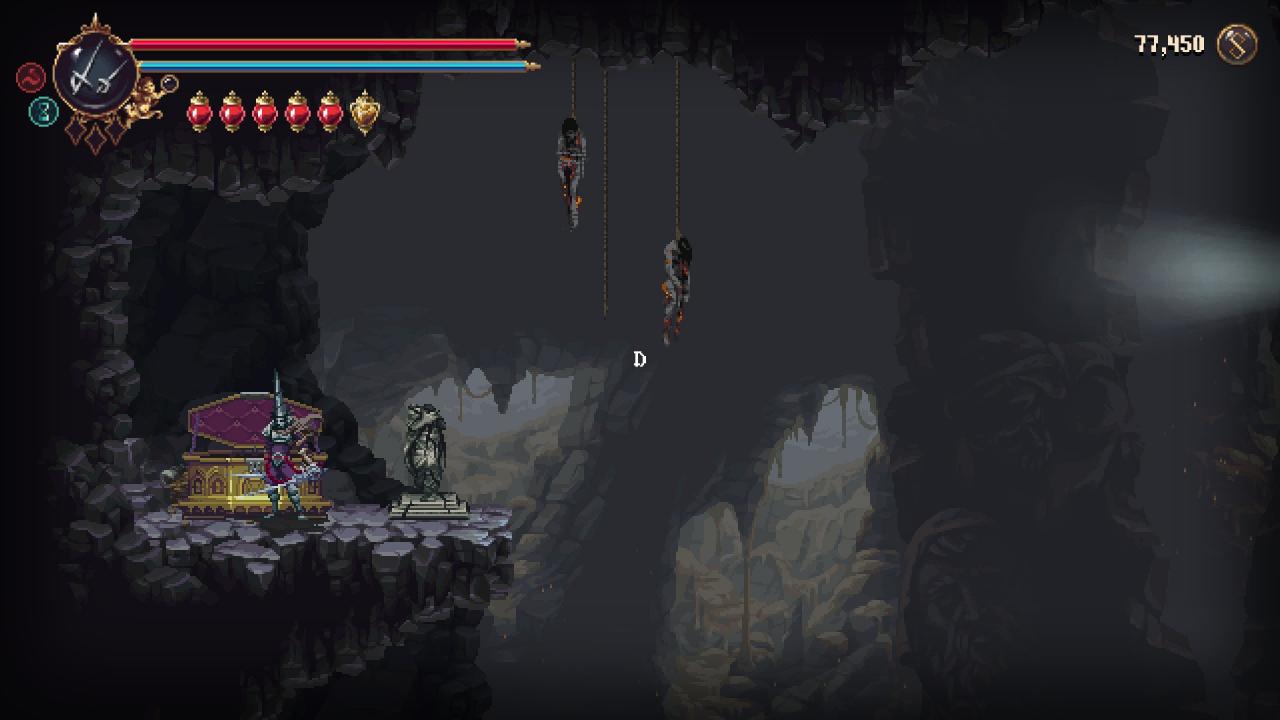

Location: Labyrinth of Tides, in a chest behind an illusory wall
Timestamp: 46:25 – 47:05
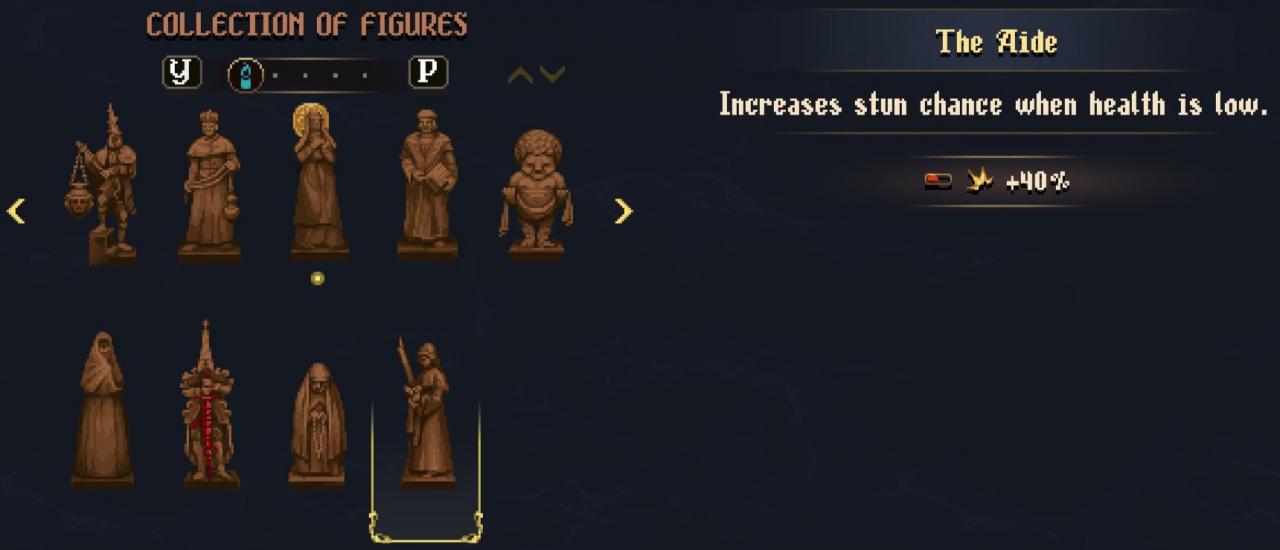
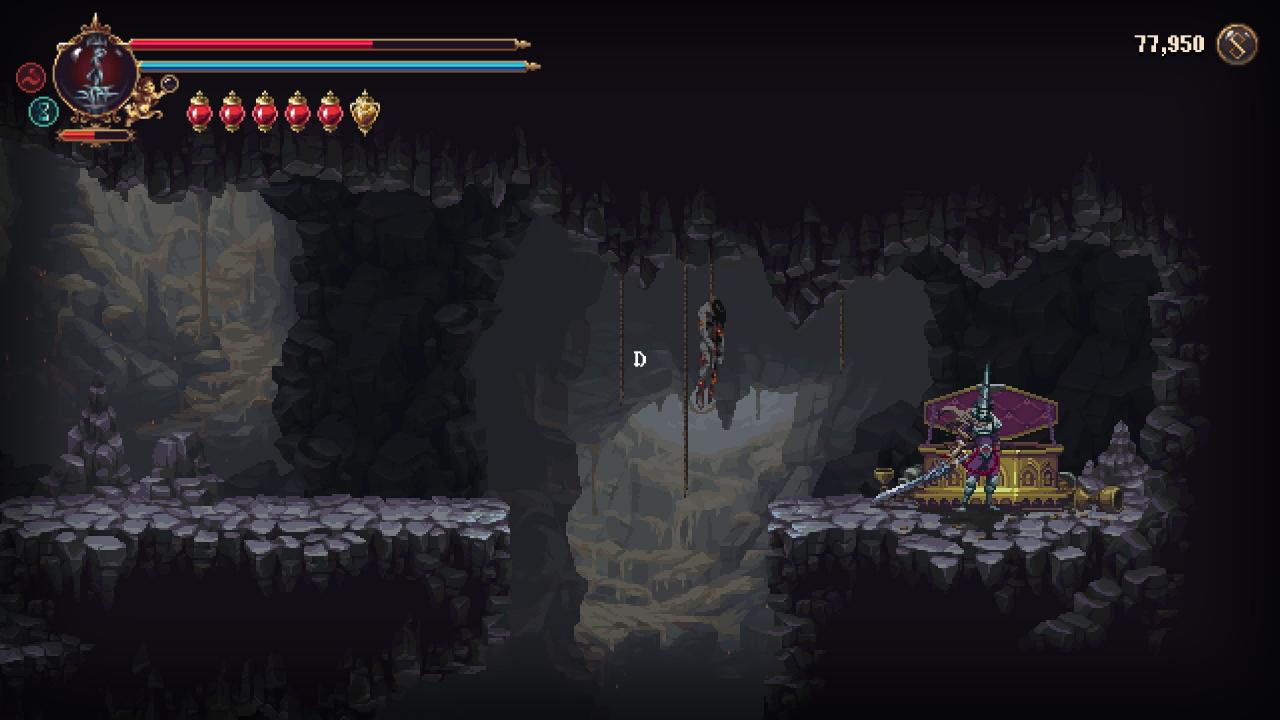
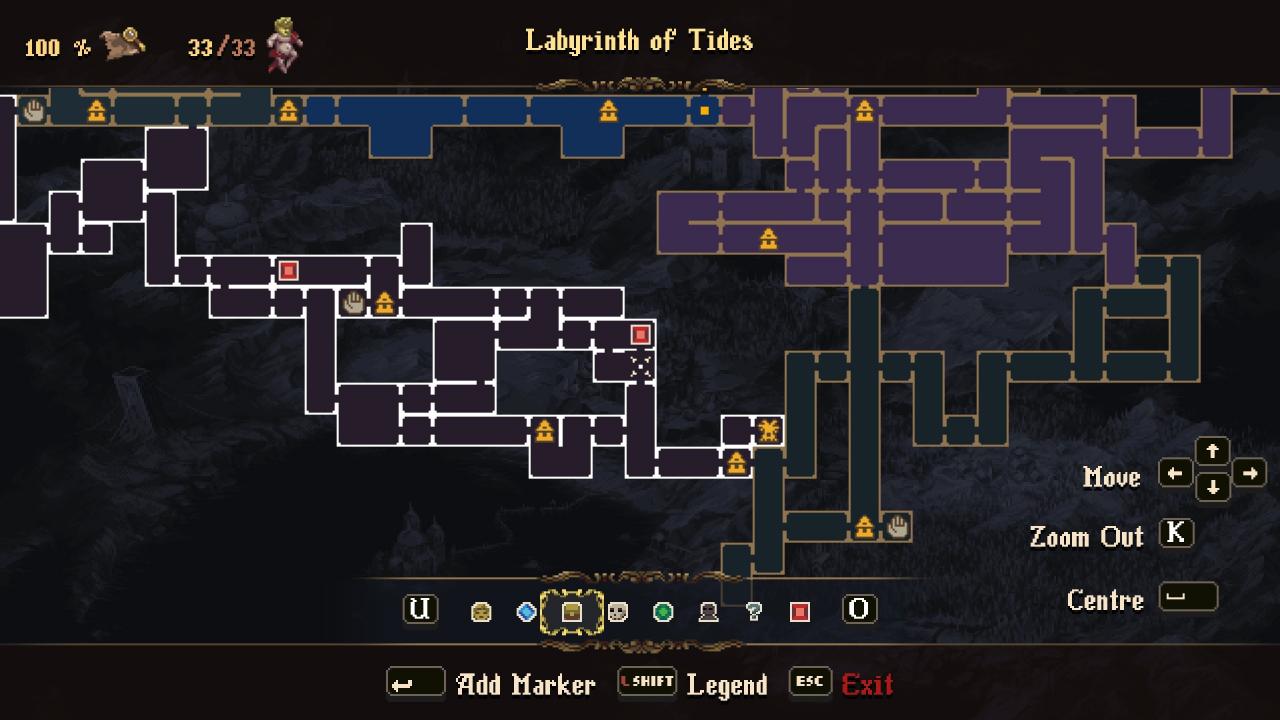
Location: Choir of Thorns, in a chest behind an illusory wall
Timestamp: 10:02 – 10:37
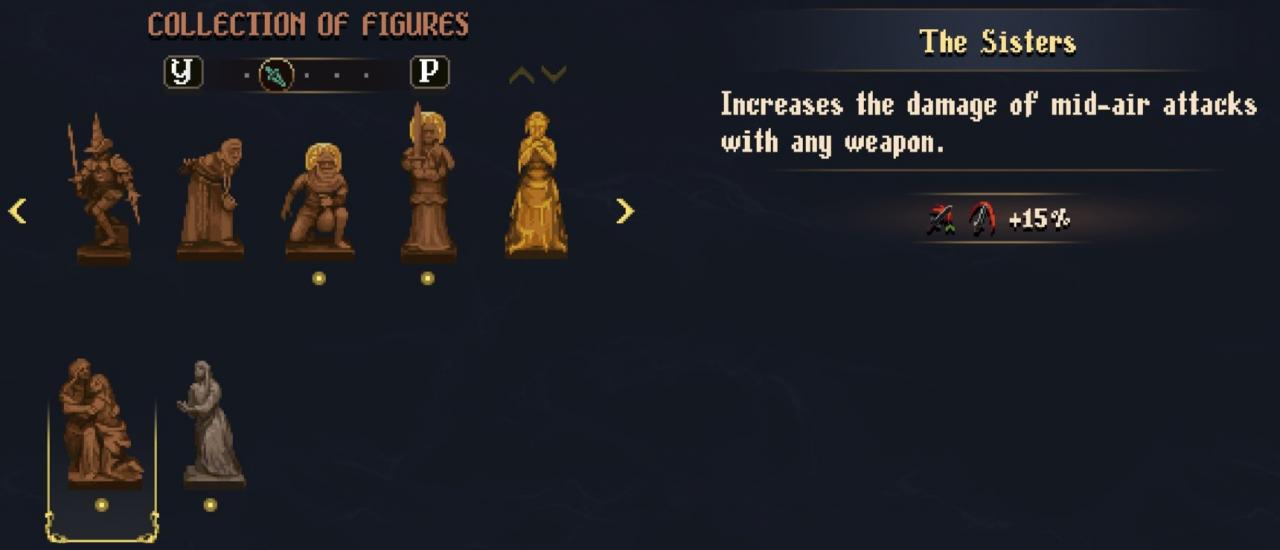
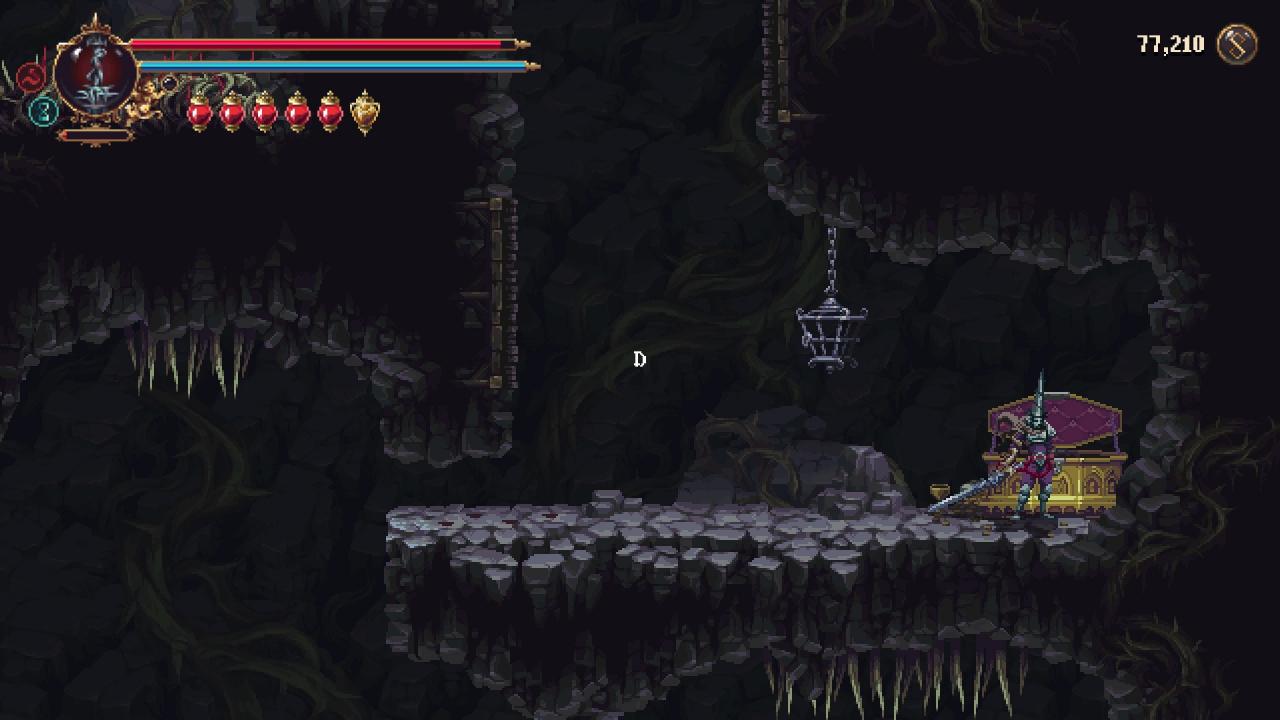
Location: Streets of Wakes, as a puzzle reward
Timestamp: 56:21 – 57:26
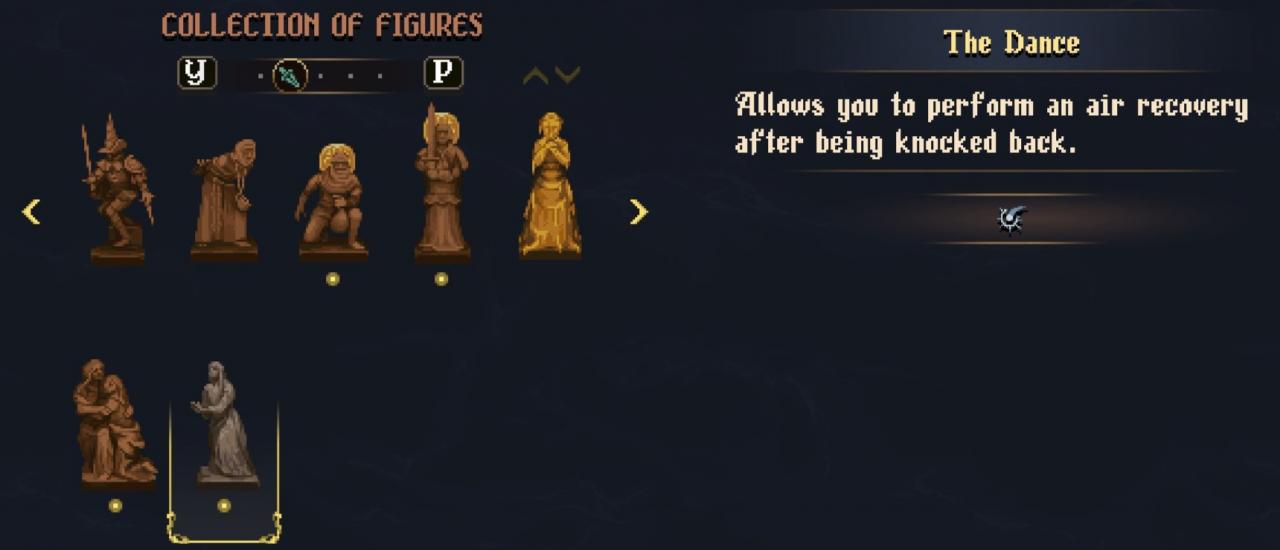
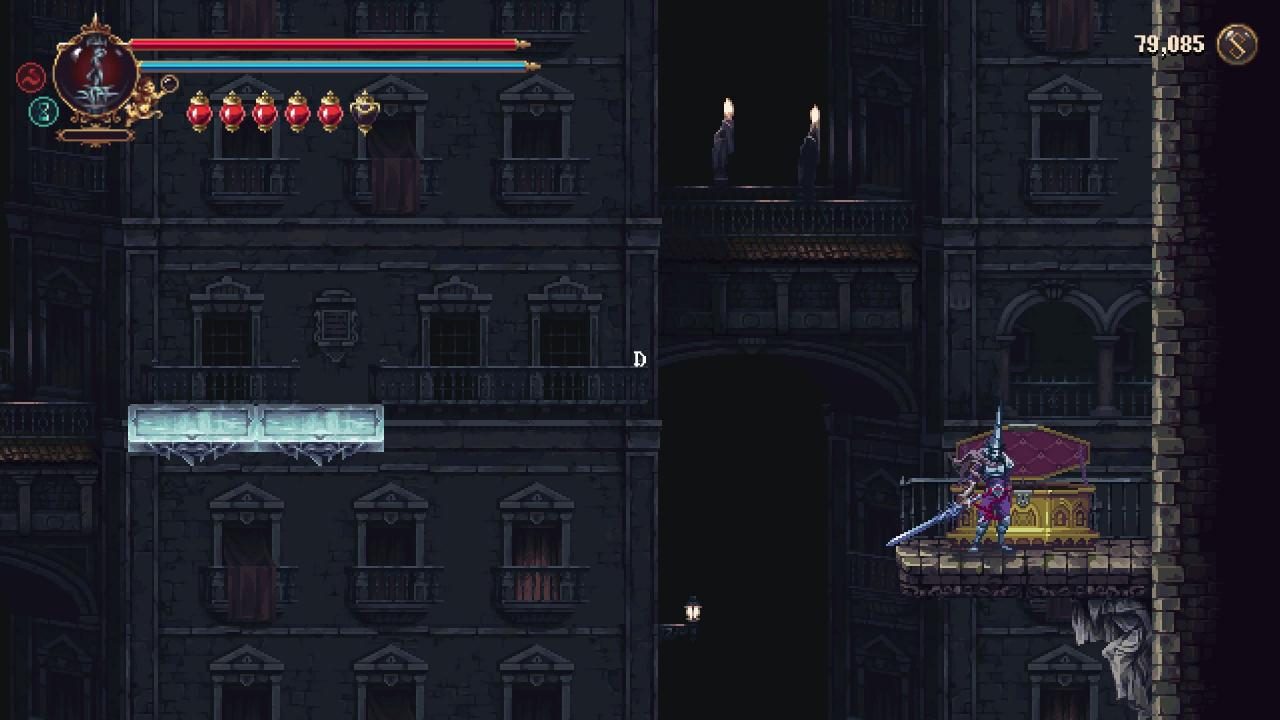
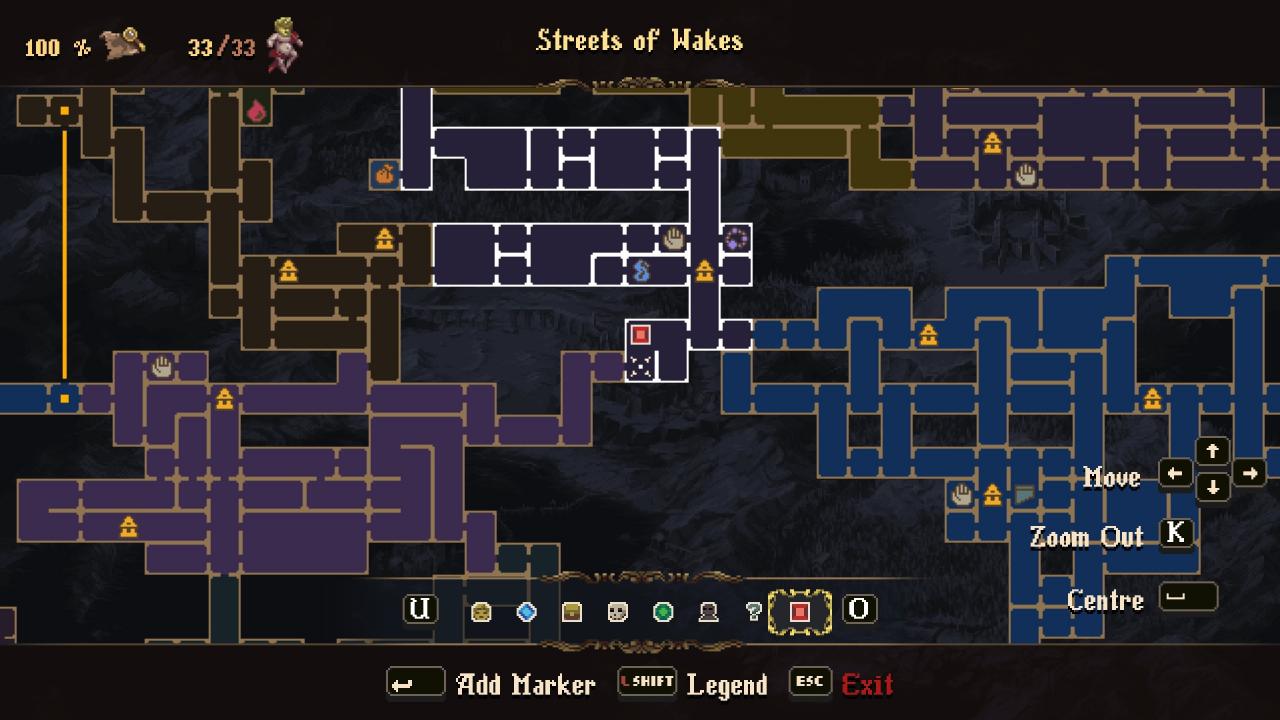
Location: Choir of Thorns, in a chest
Timestamp: 16:30 – 17:51
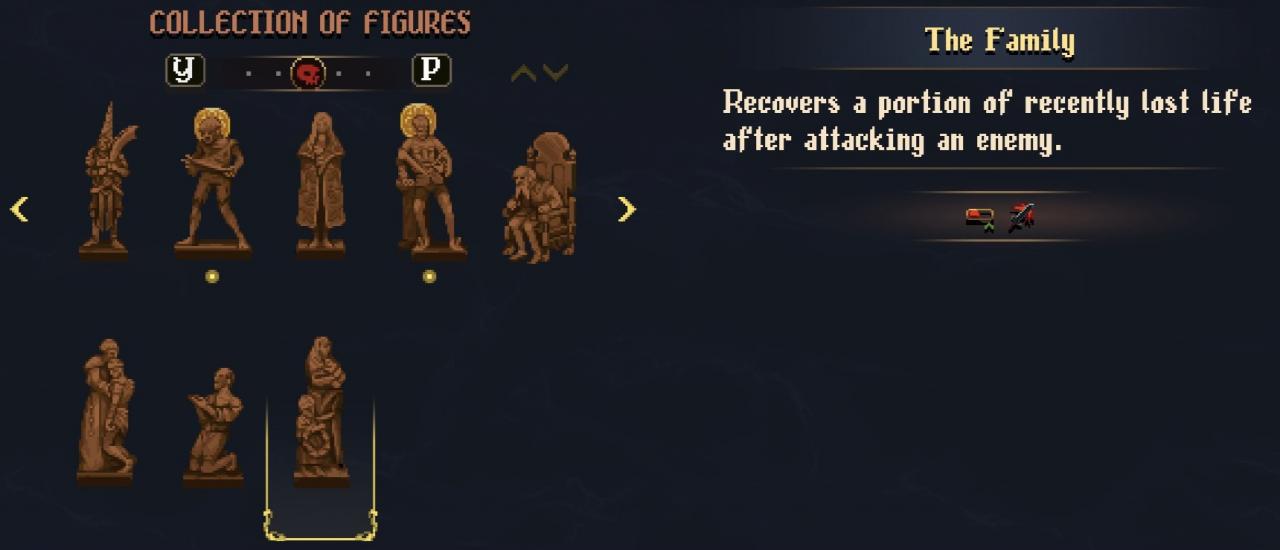
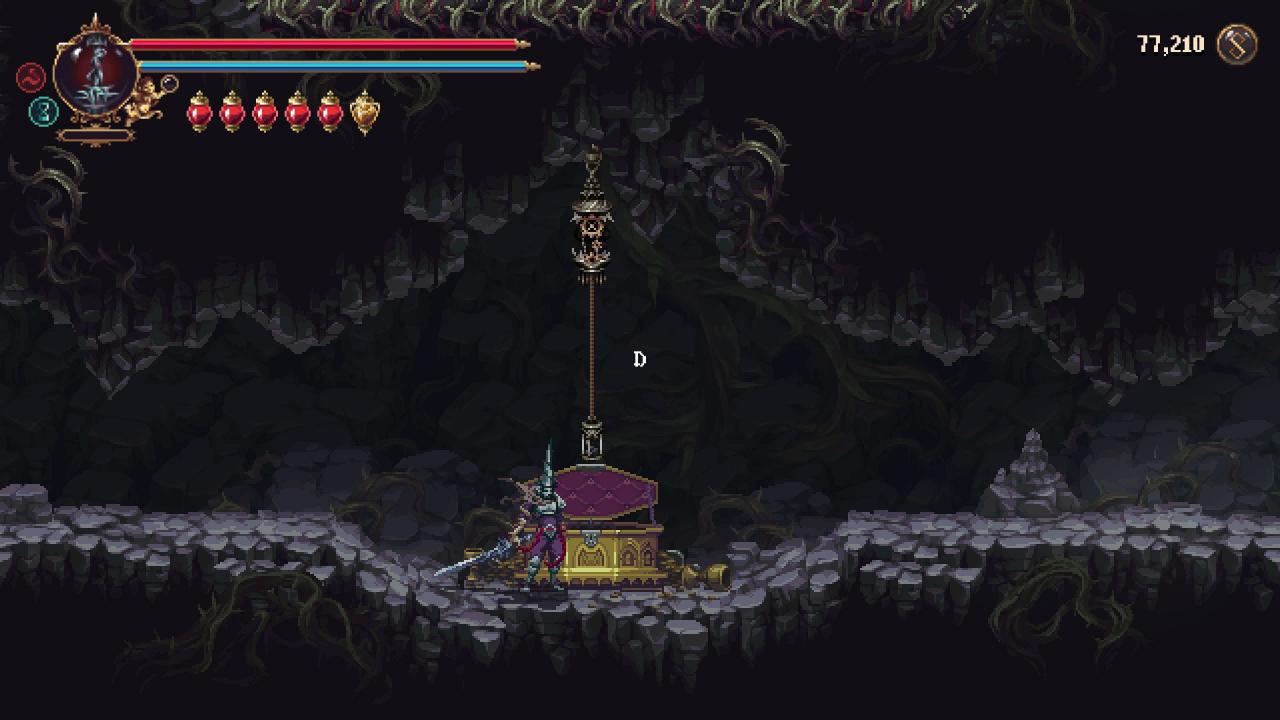
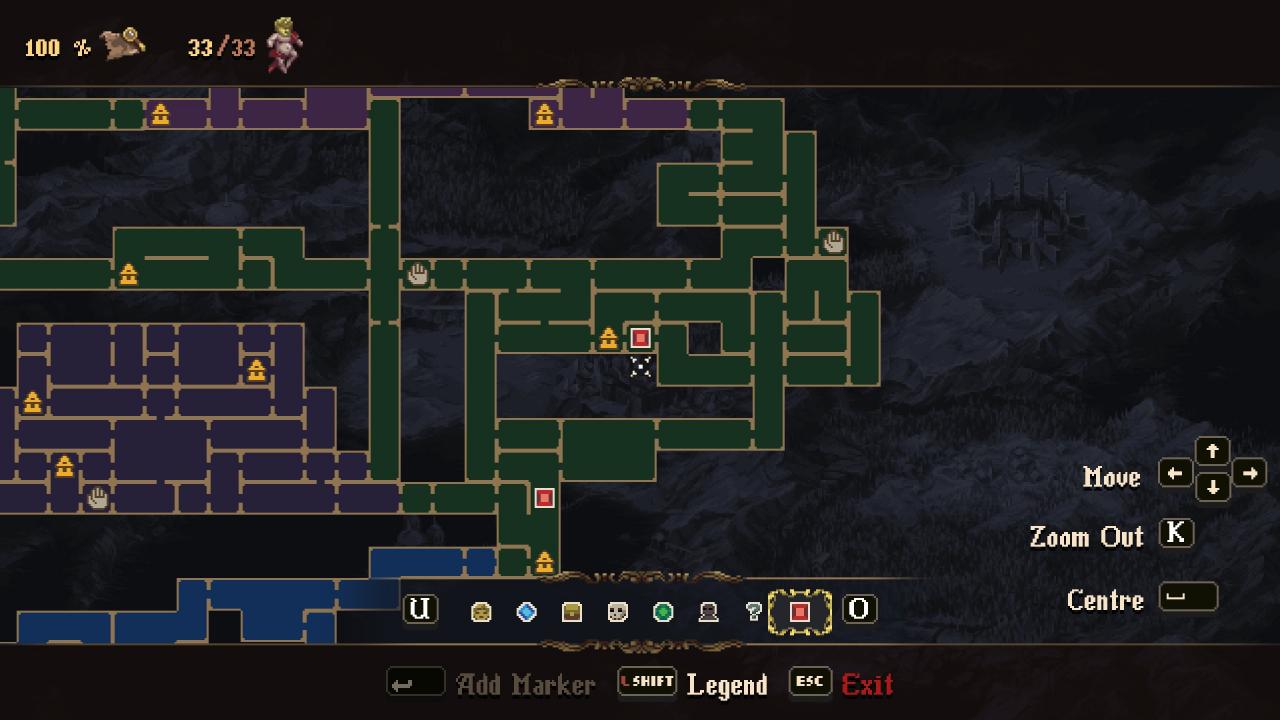
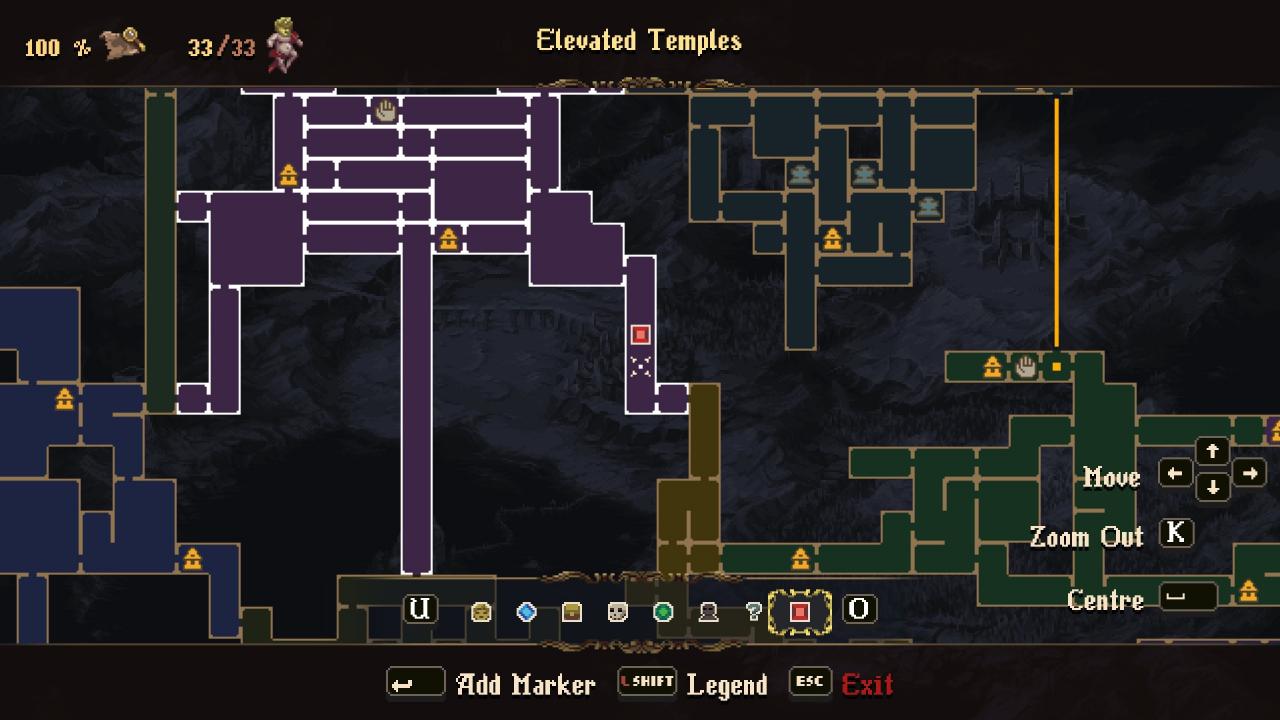
Location: Elevated Temples, as a puzzle reward
Timestamp: 20:16 – 22:13
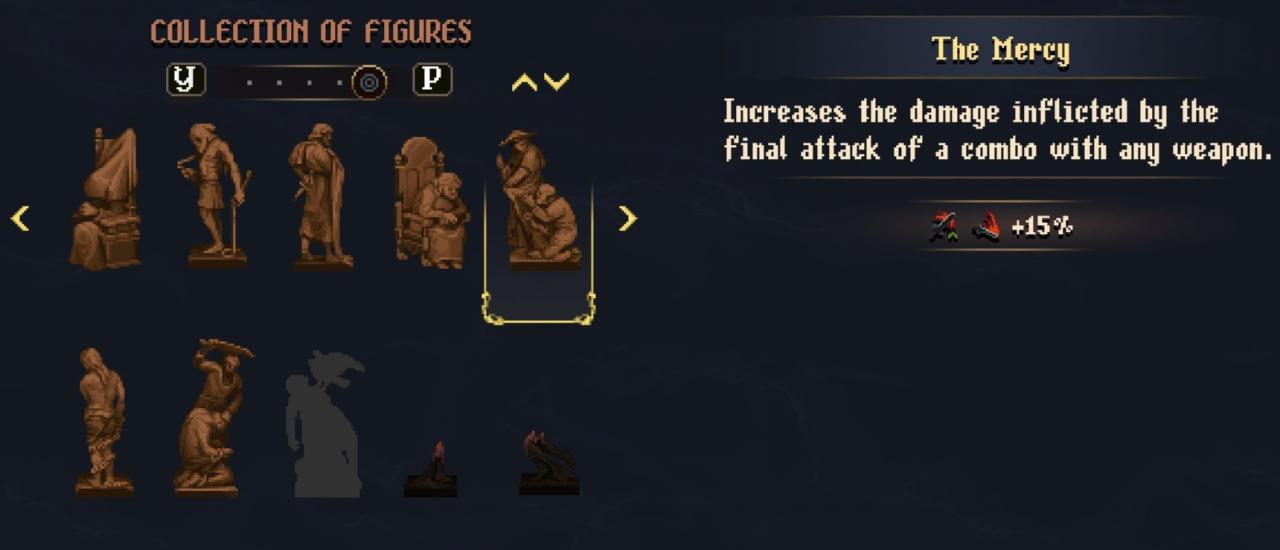
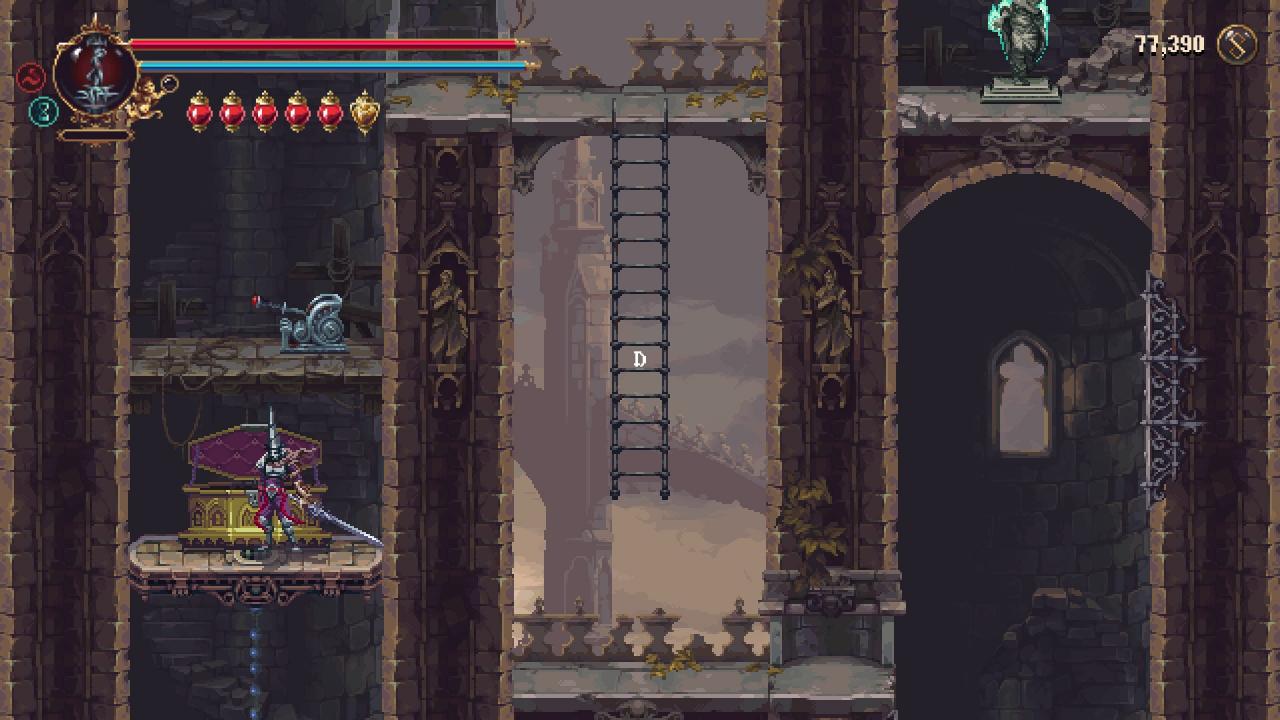
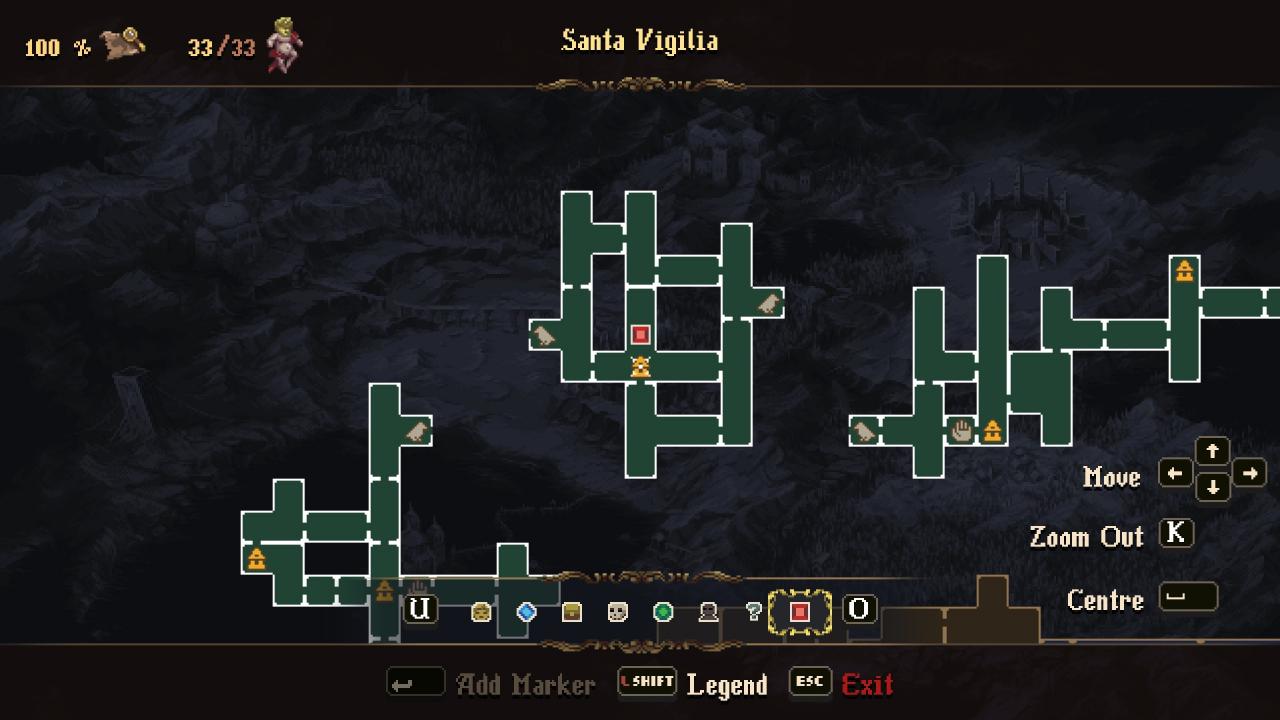
Location: Santa Vigilia, as a puzzle reward
Timestamp: 2:41:57 – 2:42:57
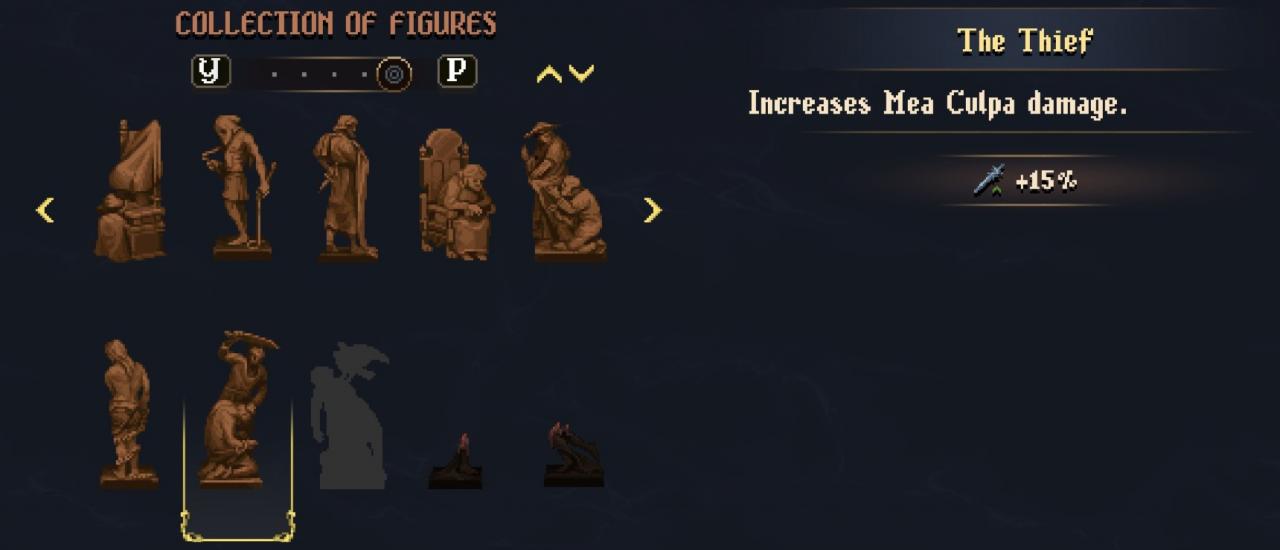
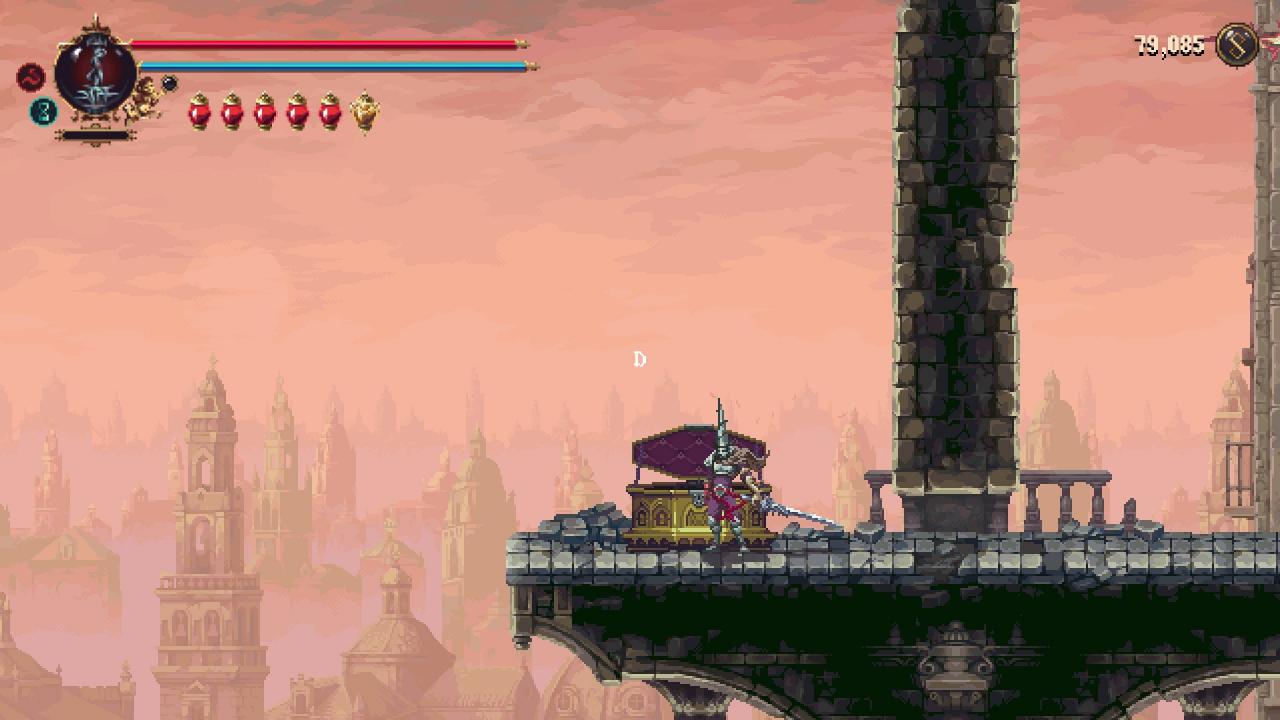
I’ll cover this one in the next section. Speaking of which…
Consummate Collector – Part 2
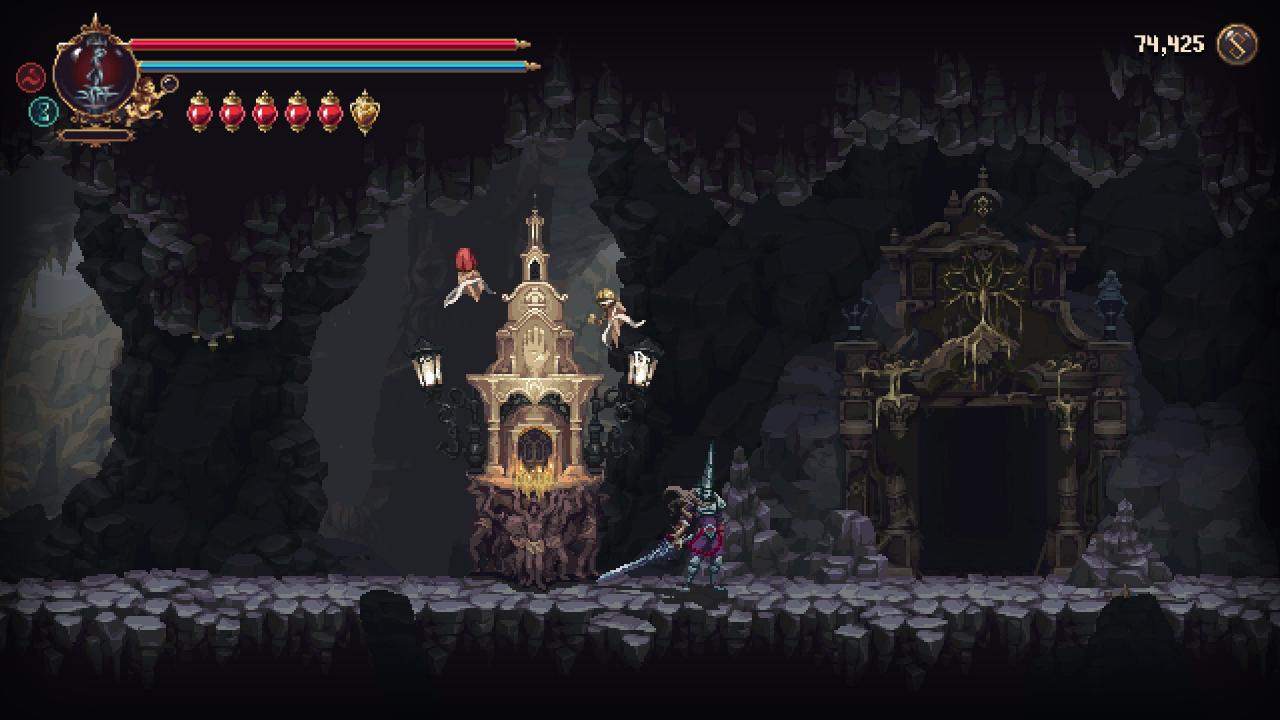
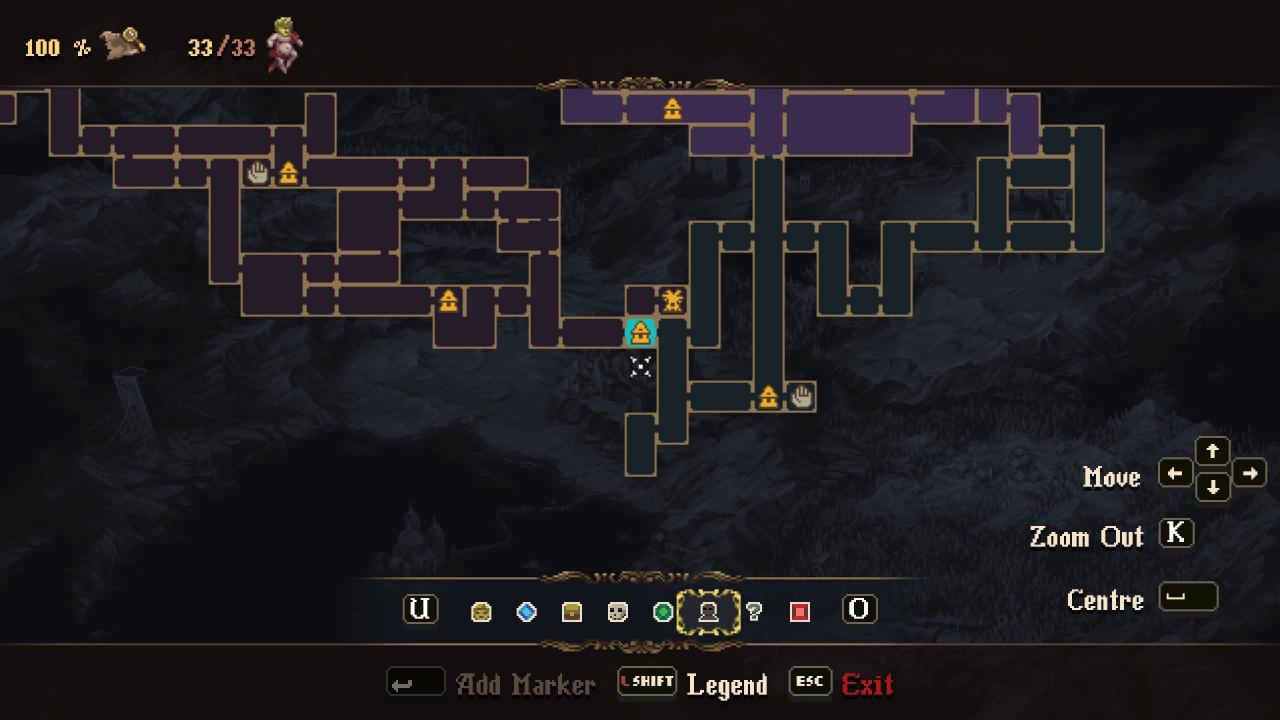
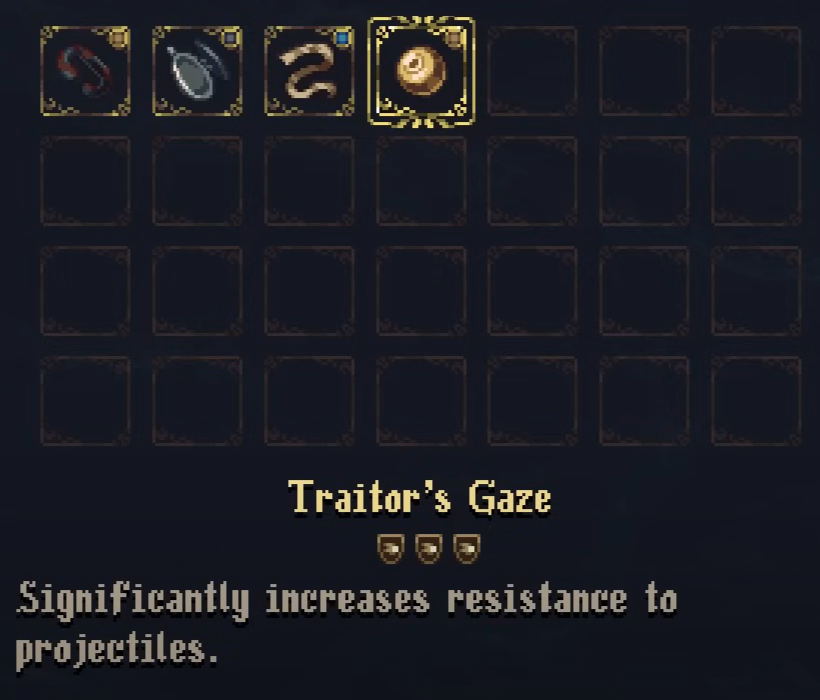
Through this door is where you offer these lumps. Offering 10 gives you the rosary bead Traitor’s Gaze:
 Offering all 20 lumps will give you the altarpiece The Liberated:
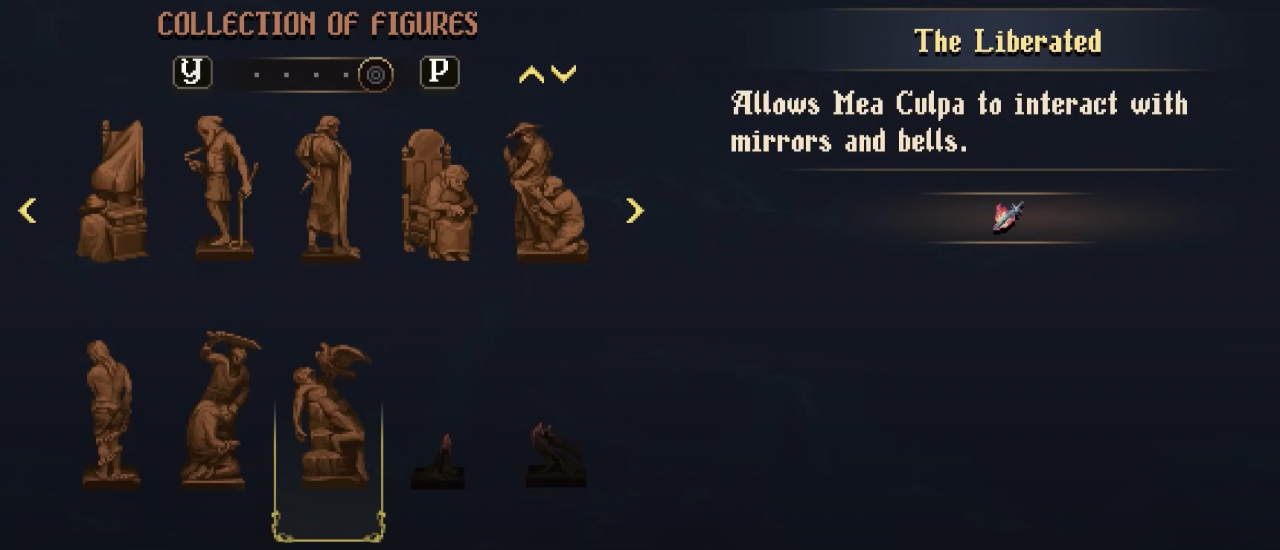
(Screenshots are from NeatPick’s video)
WARNING: THIS QUEST IS BUGGED. There is a possibility that when you offer all 20 lumps, you will not get the altarpiece and you will lose the rosary bead you gained! This happened to me, which is why I have 23 items and not 24 (more on that later). This seems to happen if you complete the quest after defeating Brother Asterión for the second time. To save yourself from the pain, complete this before fighting him again.
Note: there has been a lot of confusion about what items count for Consummate Collector. Some have theorized that if you do not take the lumps individually to the location I showed, then they will not count toward this achievement. This is not true. The lumps do not count towards the 31 items needed in any way, so feel free to take them in any quantities you wish (as long as it’s before Brother Asterión). At any rate, here are the lumps, listed by location, with timestamps as usual:
Timestamp: 18:01 – 19:51
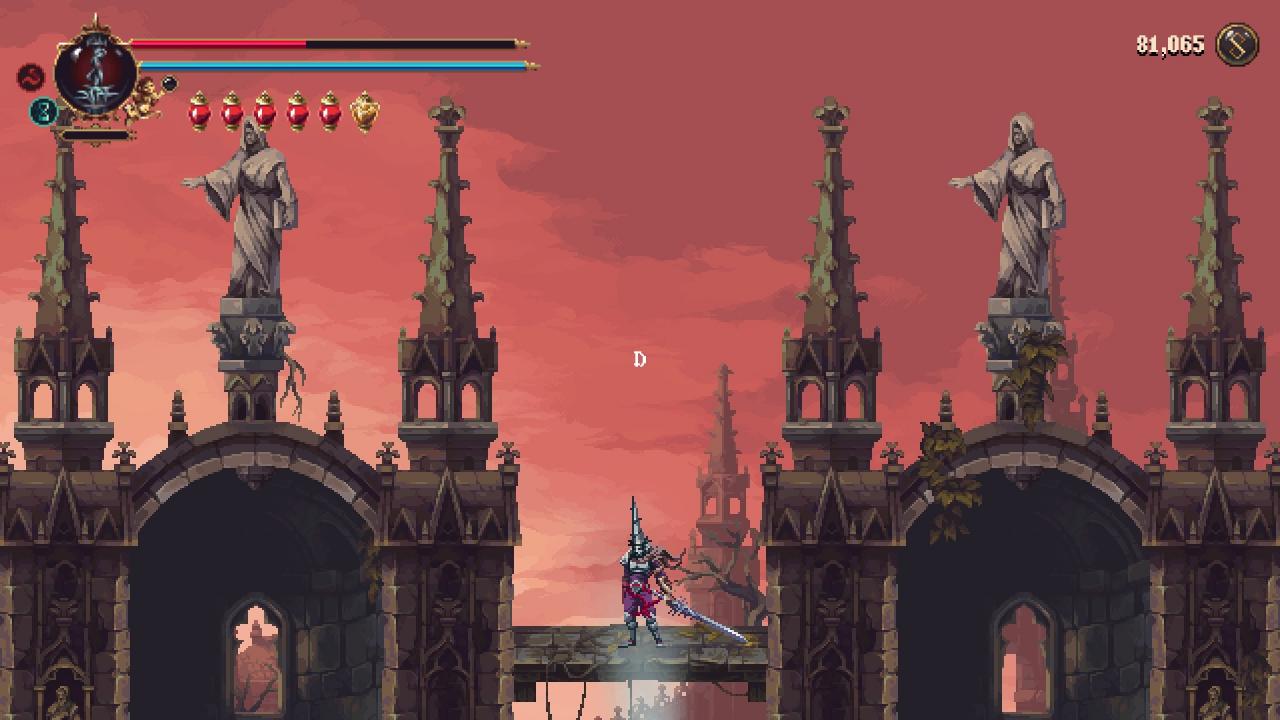
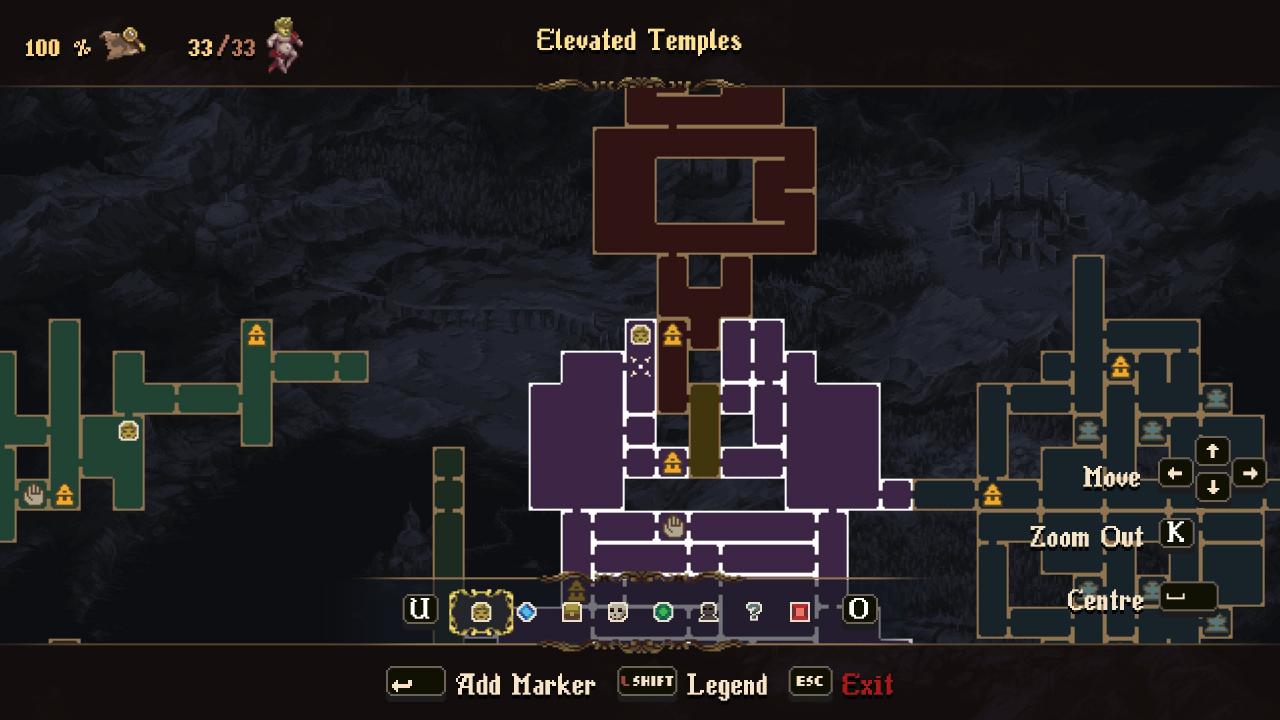
Timestamp: 22:18 – 23:38
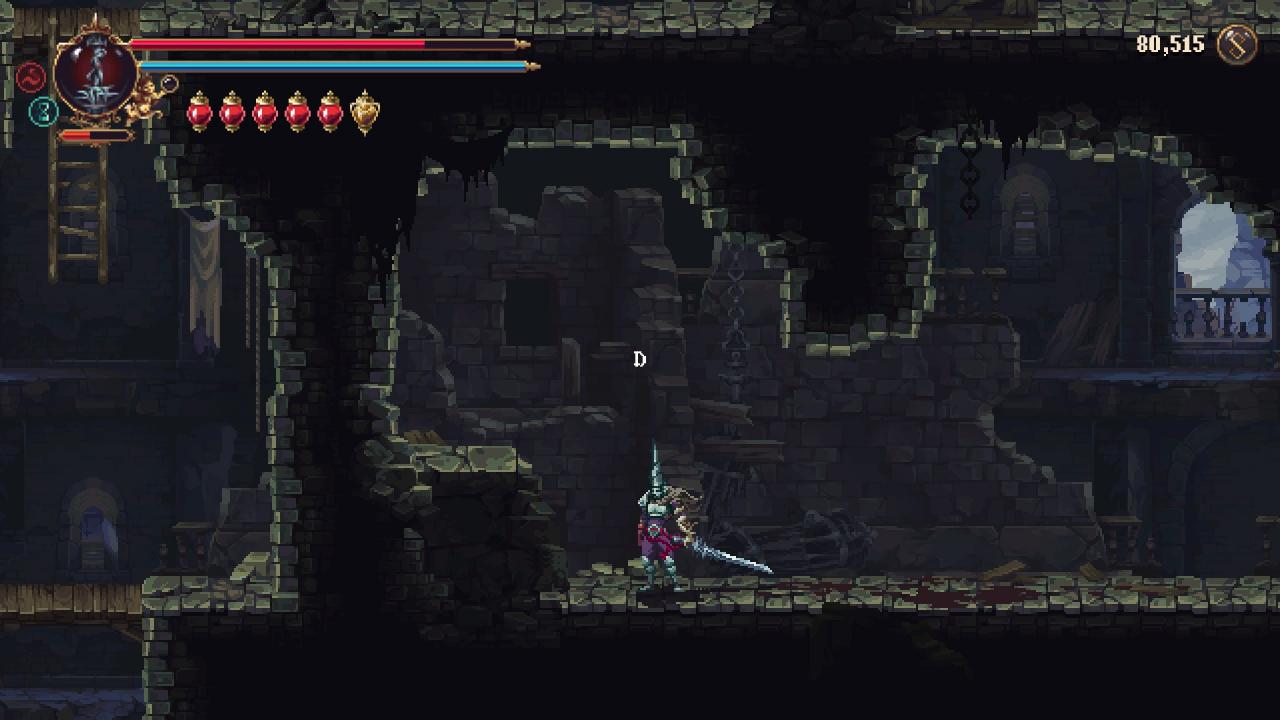
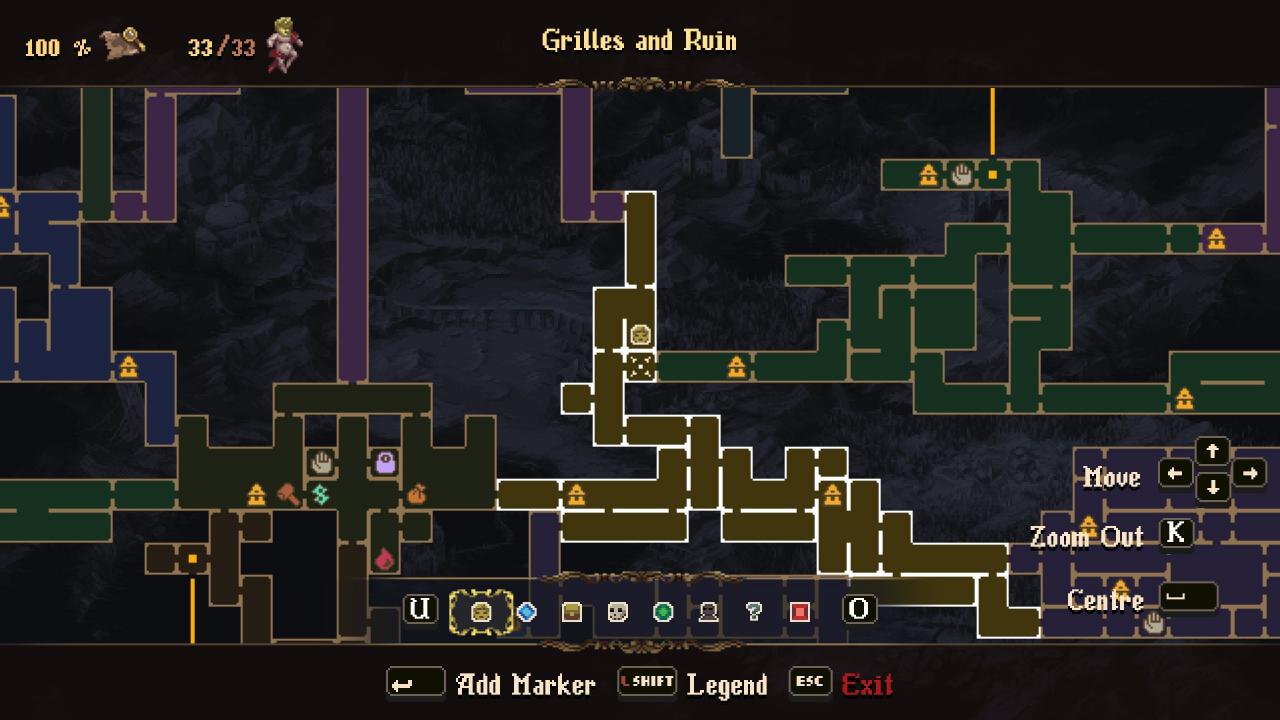
Timestamp: 54:11 – 56:21
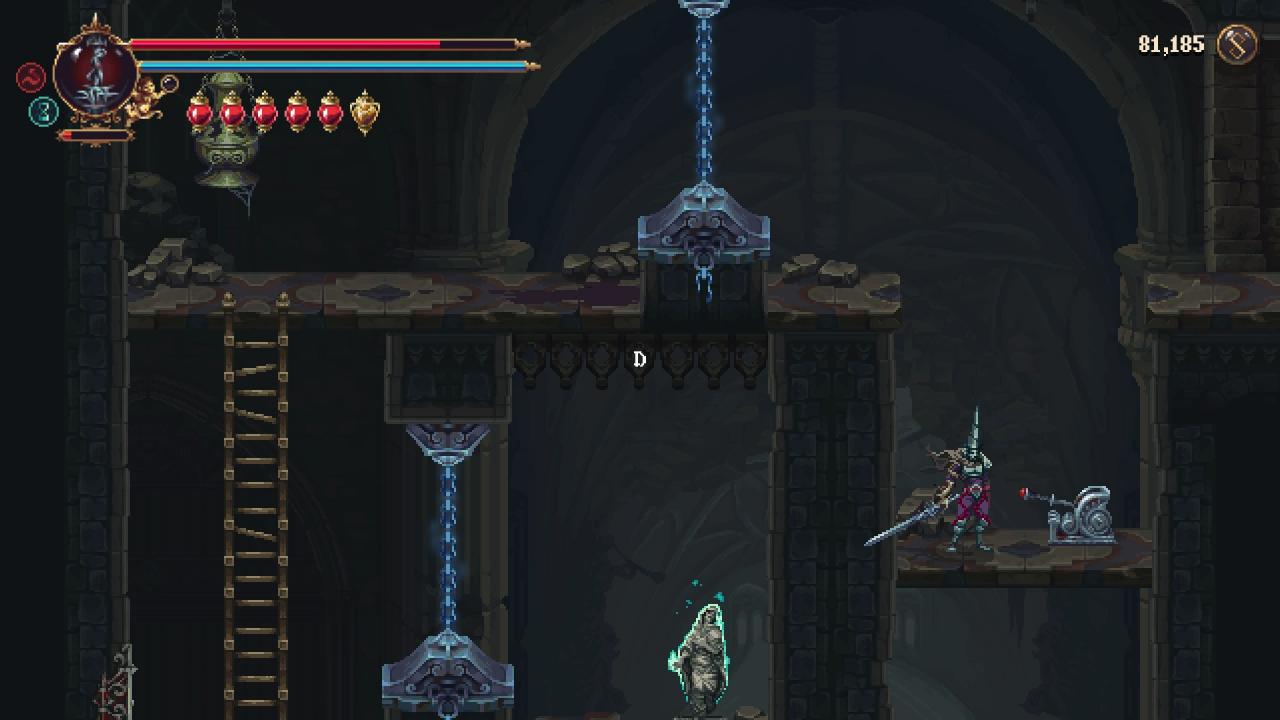
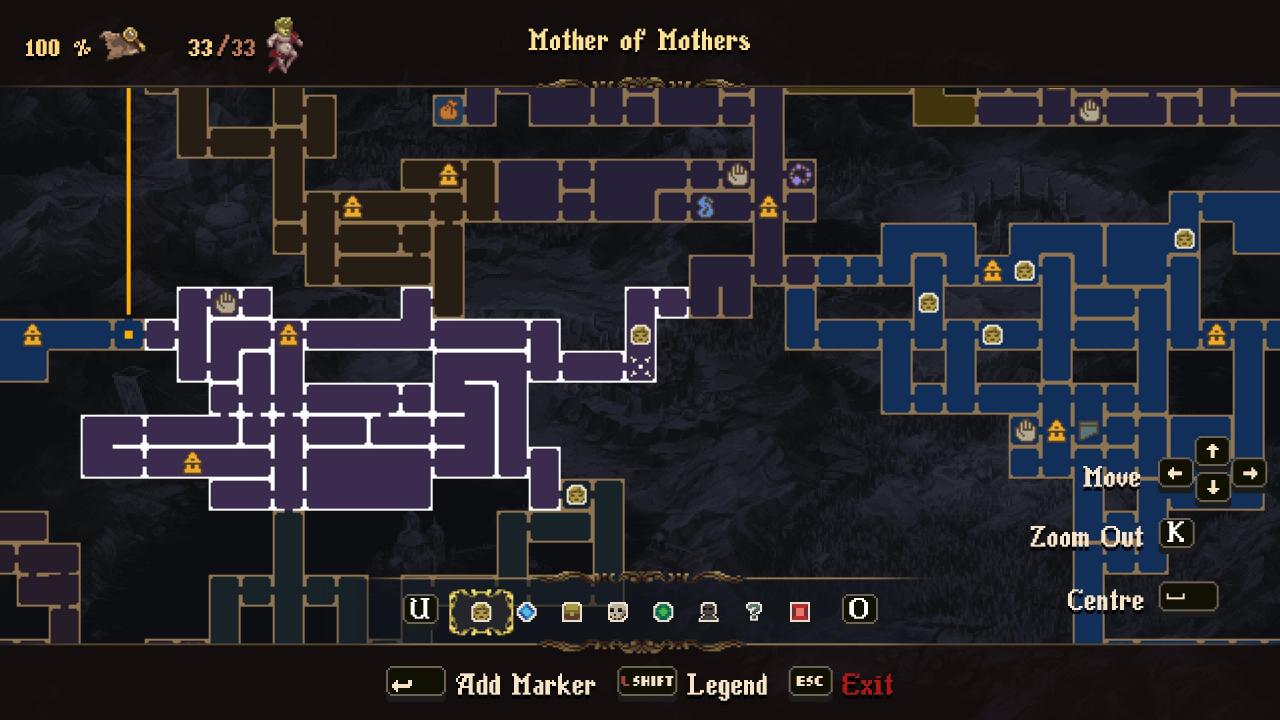
Timestamp: 51:12 – 54:10
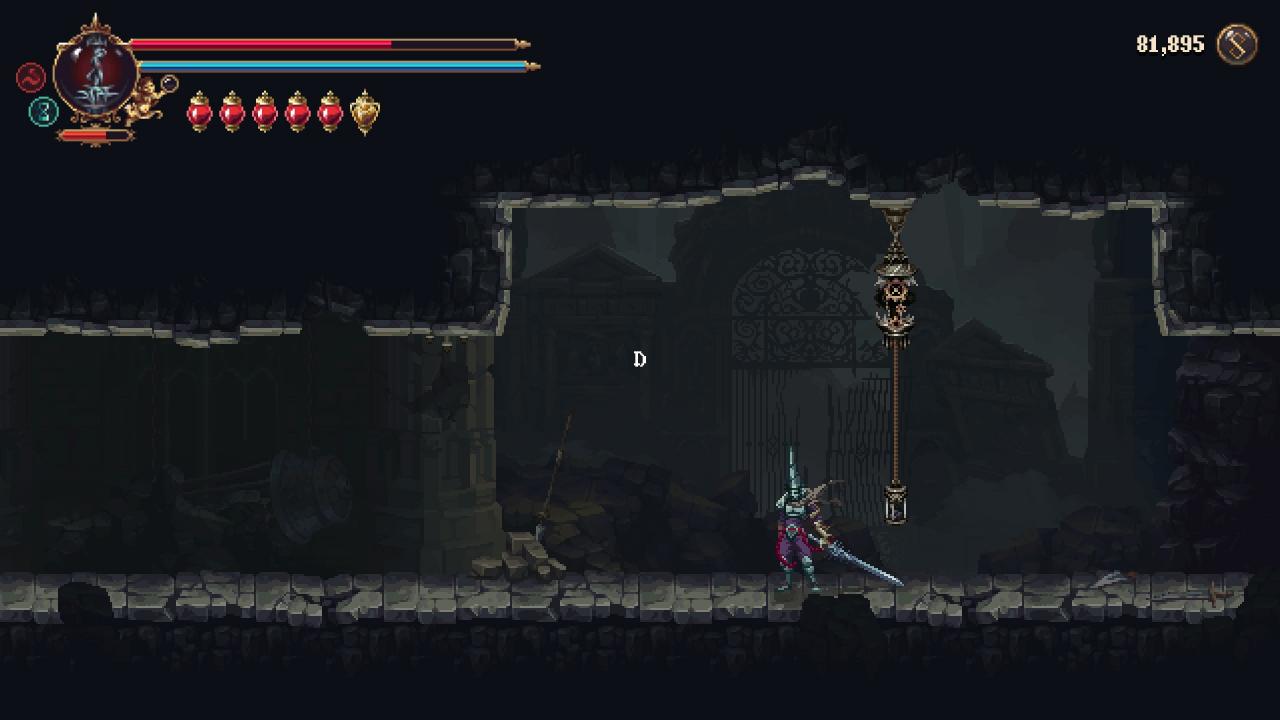
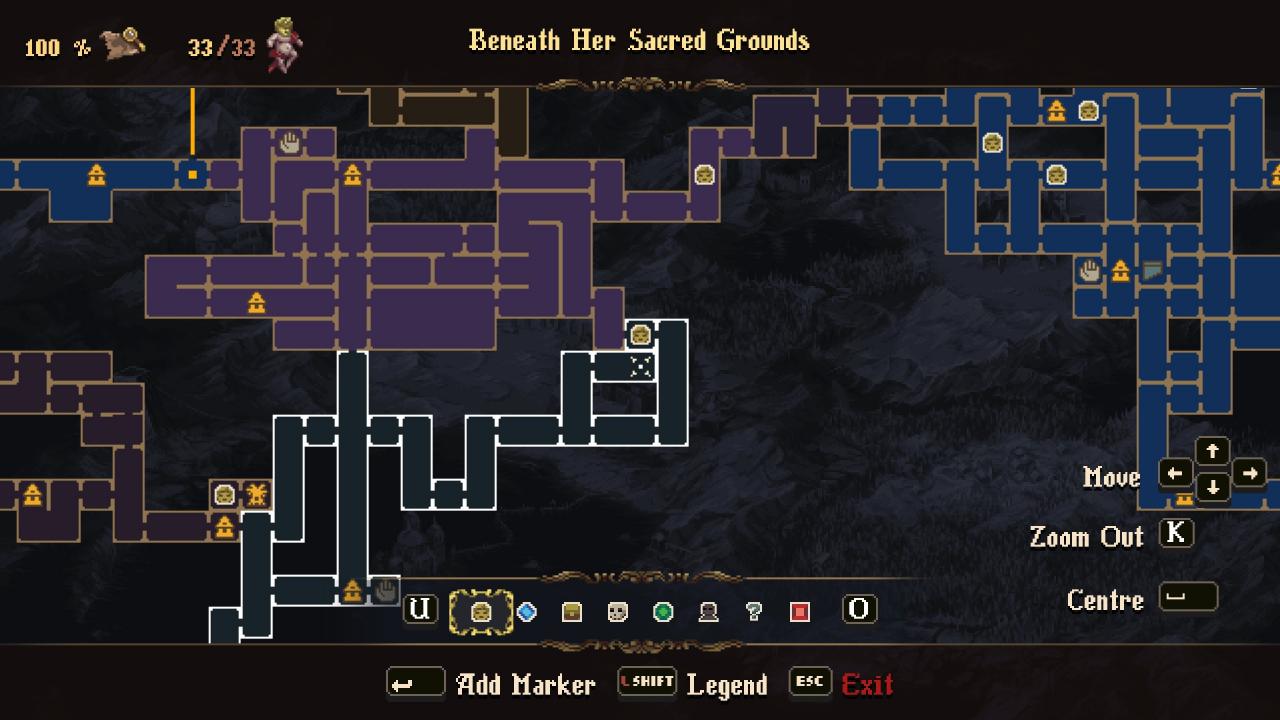
Timestamp: 1:01:59 – 1:03:31
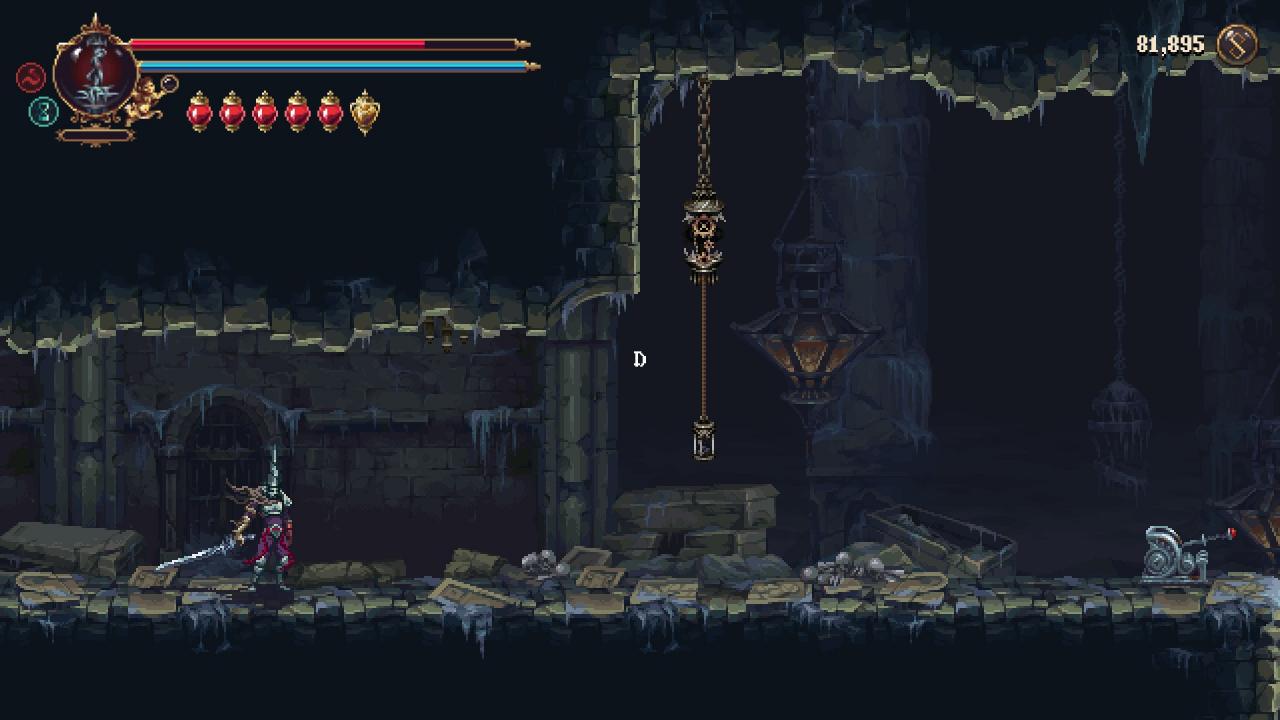
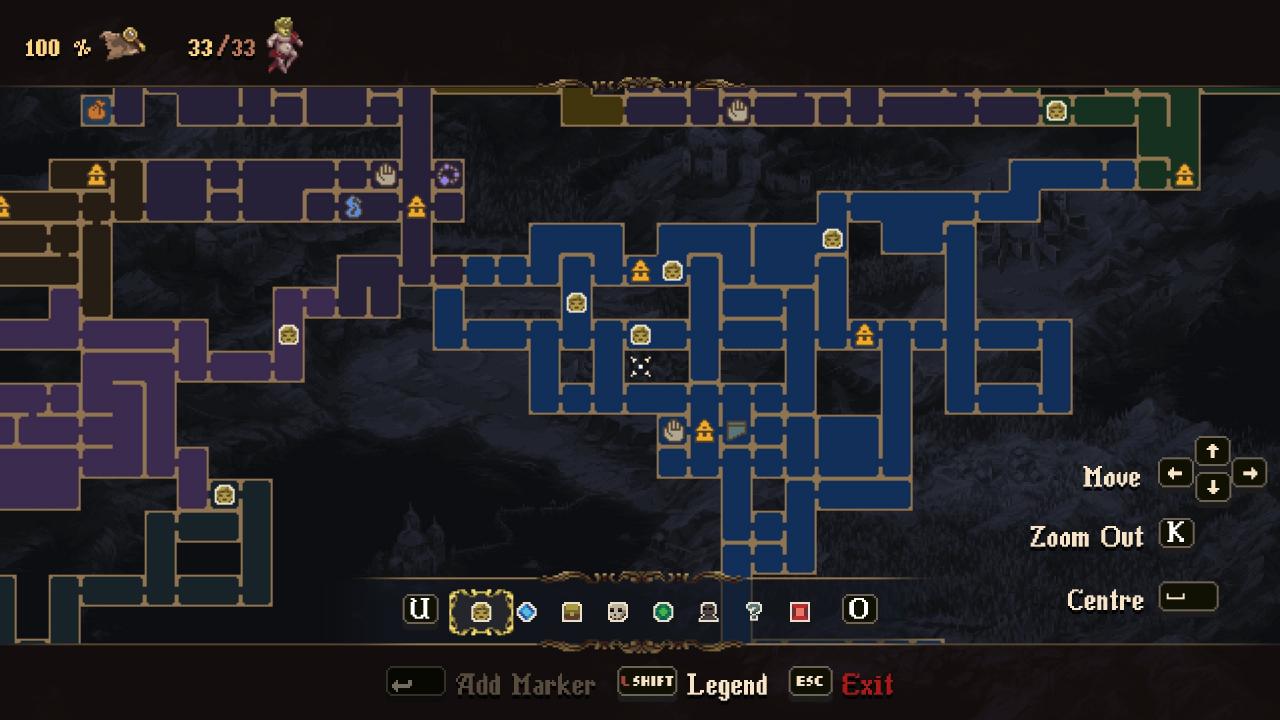
Timestamp: 1:06:20 – 1:07:35
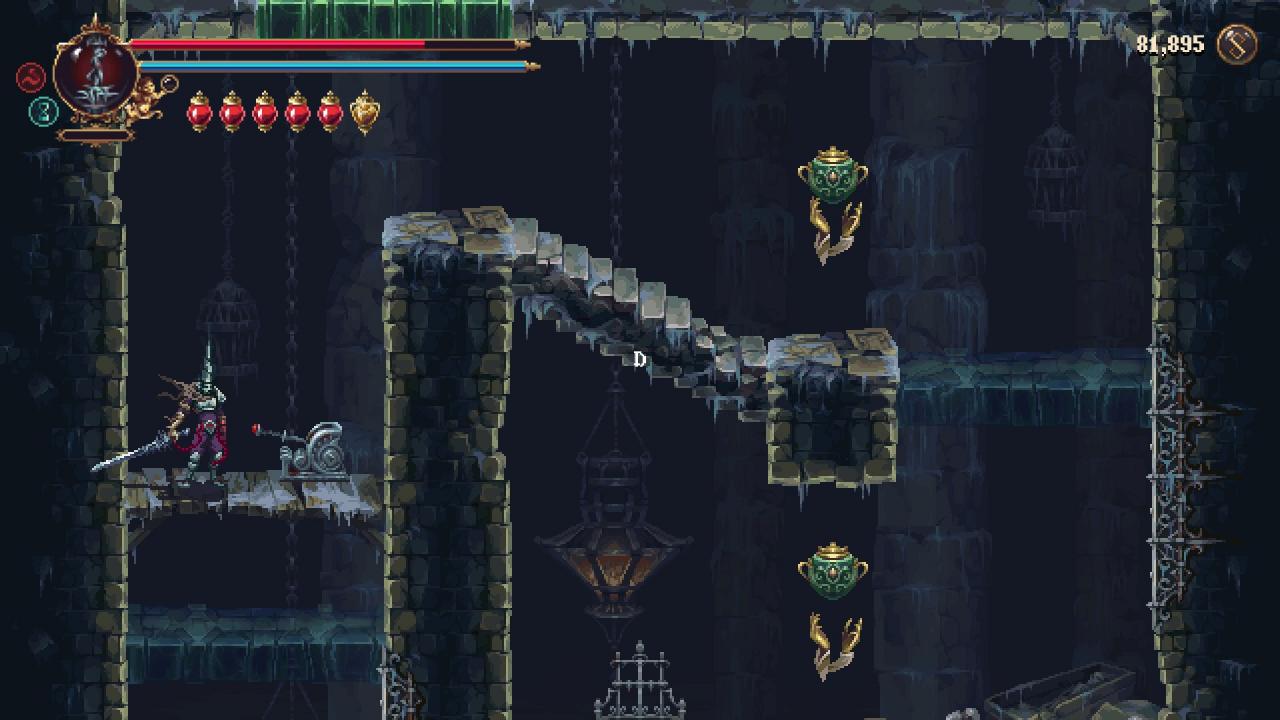

Timestamp: 1:08:28 – 1:08:45
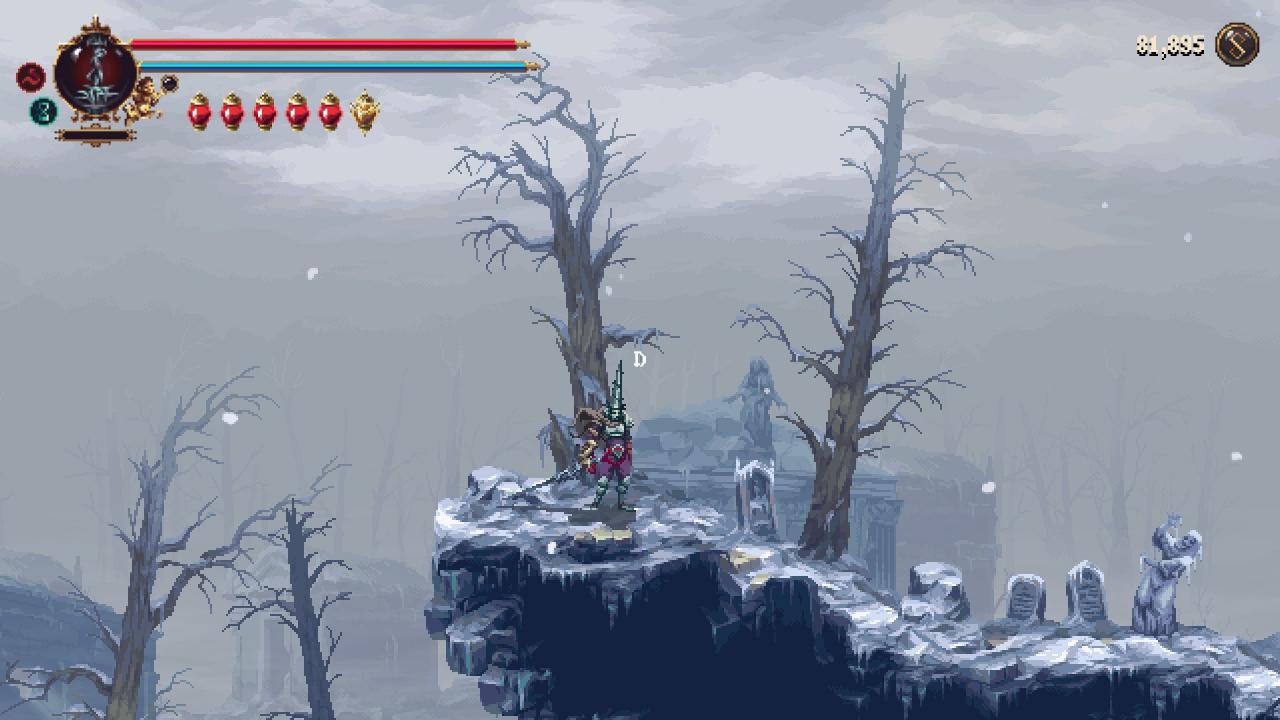
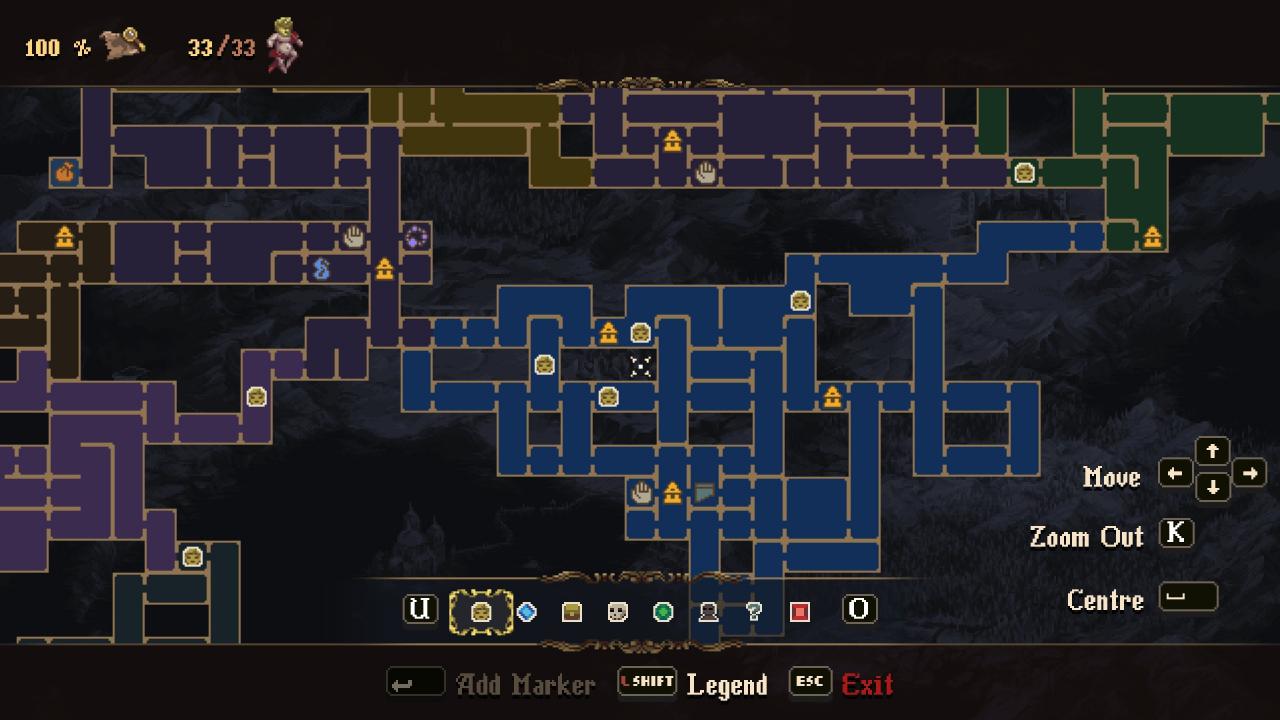
Timestamp: 1:11:33 – 1:11:48
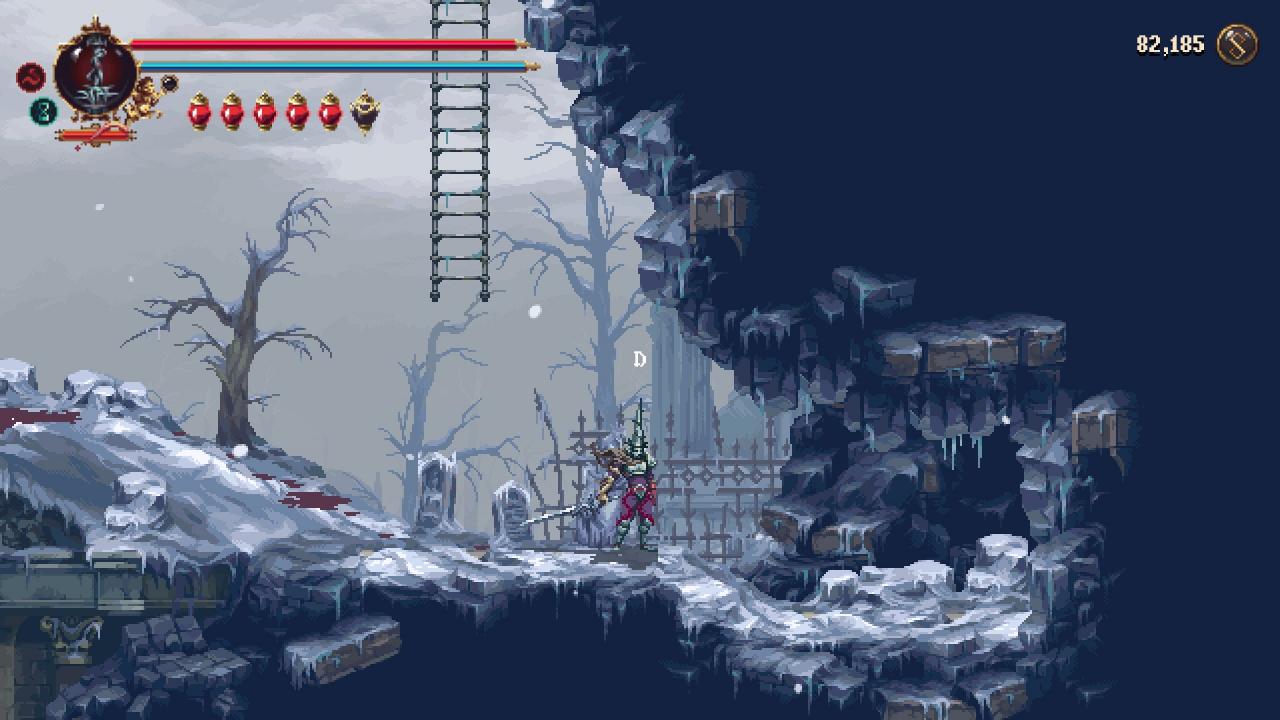
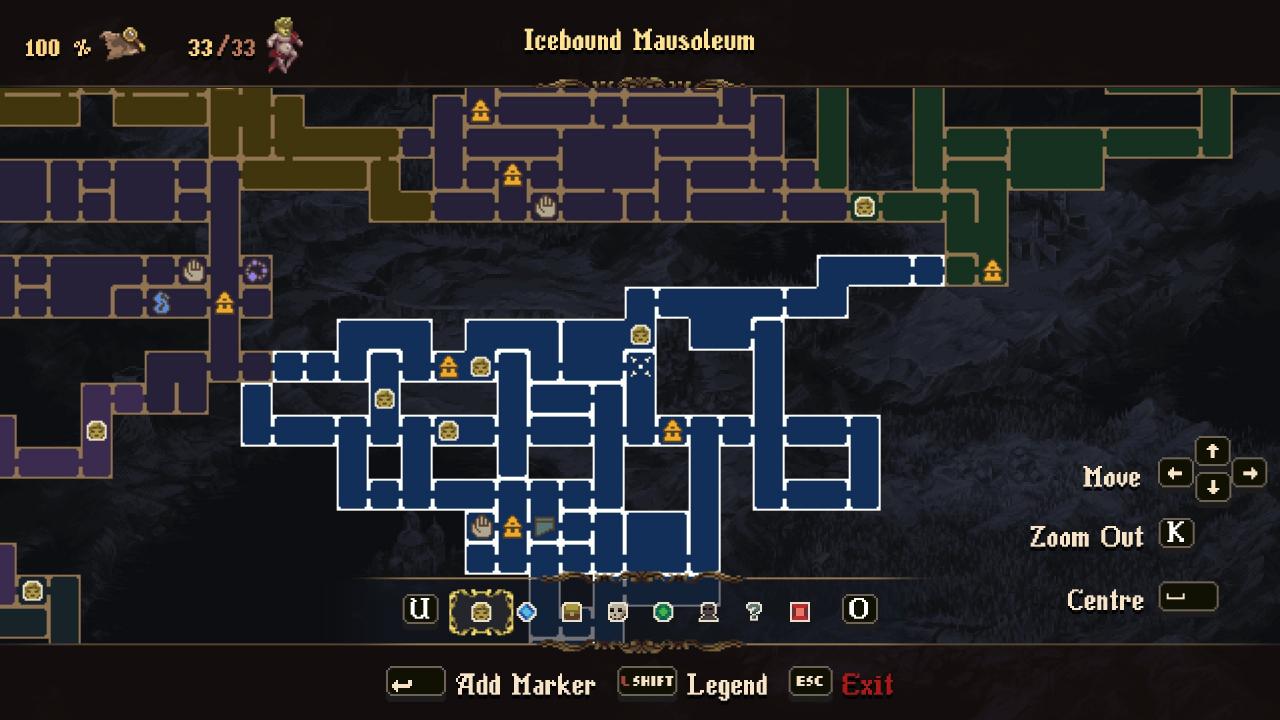
Timestamp: 5:49 – 7:19
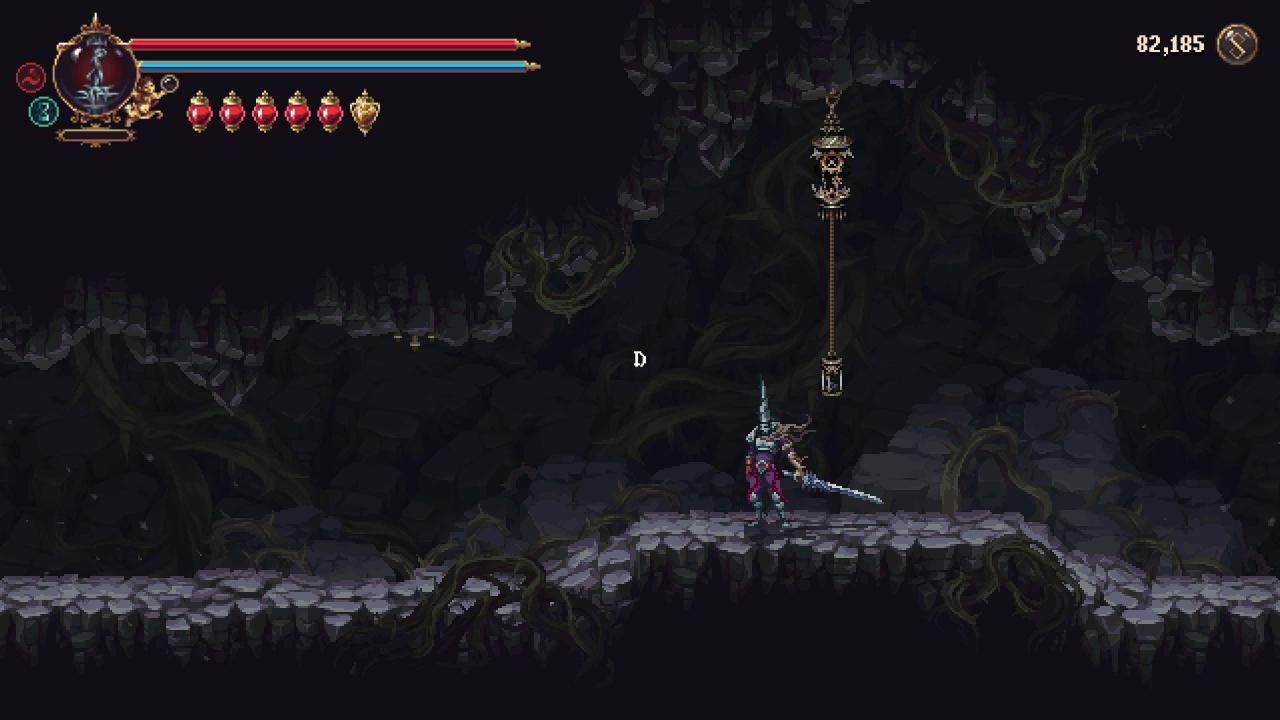
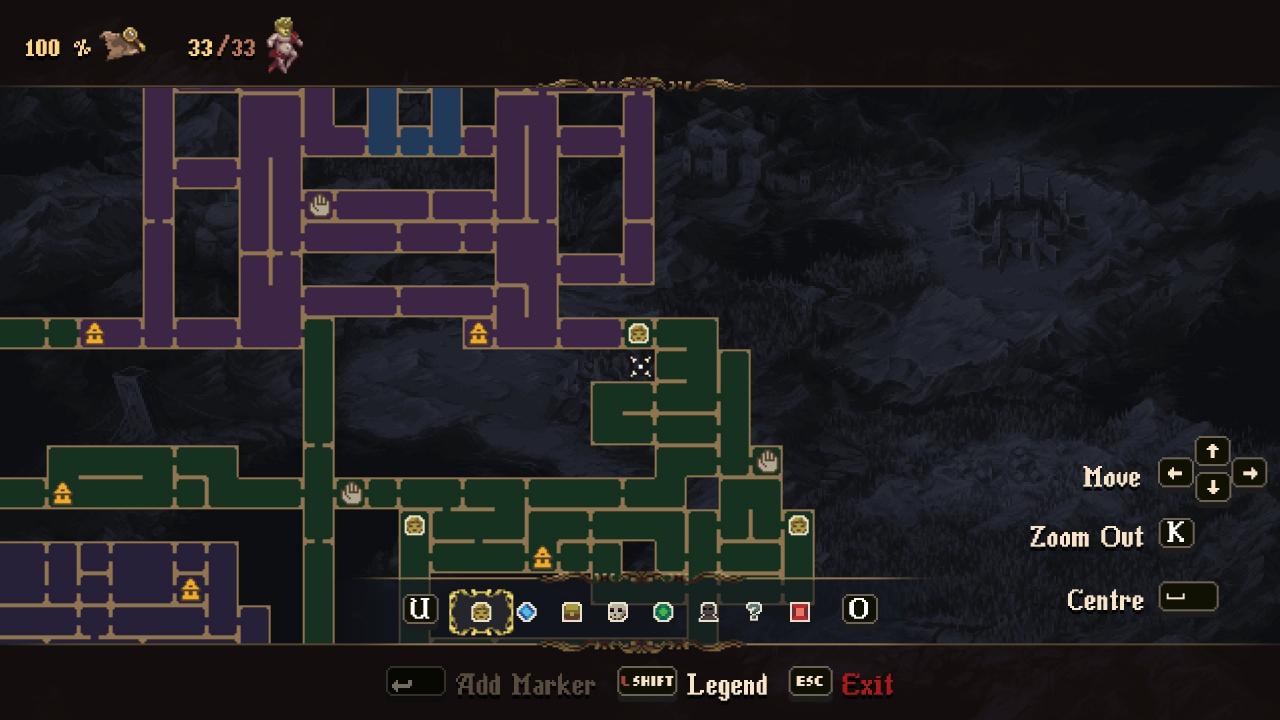
Timestamp: 8:53 – 9:34
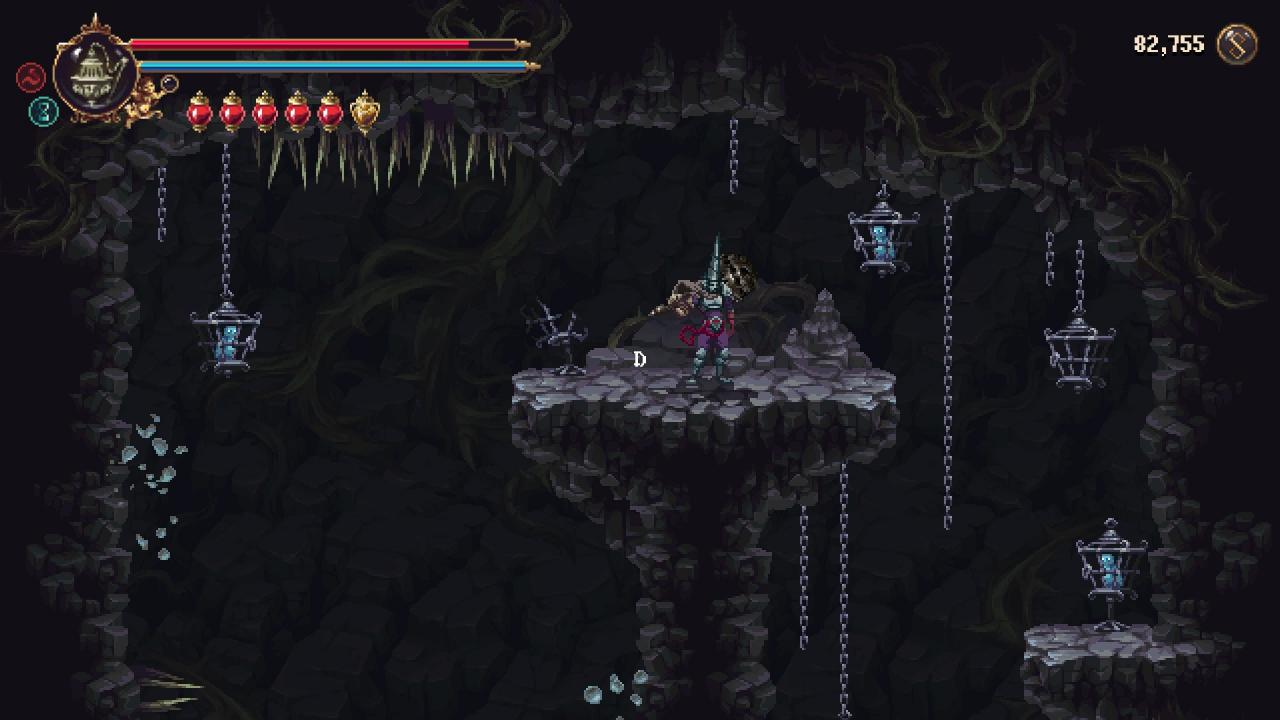
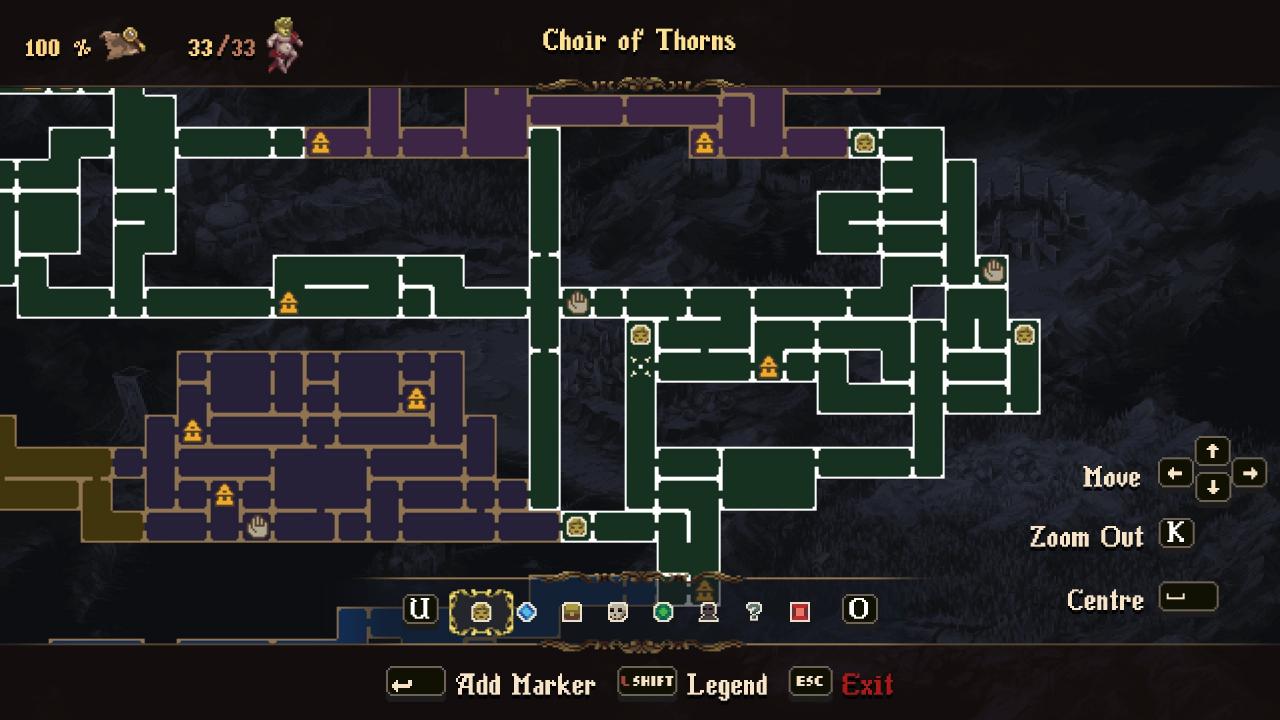
Timestamp: 11:08 – 11:46
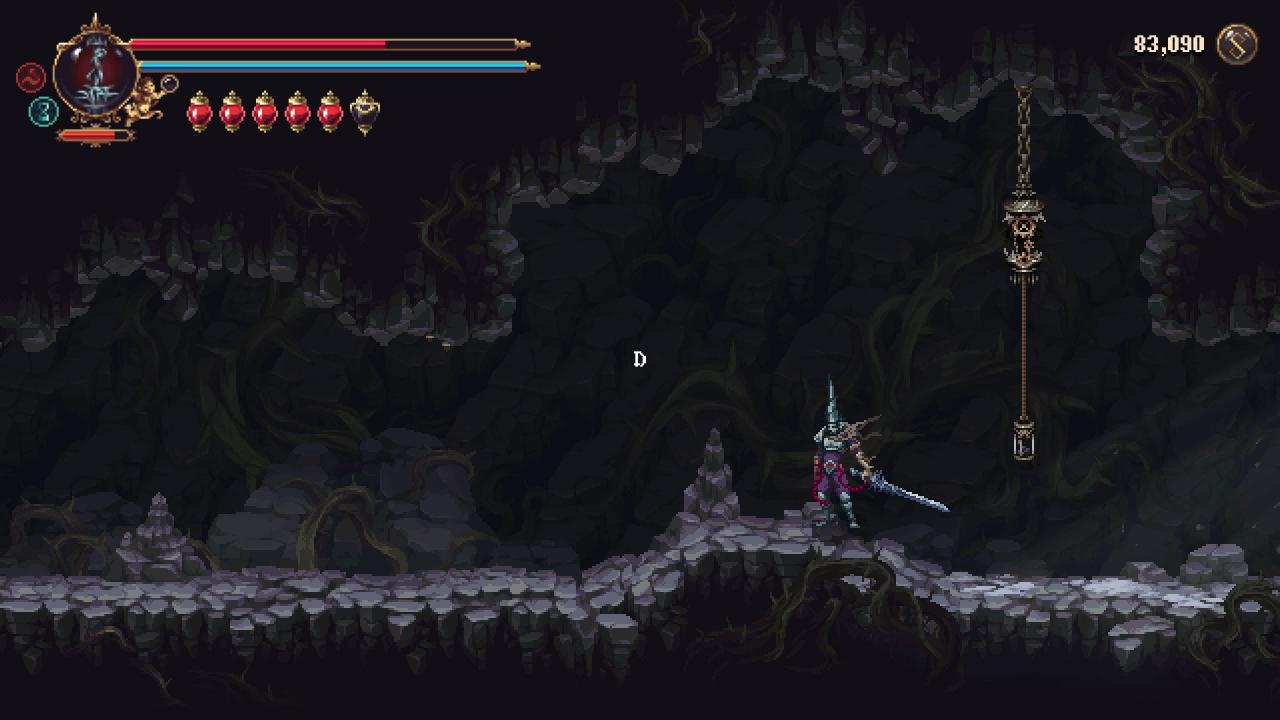
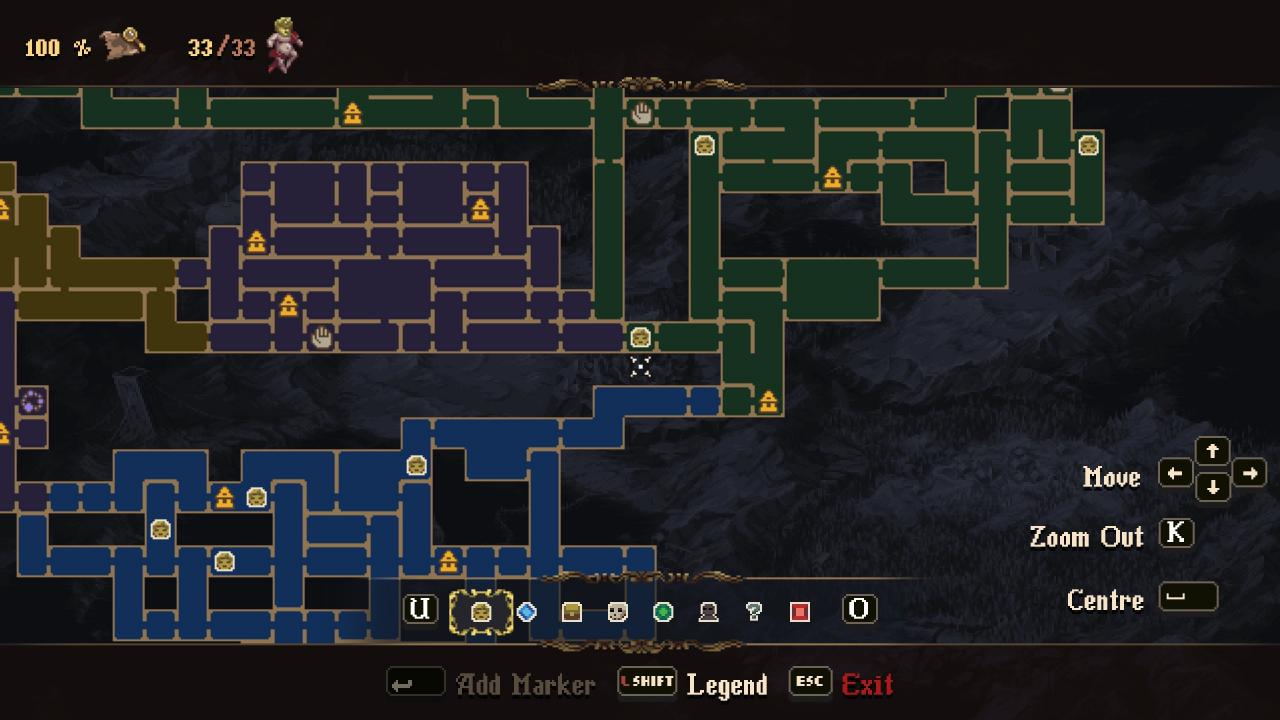
Timestamp: 1:37:33 – 1:38:46
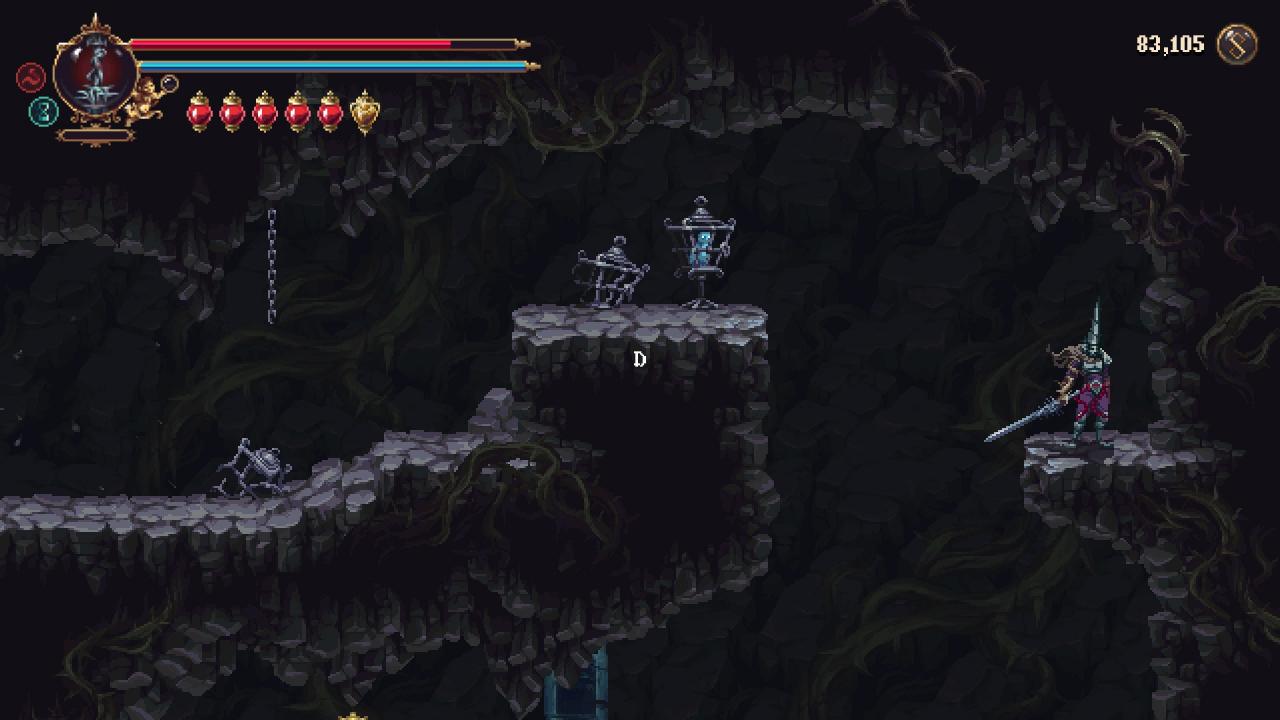
Timestamp: 33:42 – 37:18
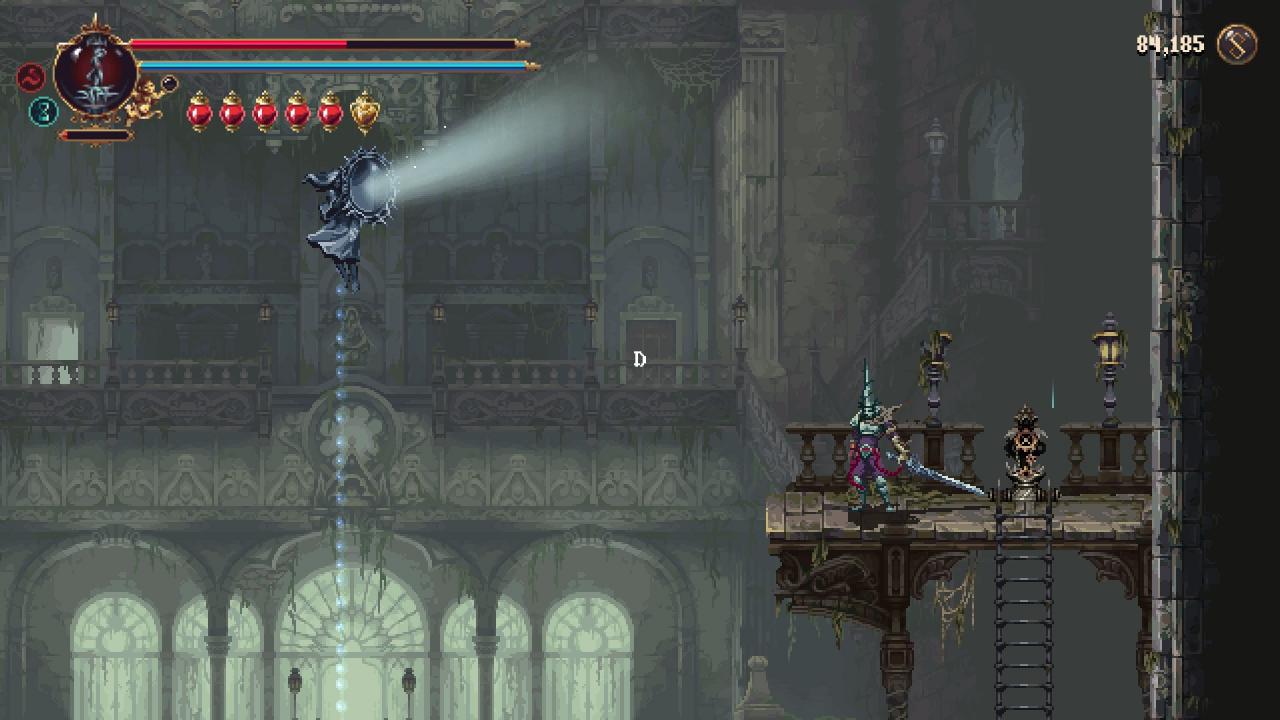
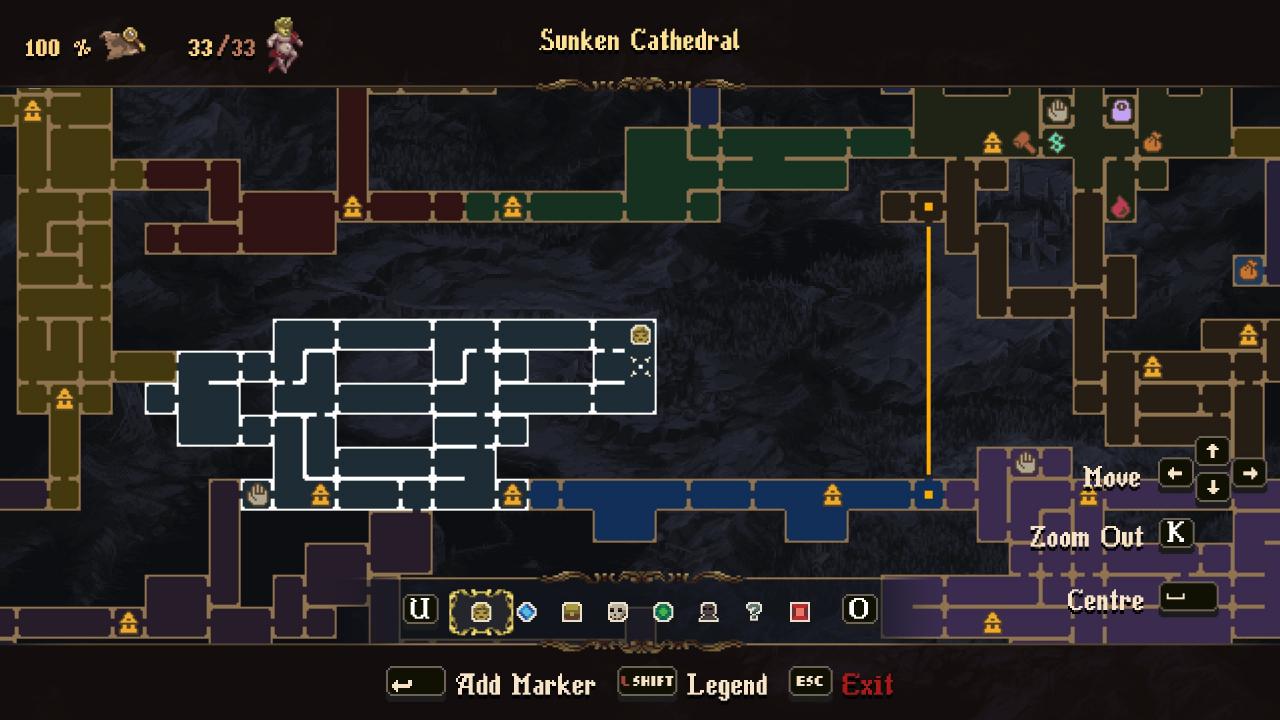
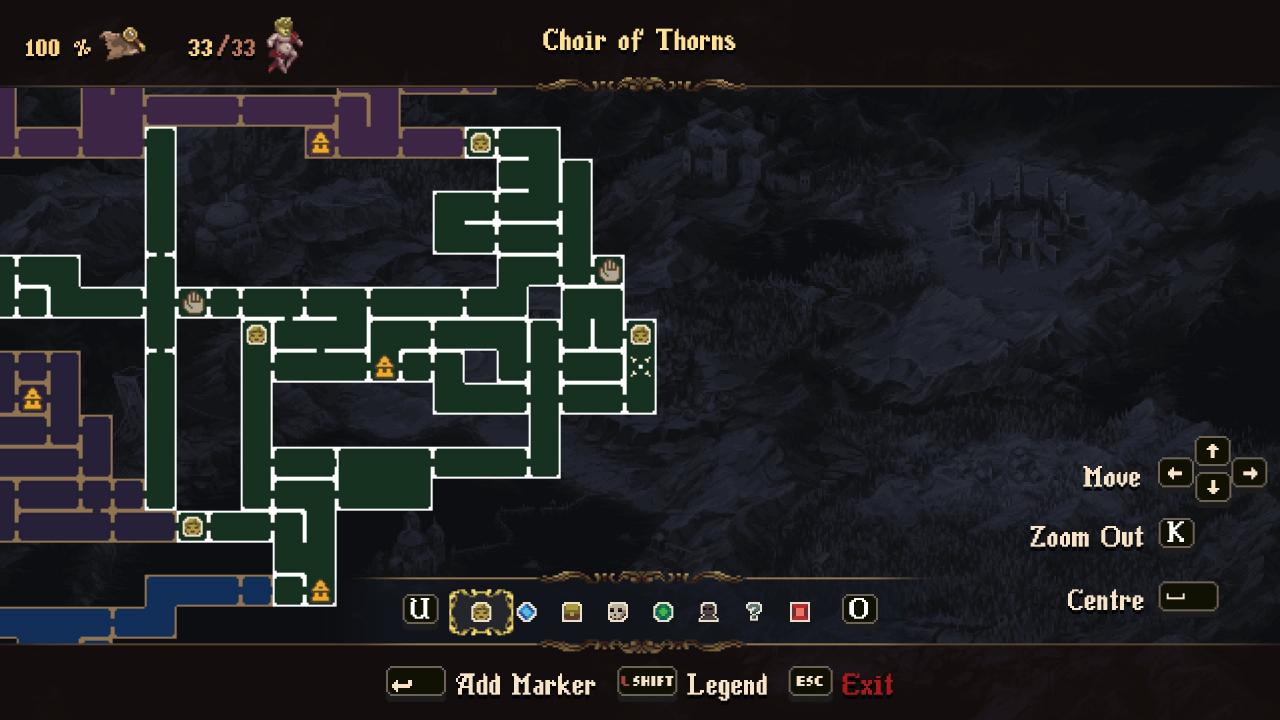
Timestamp: 39:16 – 41:18
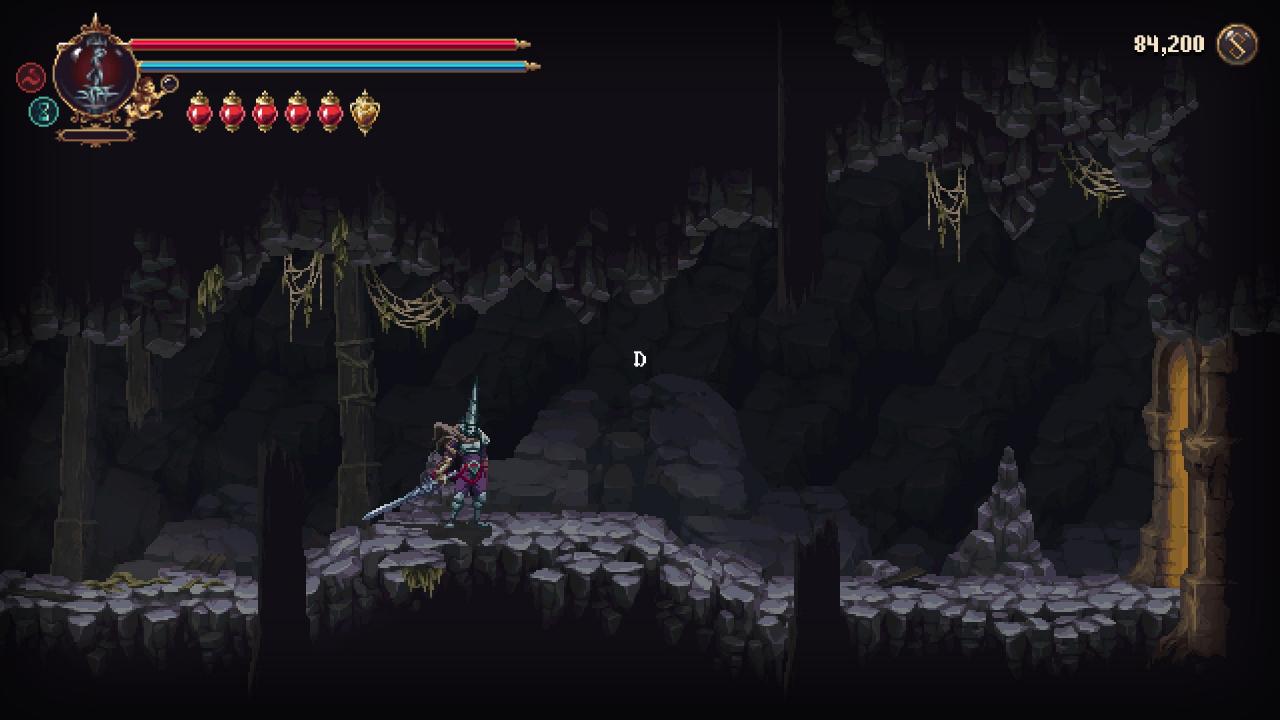
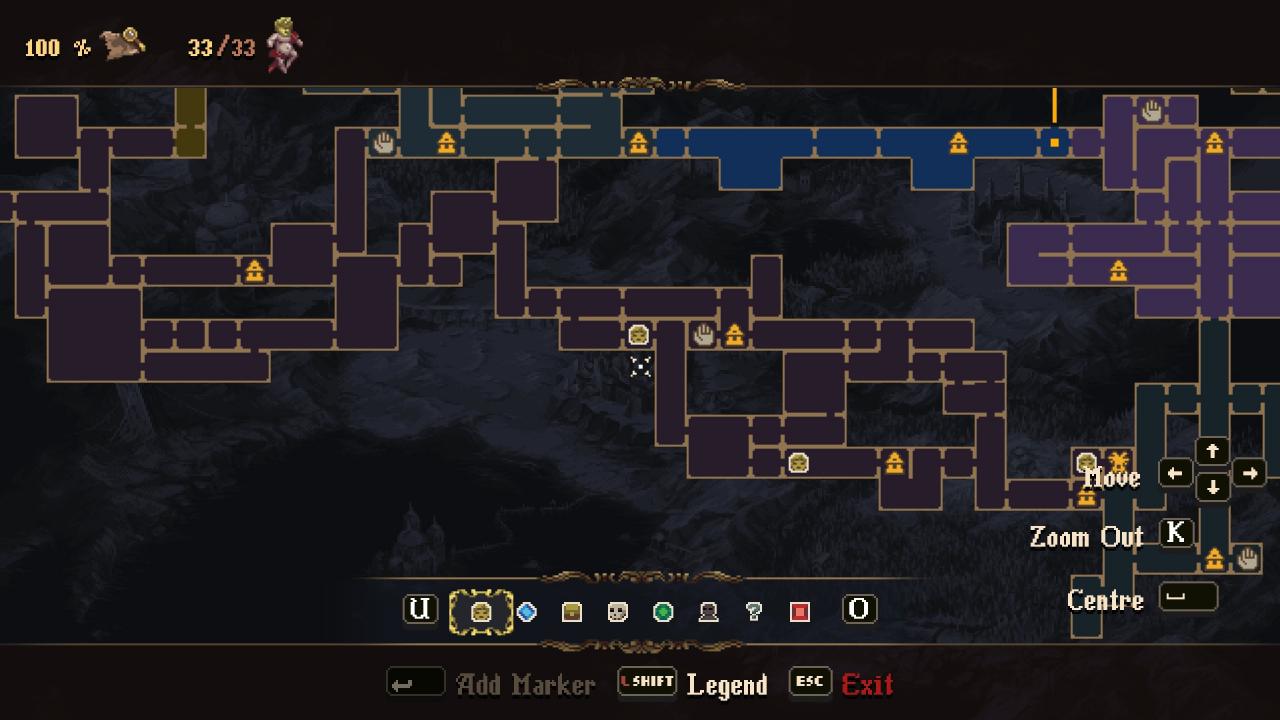
Timestamp: 49:46 – 50:06
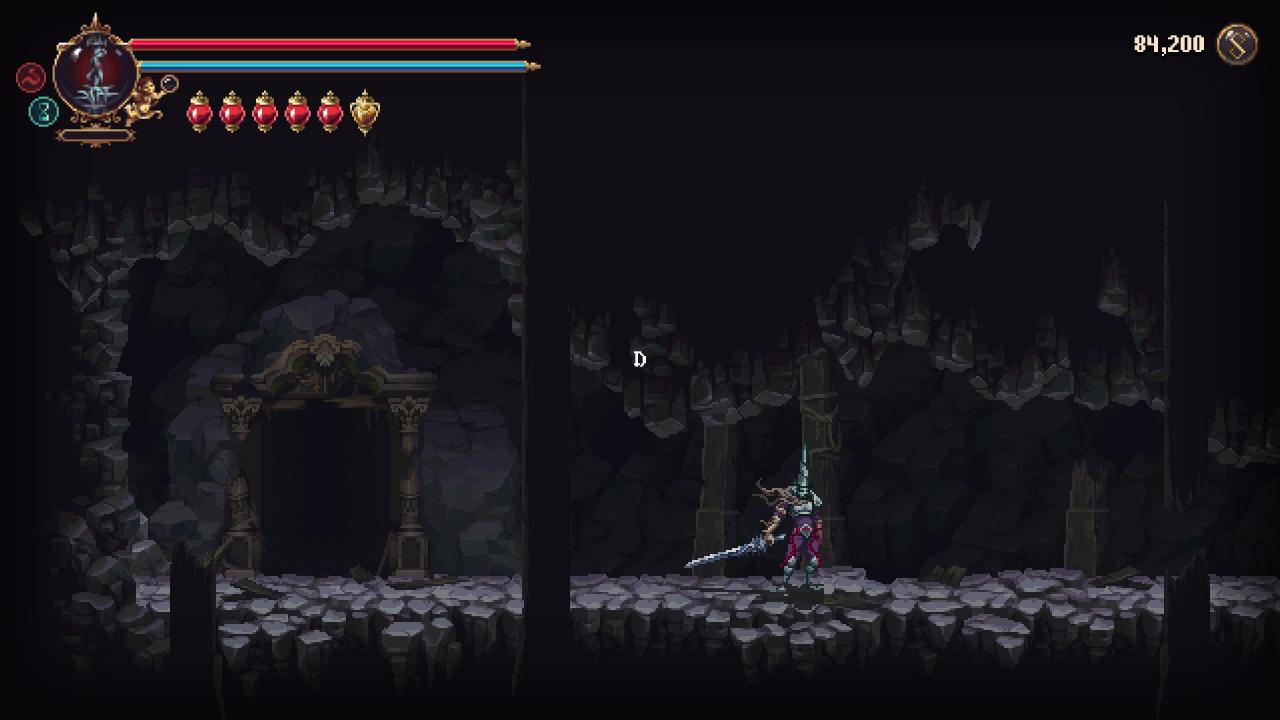
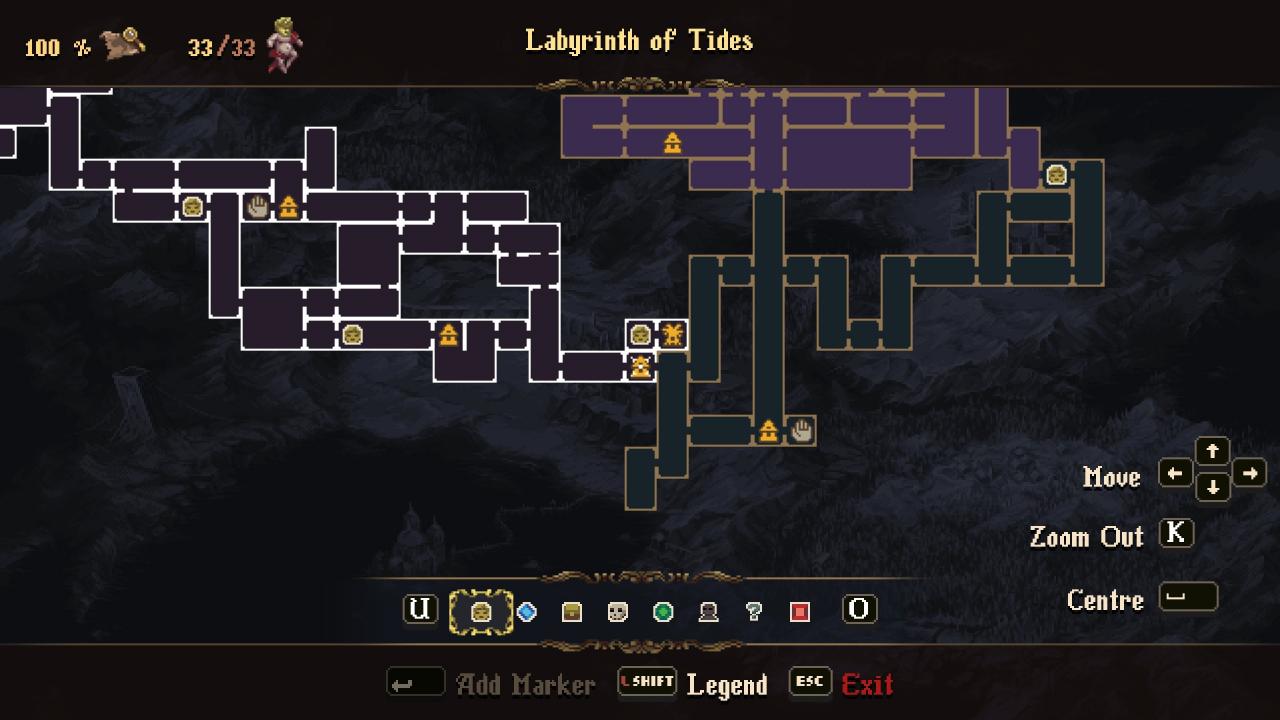
Timestamp: 1:42:30 – 1:44:48
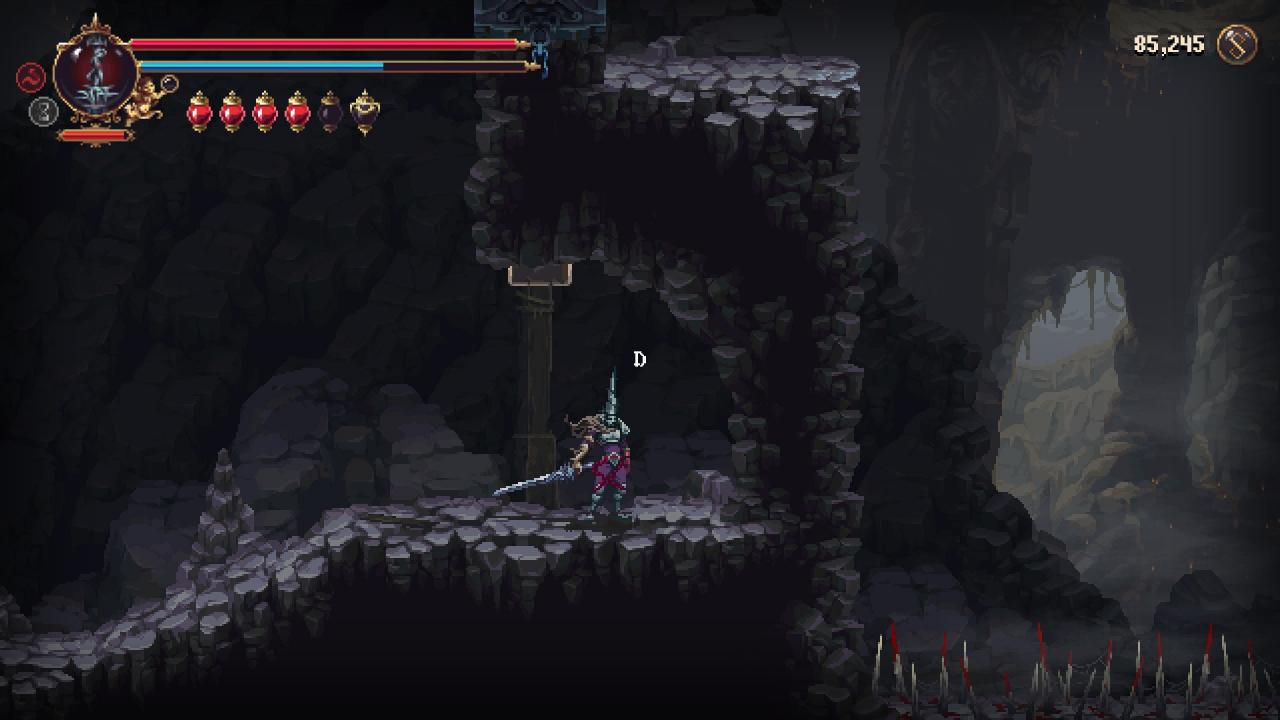
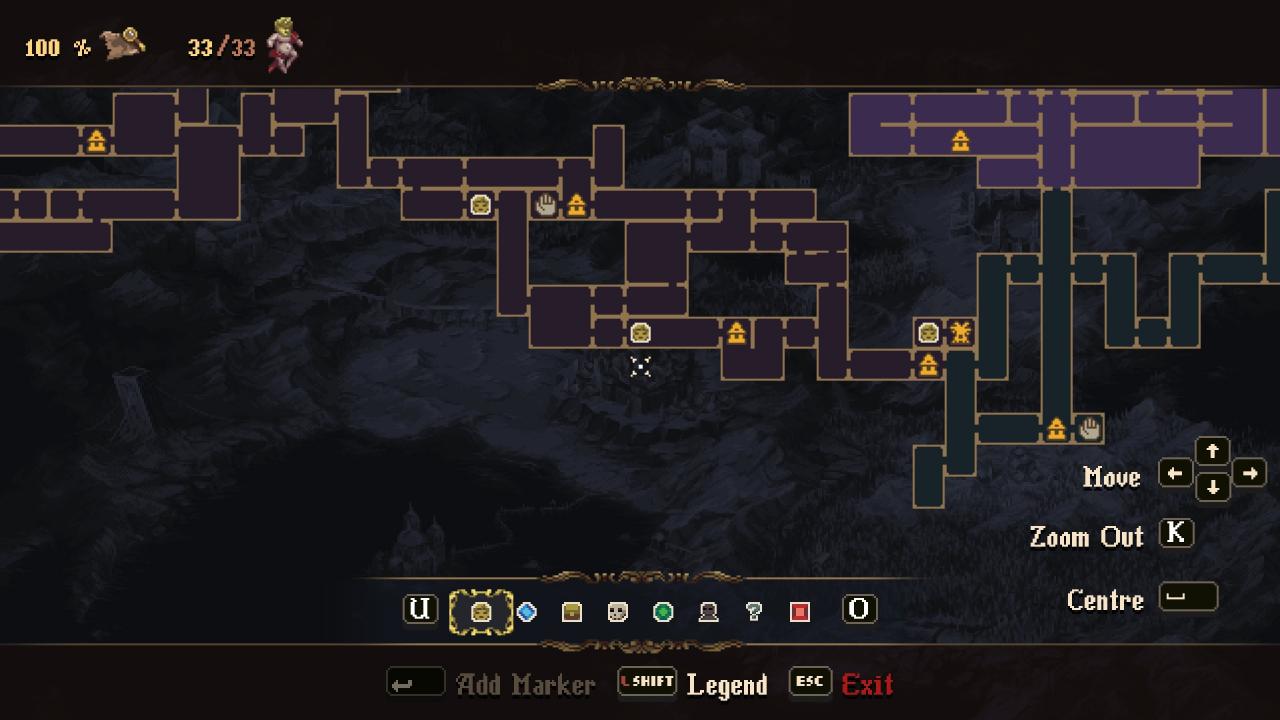
Timestamp: 29:46 – 31:23
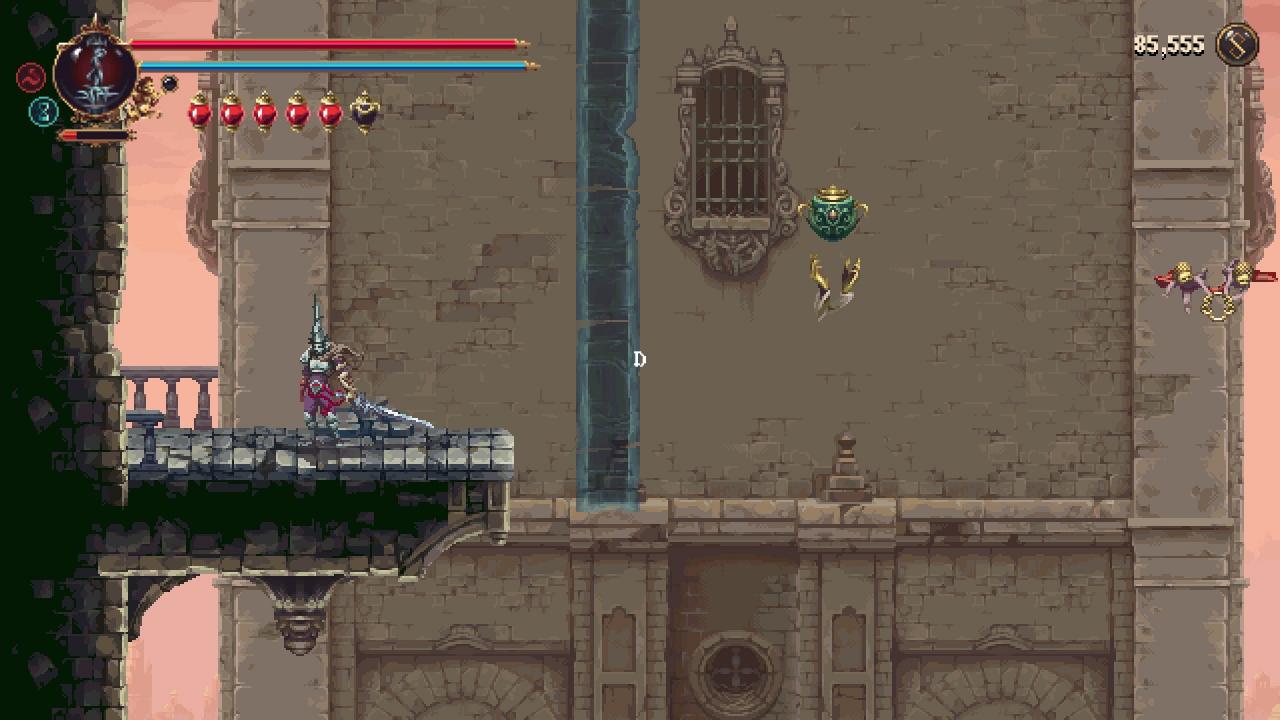
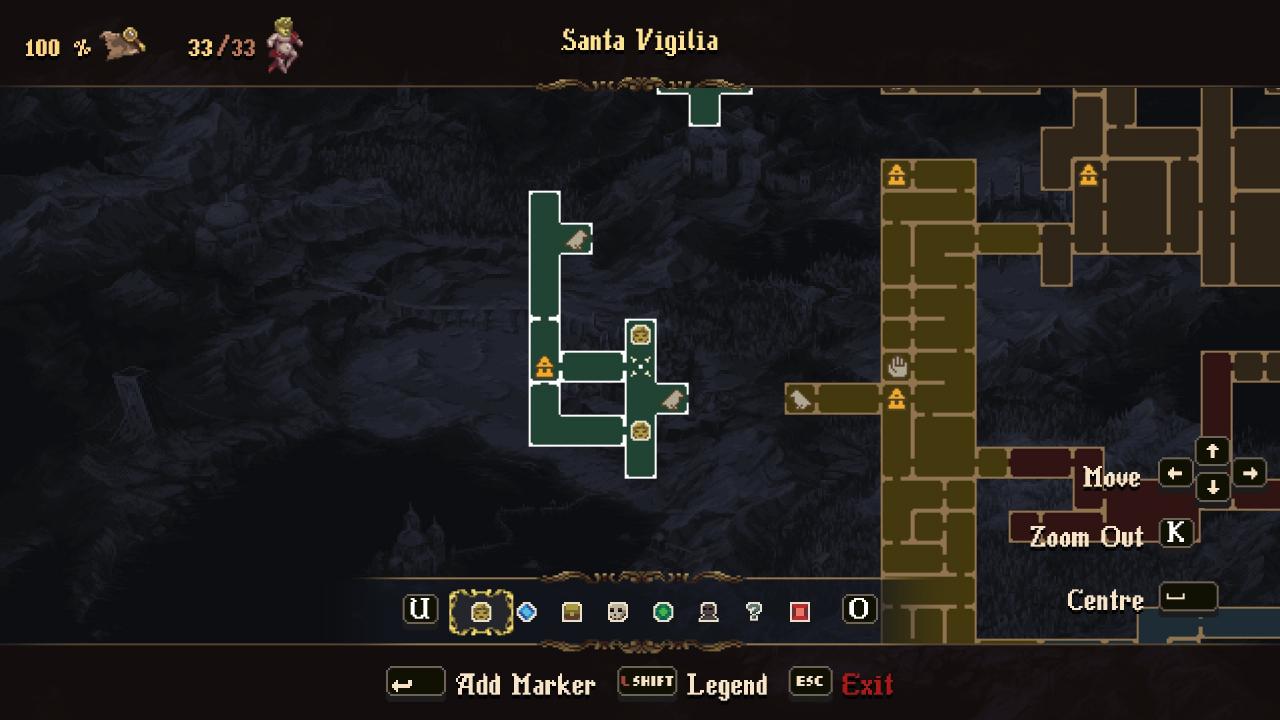
Timestamp: 2:25:52 – 2:28:04
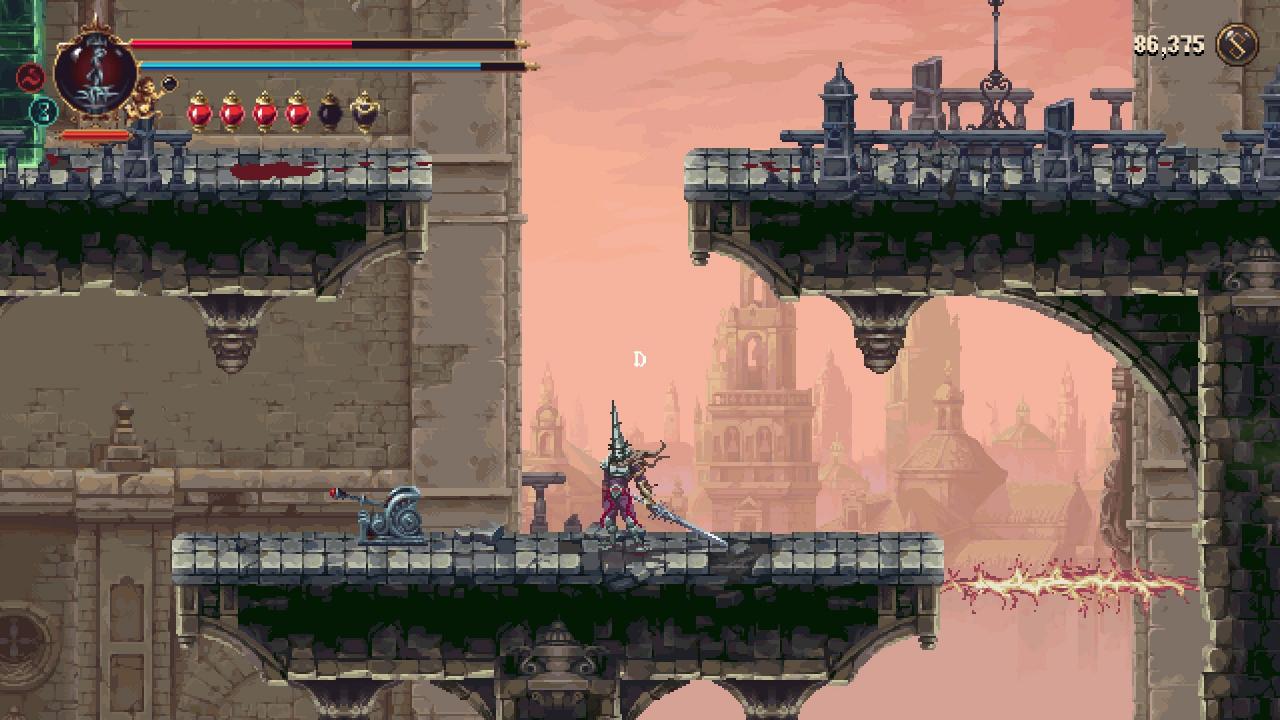
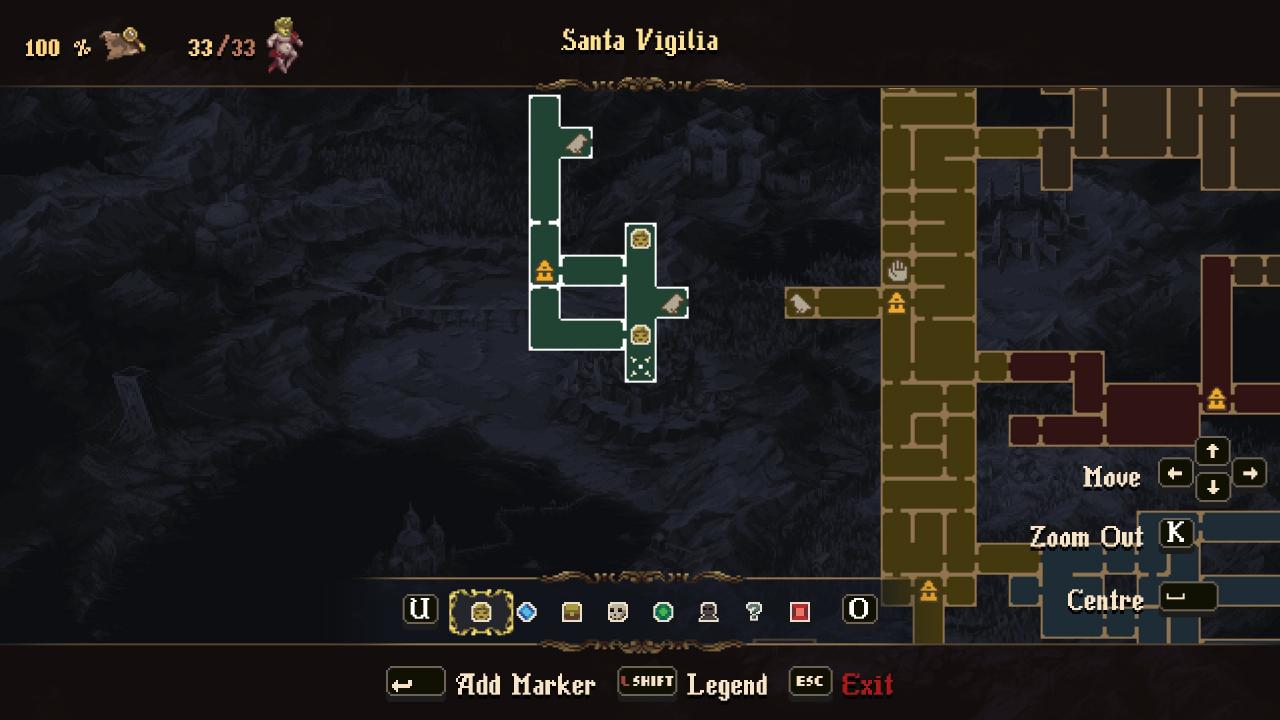
Timestamp: 2:33:18 – 2:33:44
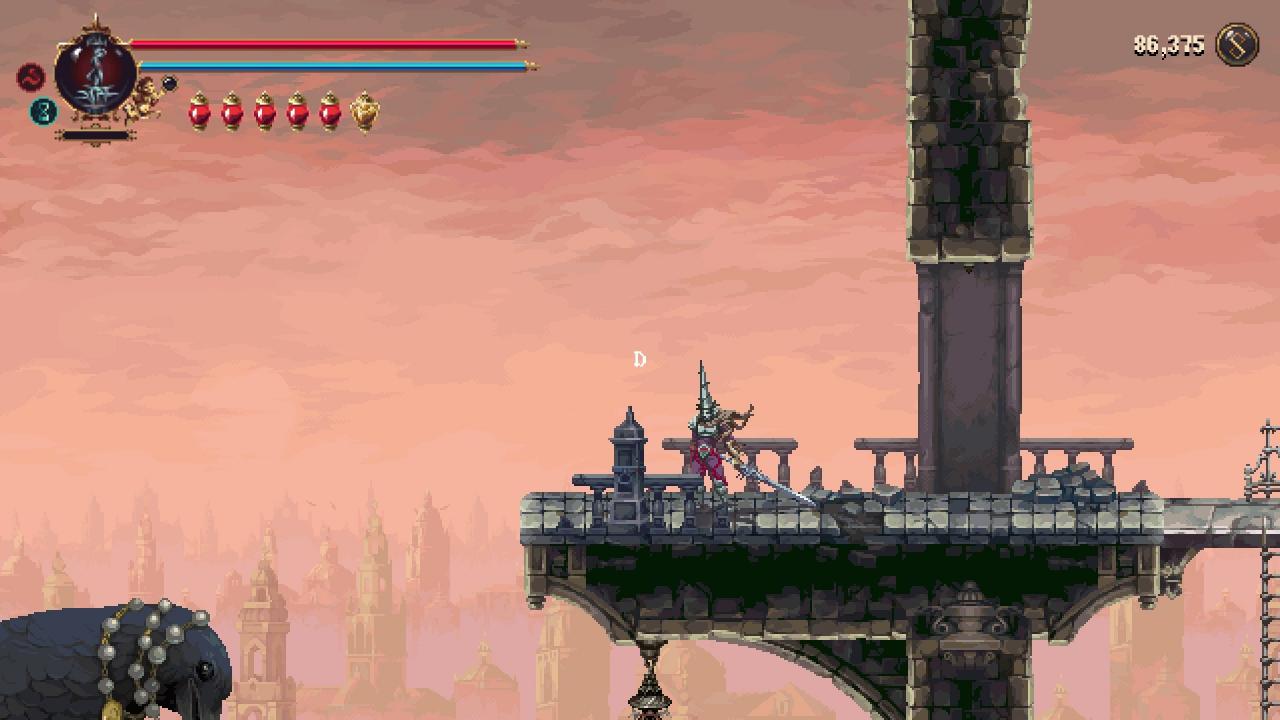
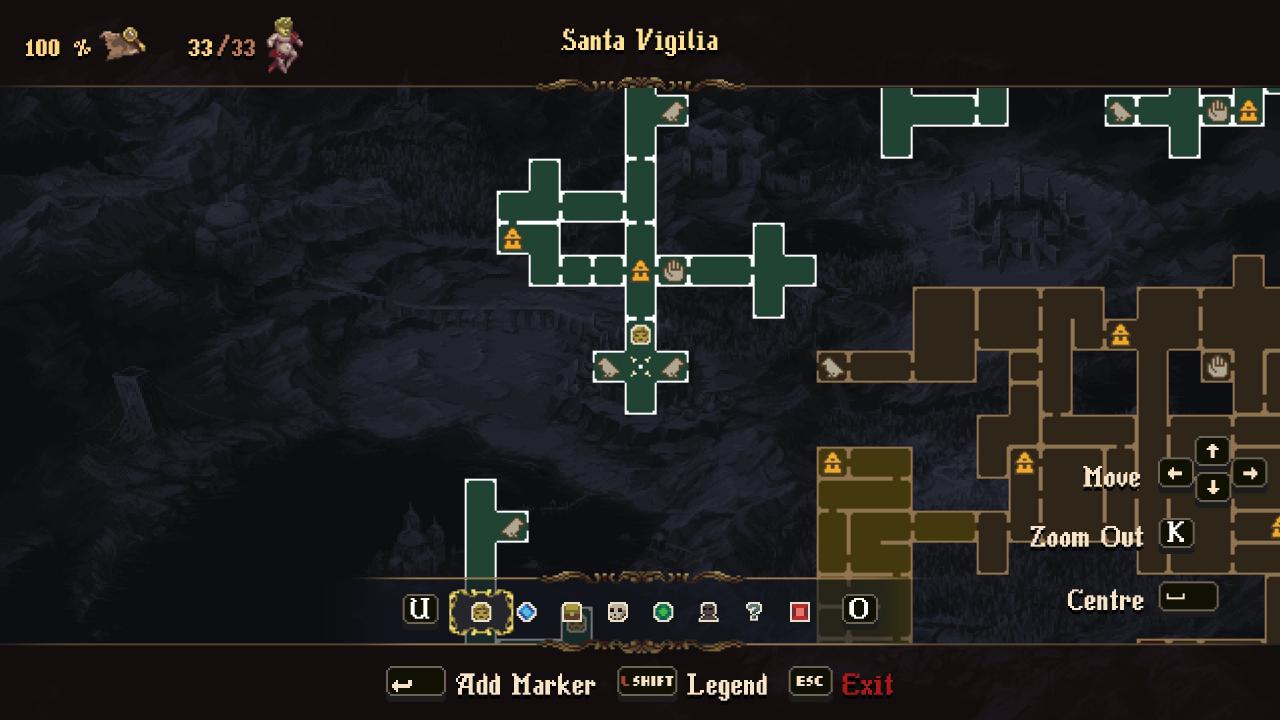
Timestamp: 2:54:55 – 2:57:12
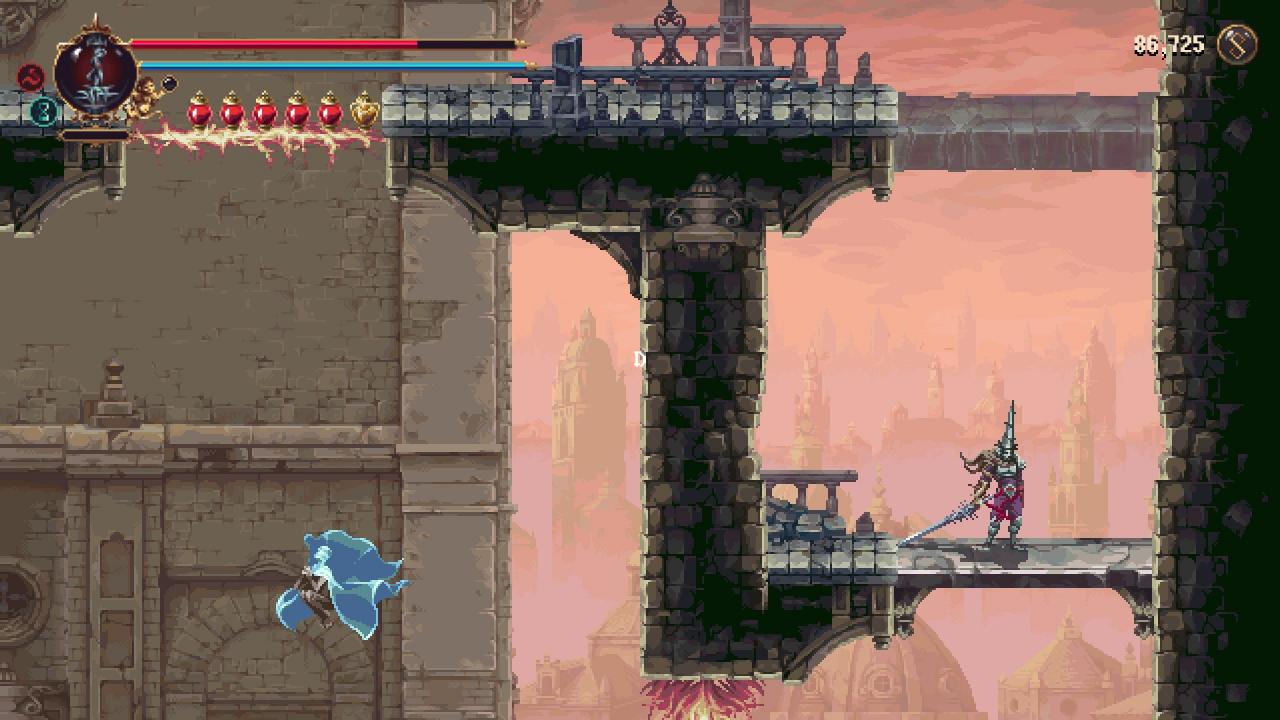
There is another quest to do, but this does not count towards the achievement (maybe, but again, more on that later). You have to visit 4 tombstones to get 4 items, then head to this room in the Icebound Mausoleum to get 1 gold bile flask that will restore both health and fervor!
{ss of map and location}
This guide will show you were to go to get this. Yes, it (probably) isn’t needed for the achievement, but the upgrade is quite useful, so I would get it anyway.
That’s a great question. After getting all of the items in the DLC, everybody seems stuck at 24 items (unless your game is bugged like mine, in which case I have 23). The extra 2 items are key items. I’m not sure which ones they are (maybe Broken Step and the Ceramic Key?), but regardless, you will get them by progressing the story. However, this puts you at 24 items just like everyone else. So where are the other 7? Well, 6 items come from completing NG+ with all 8 modifiers turned on. Here is a link to the reddit post that details this.
Alright, so that’s 30/31 items. What’s the last one? Nobody knows. Maybe players missed something in the DLC. Maybe you have to do another NG+ run. Maybe the achievement is bugged. My current theory is that the achievement is currently bugged and the last item is the Beatus Lacrimatorio, (which is why I recommend you complete that quest), but I cannot say for certain because of how vague the achievement description is. So until somebody does know for certain, it seems that everybody is
Prisoner of the Holy Return

“Defeat Brother Asterión.”Thankfully, this one is much simpler. This is a story related achievement, and you will get it when you defeat Brother Asterión for the second time. There’s nothing more to this, so we can move on.
Also, there’s a secret area across the chasm that Brother Asterión fell into, and this should be the last spot you need for the next achievement.
Dedicated Explorer
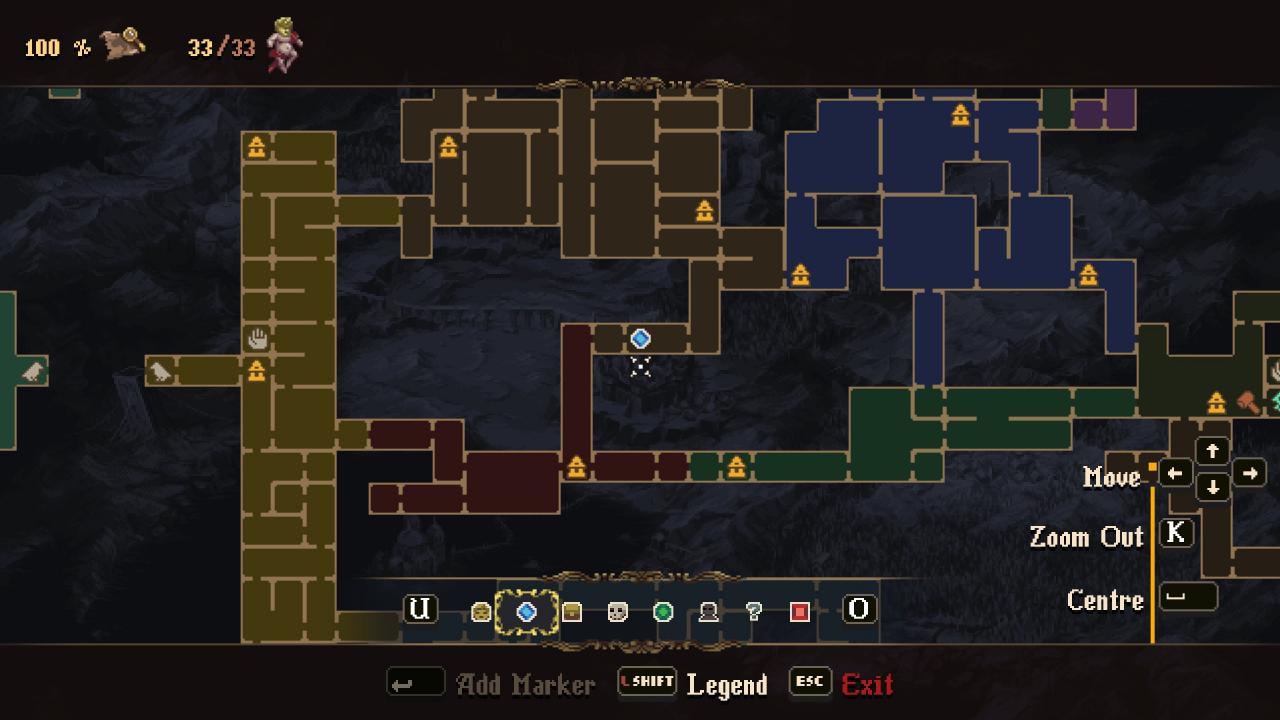
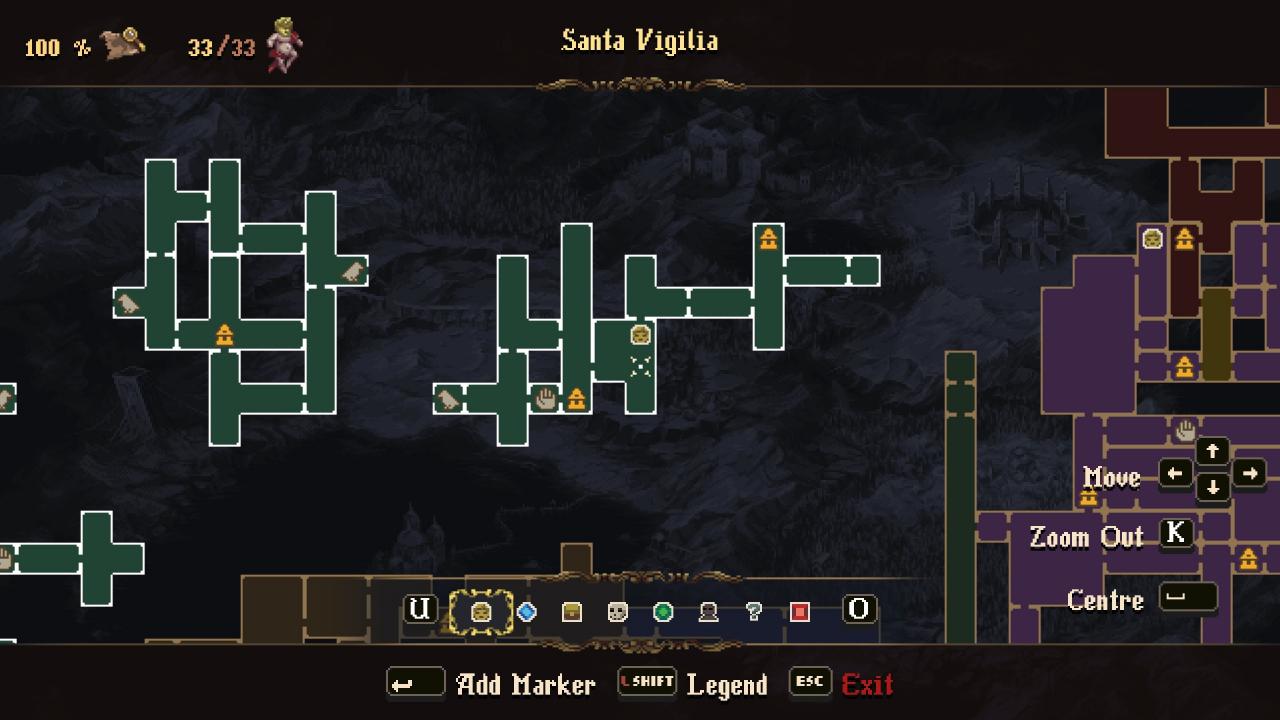
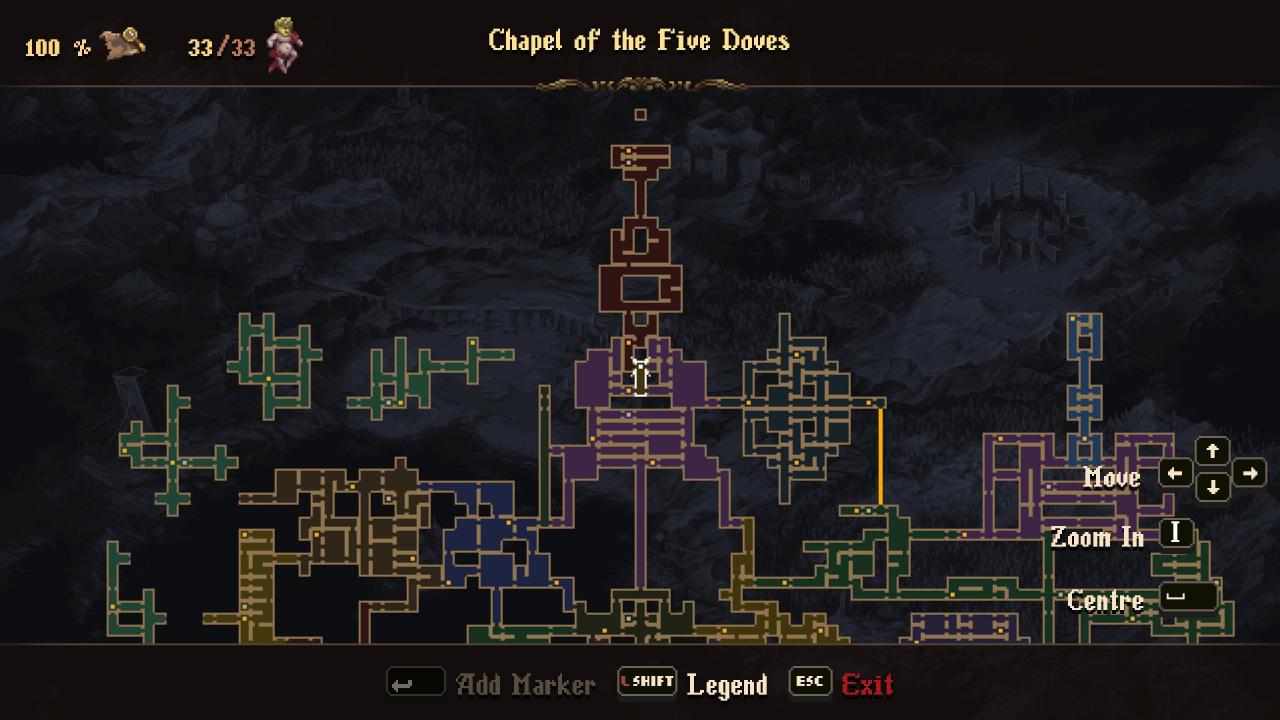
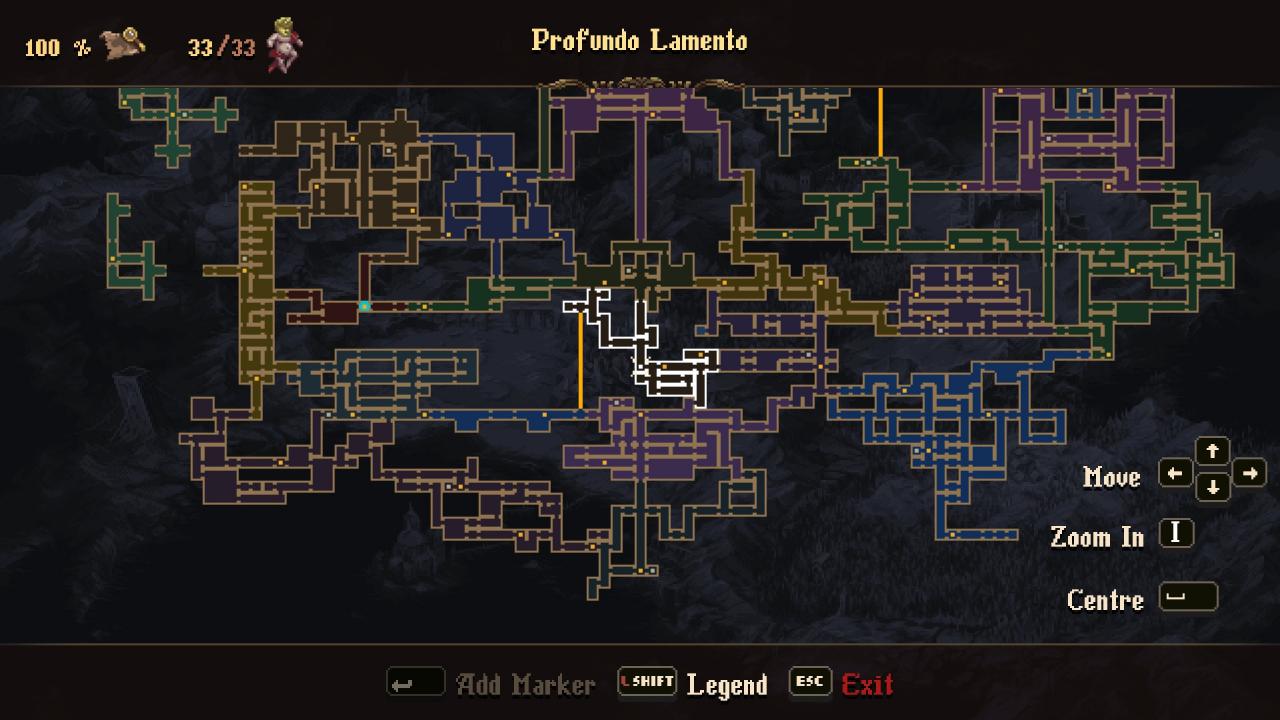
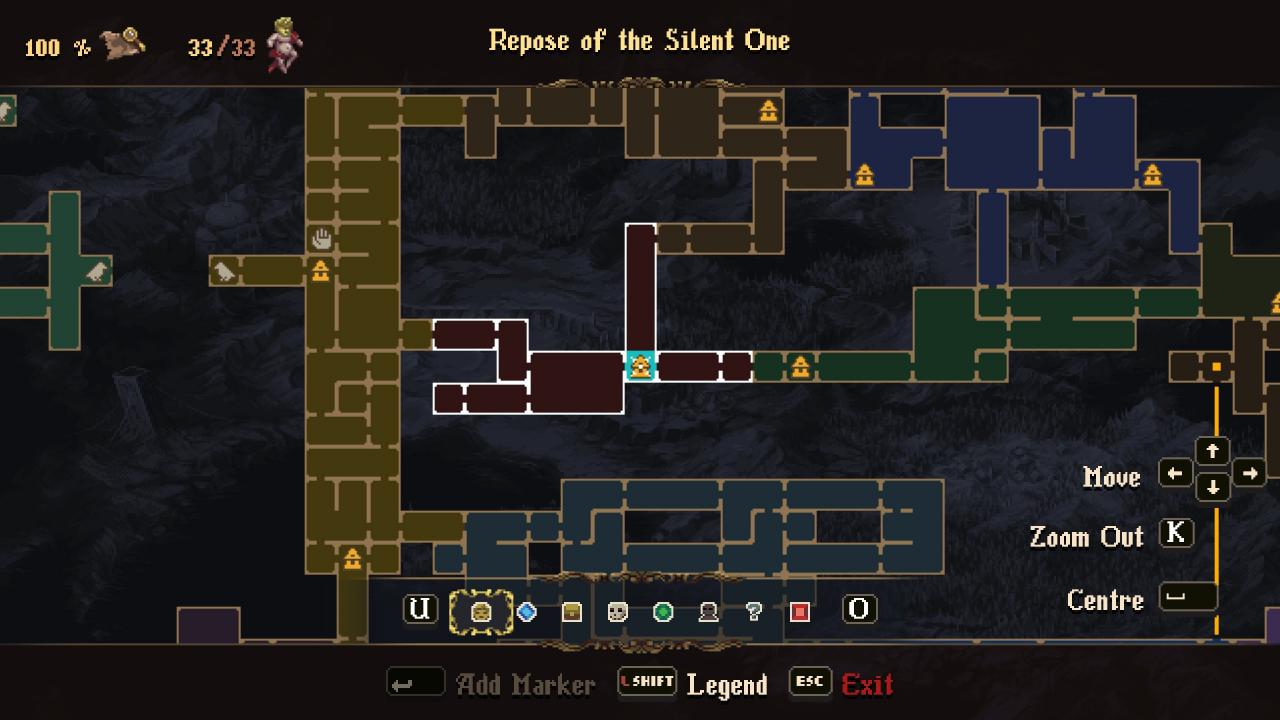
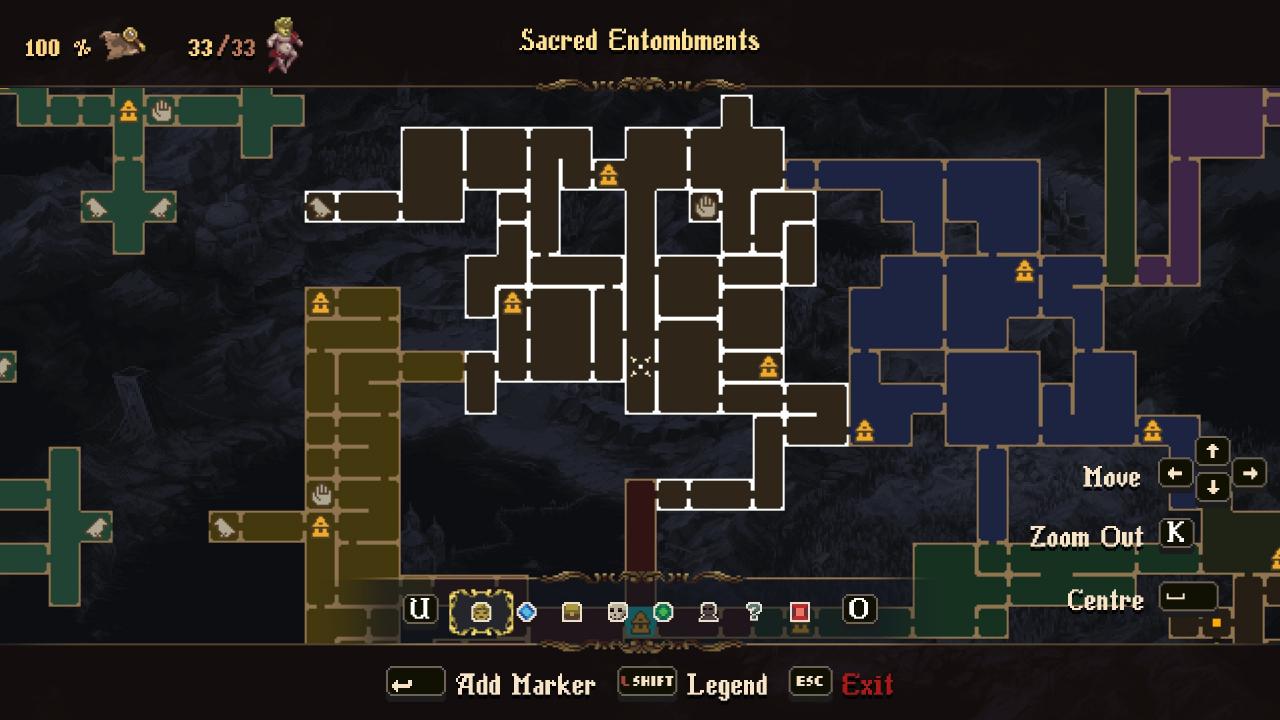
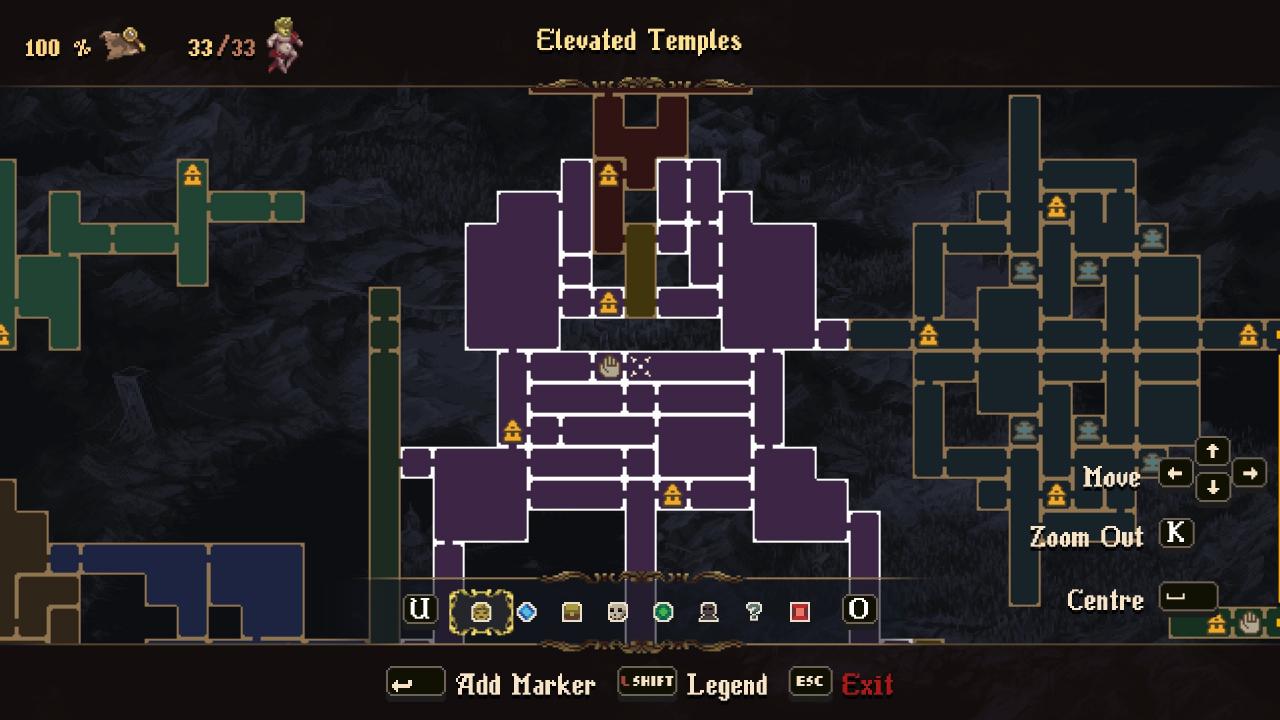
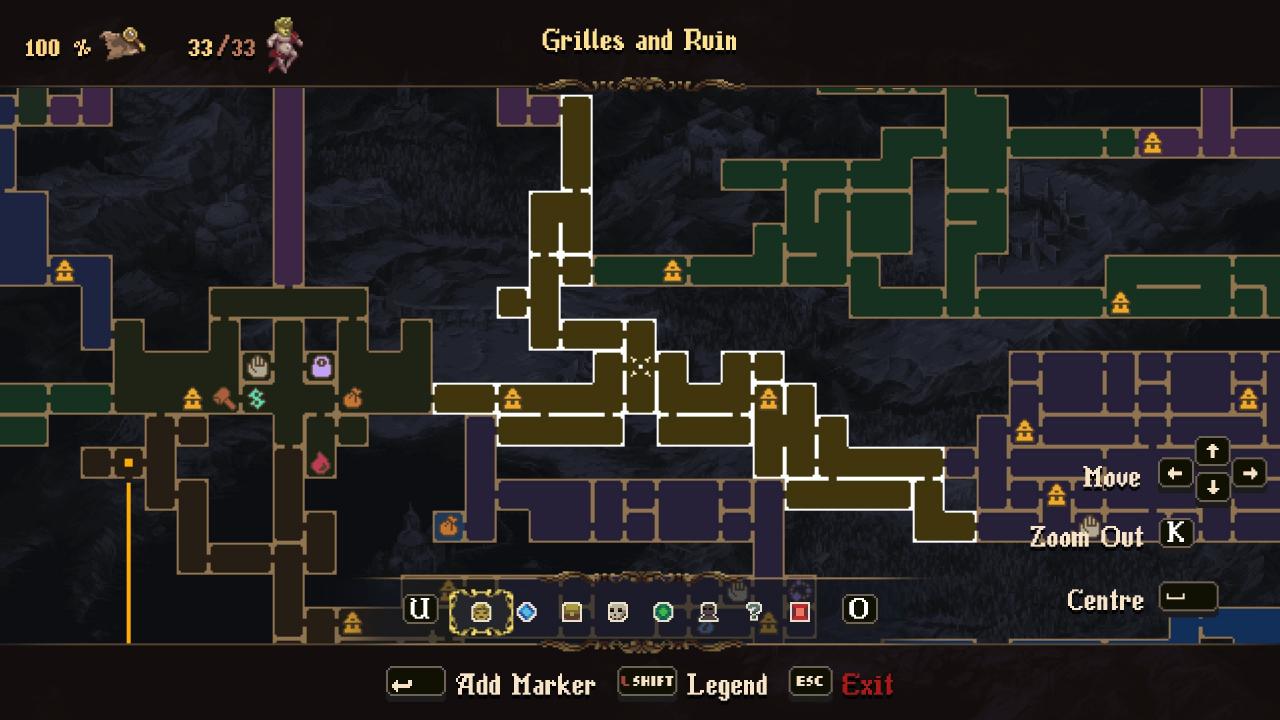
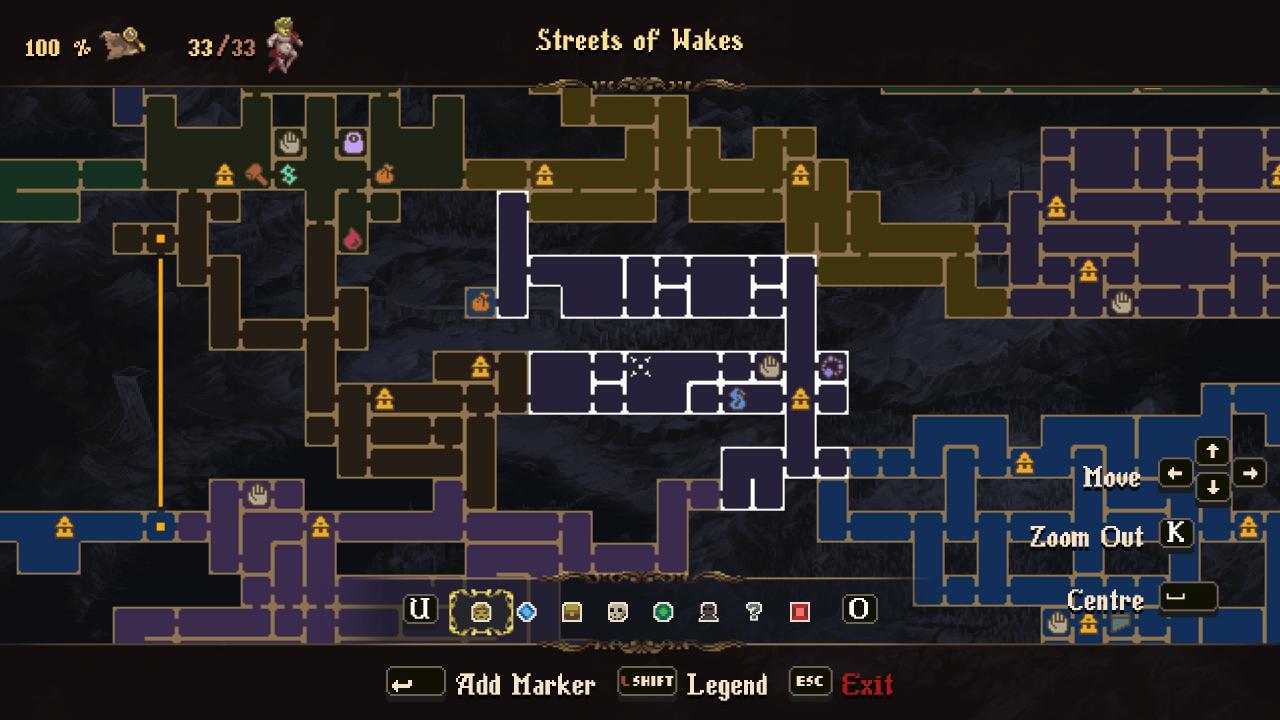
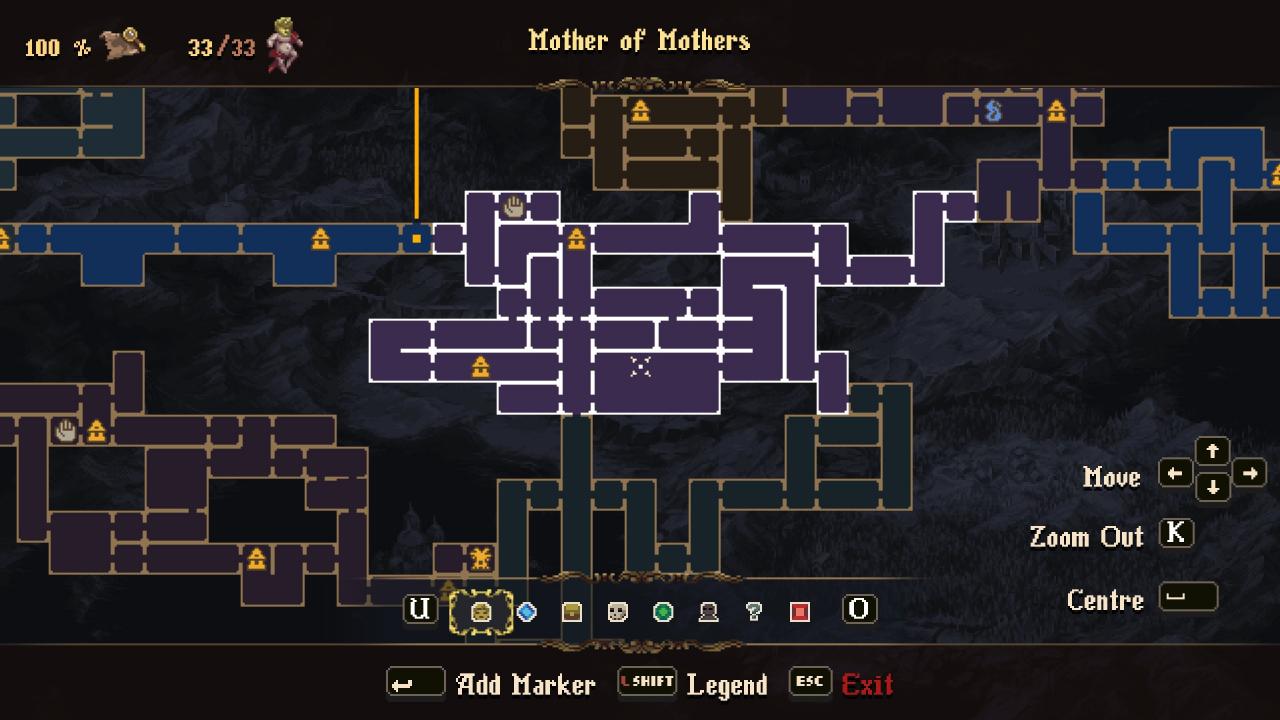
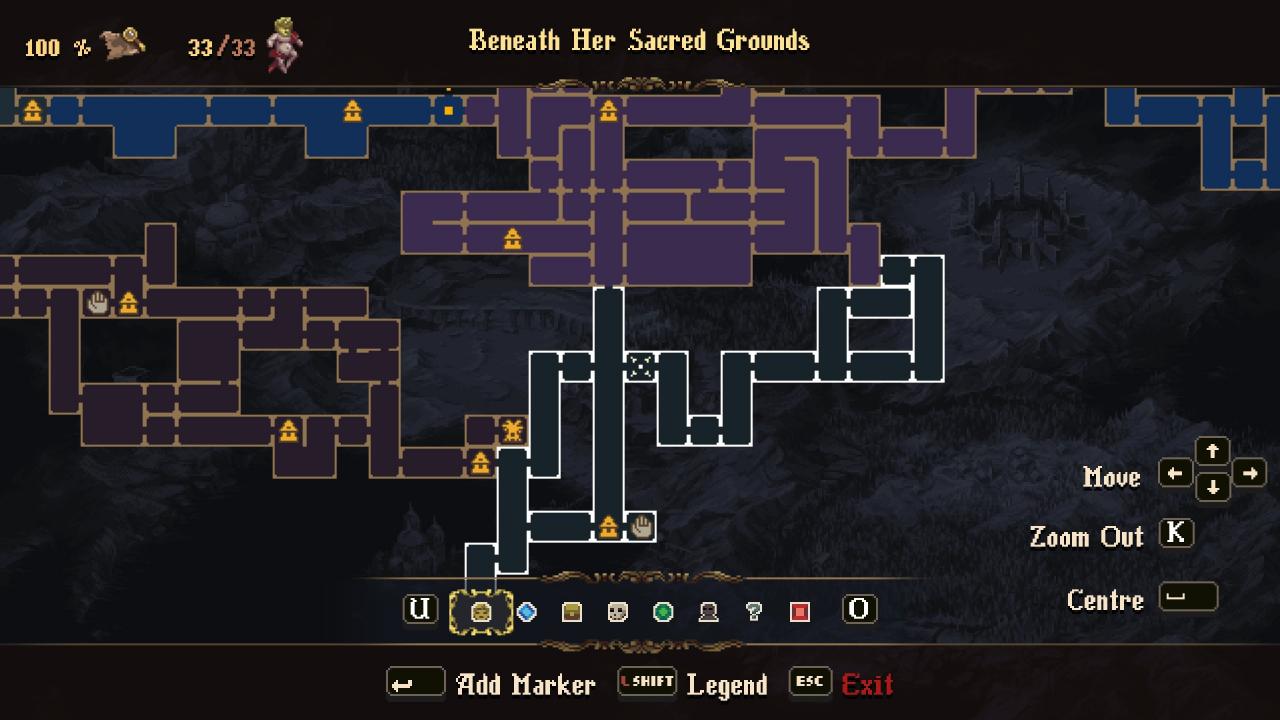
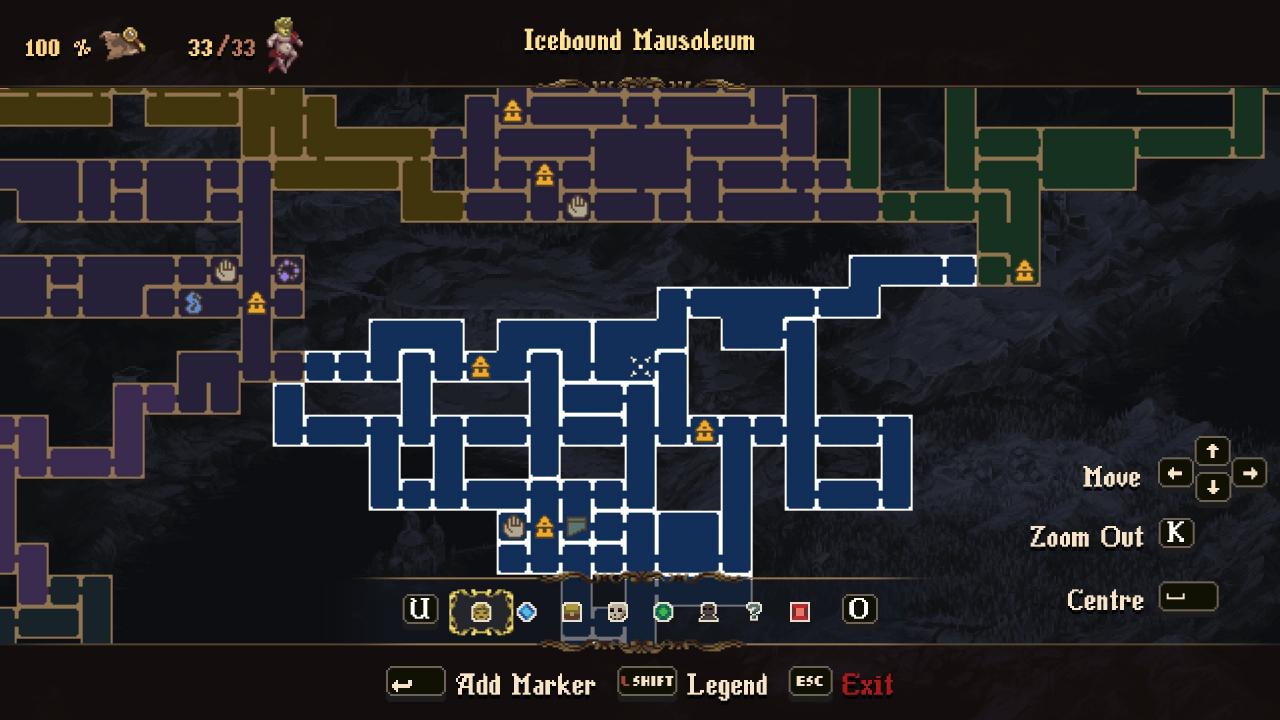
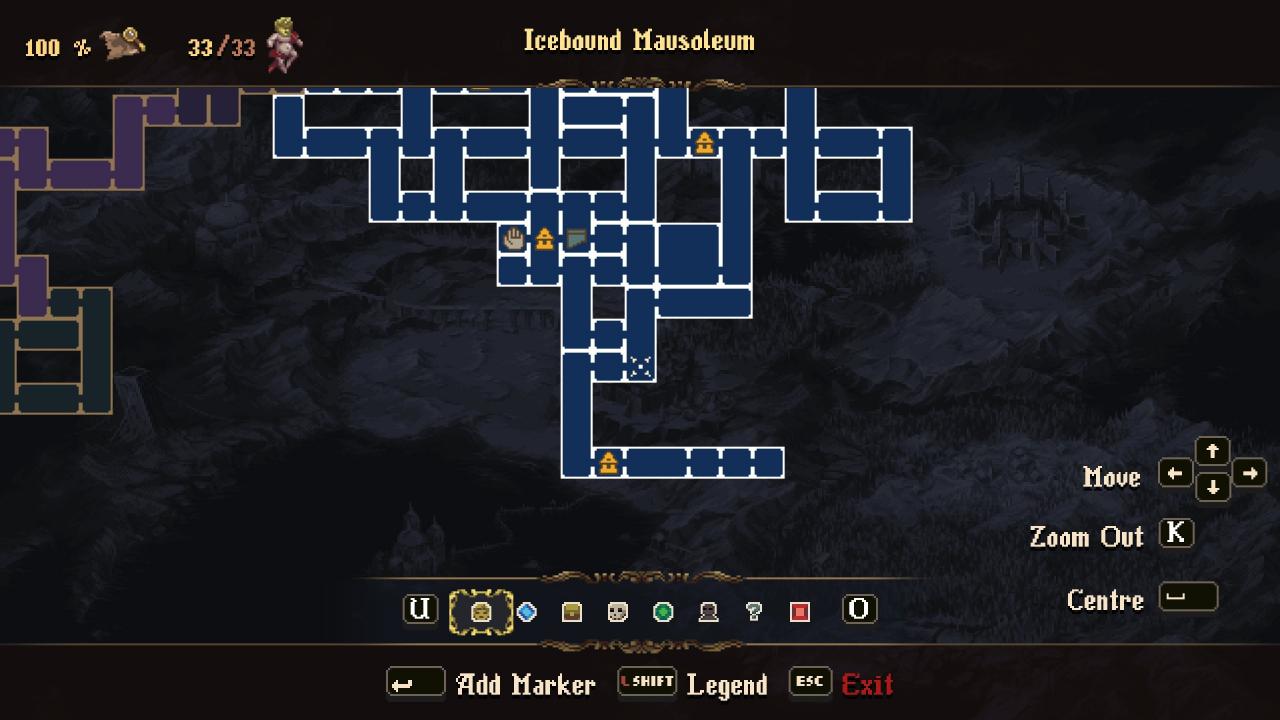
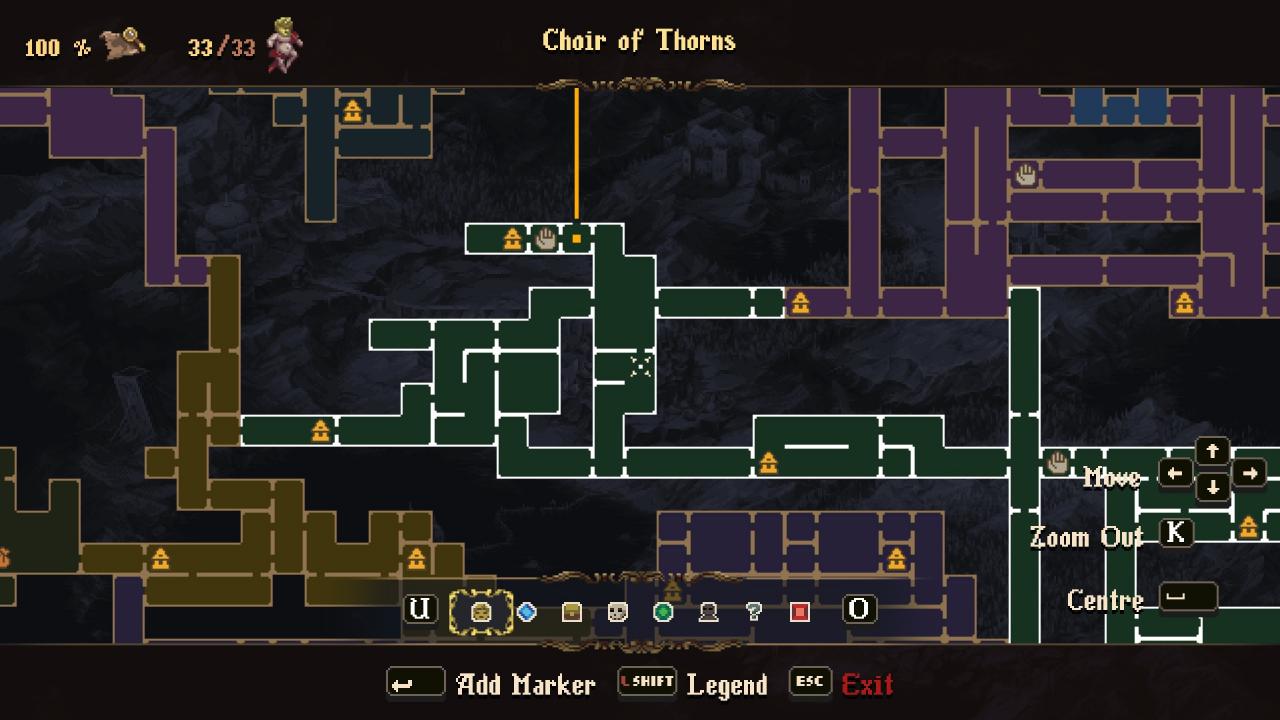
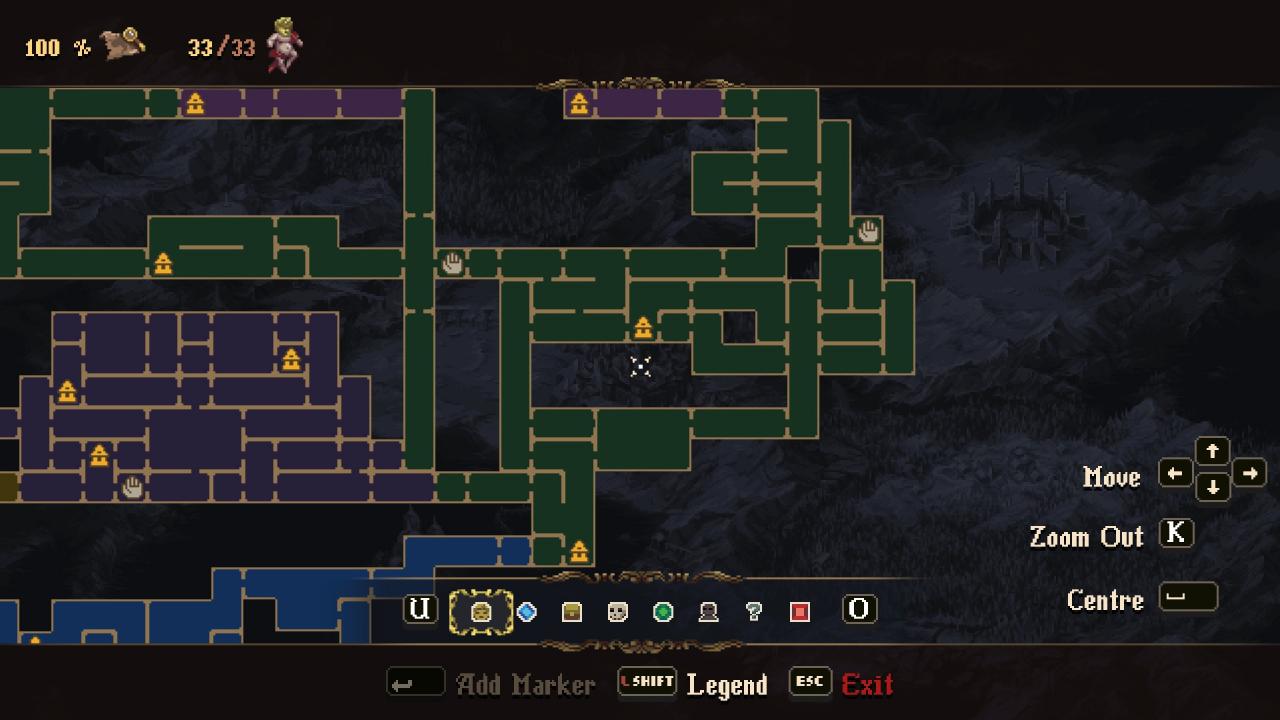
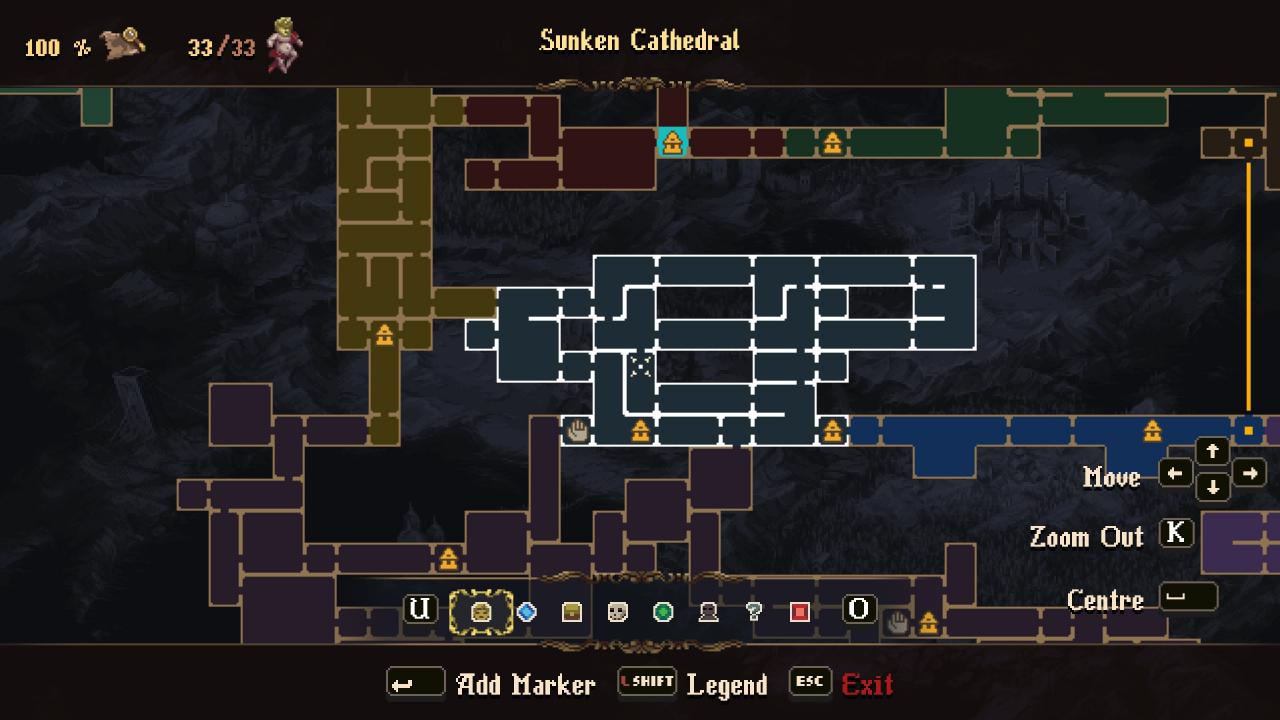
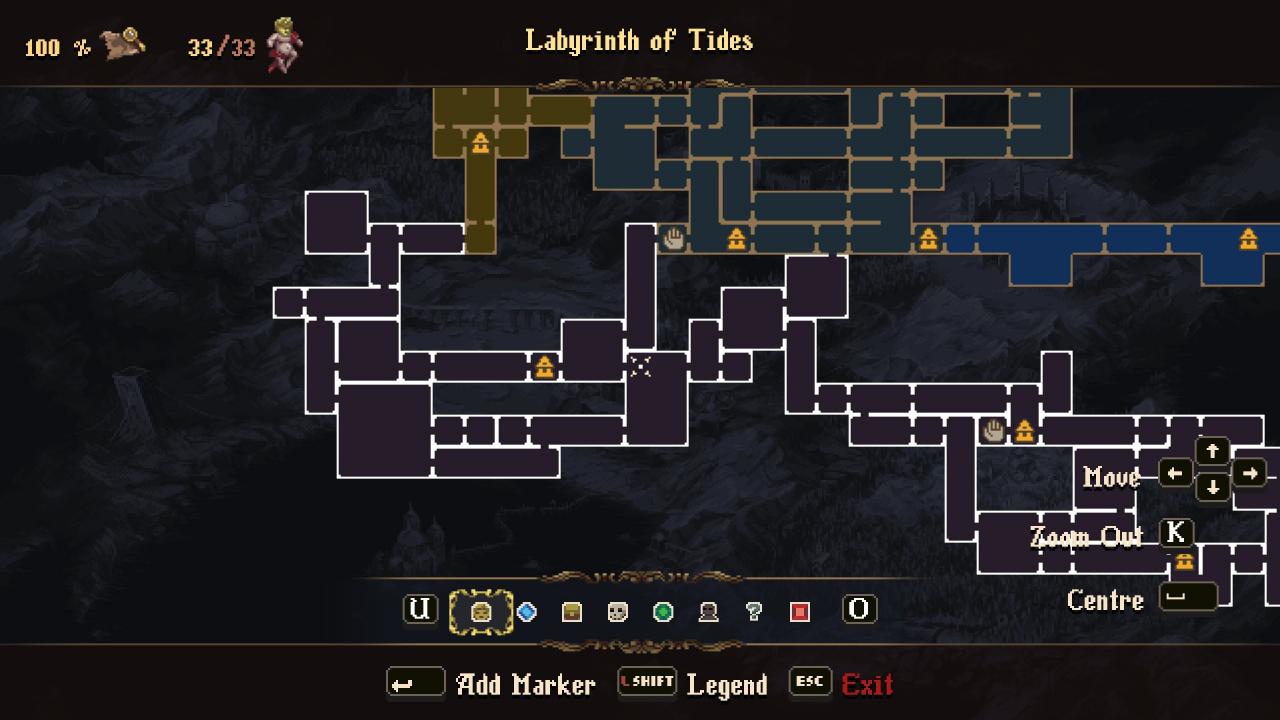
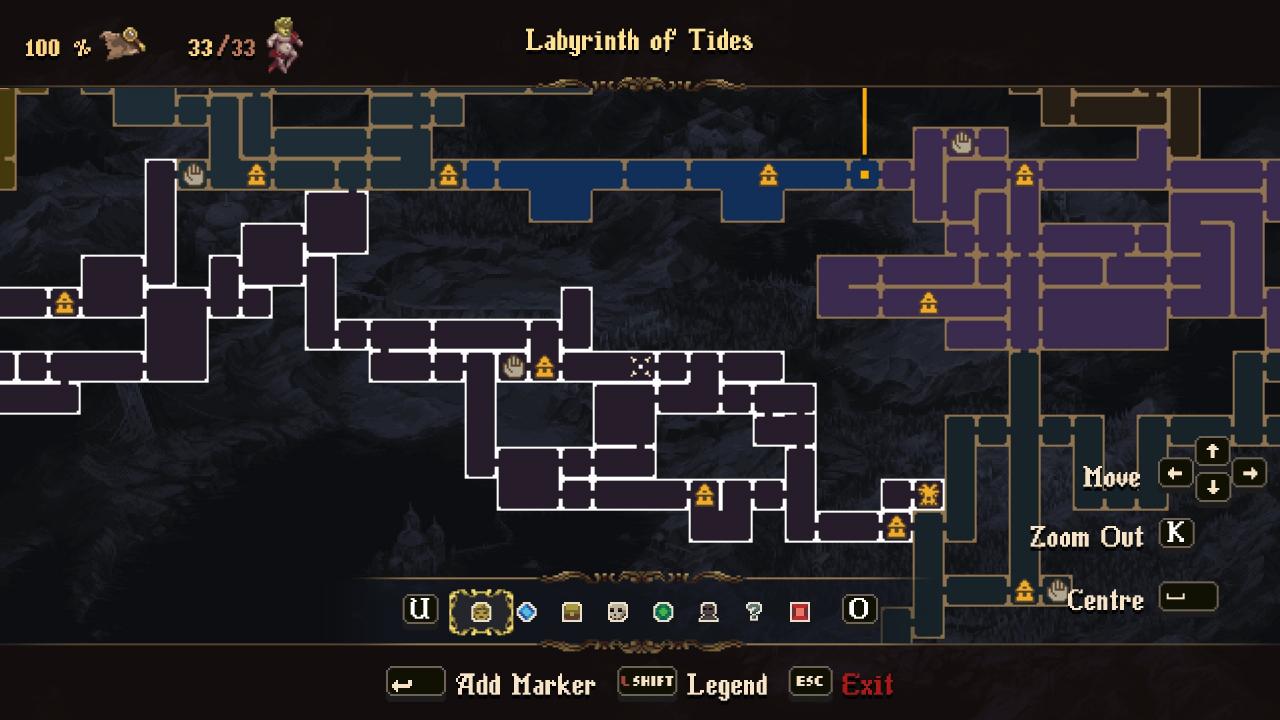
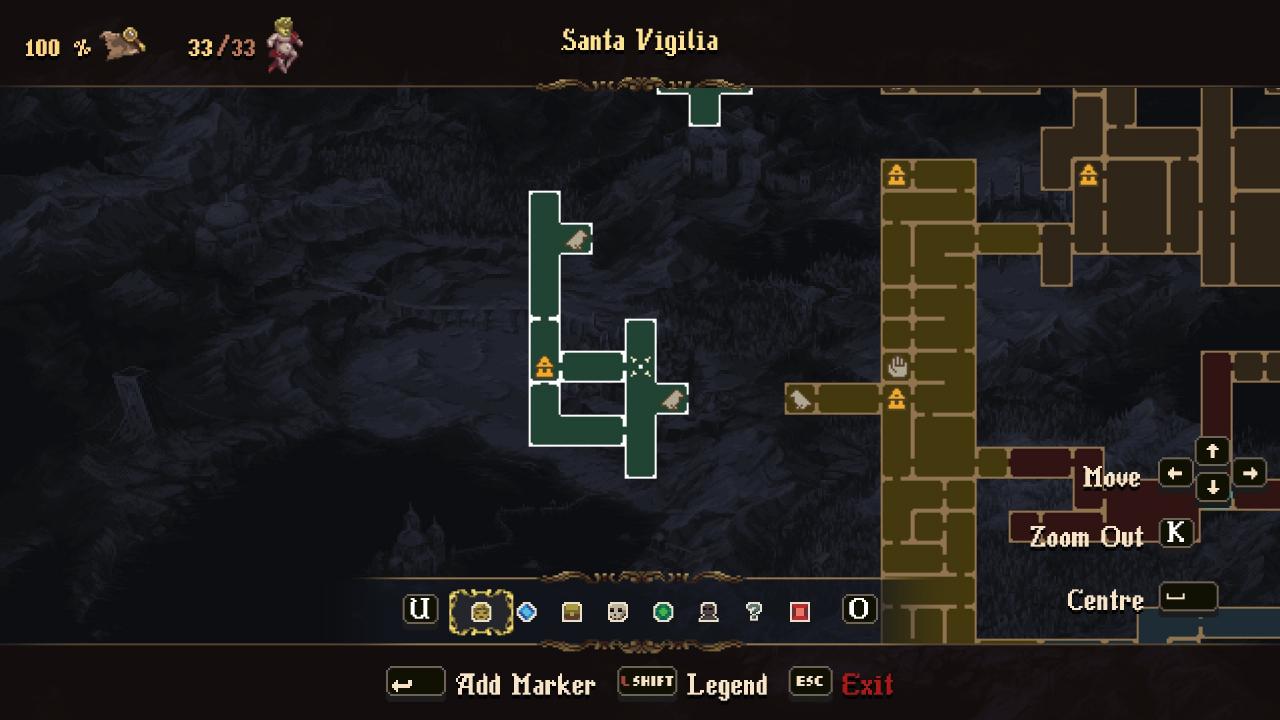
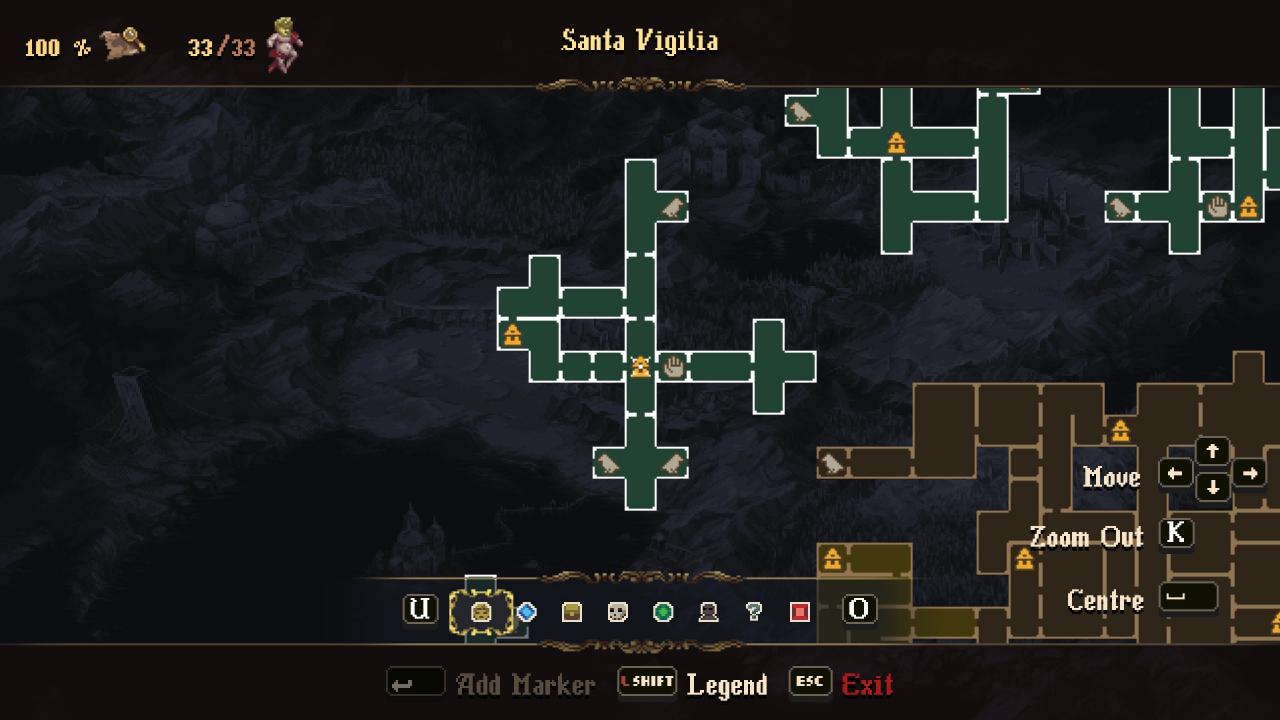
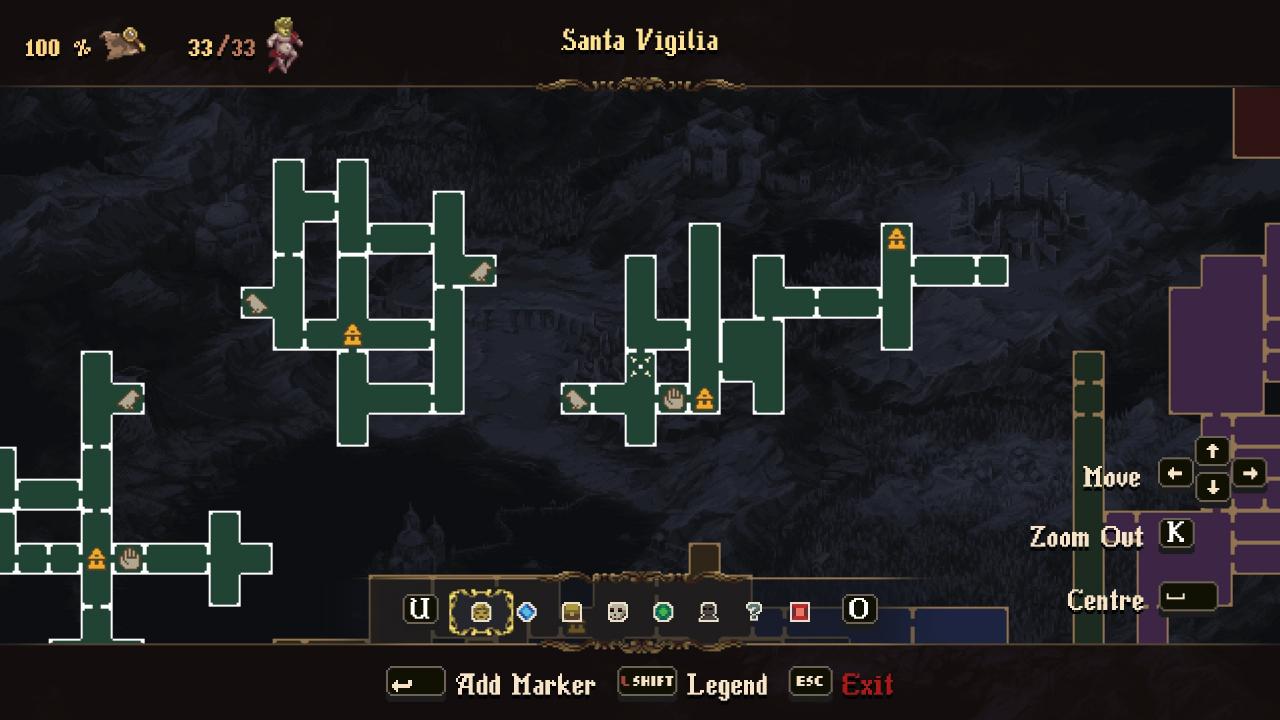
“Reveal the entire map, including new areas.”This achievement should naturally pop up if you already had a completed base game map and followed this guide. However, in case it doesn’t, I’ll show screenshots of the complete map of the expanded areas and you can compare these with your map and see what you’re missing.
Post-Mortem

“Unlock Ending C.”This is a relatively simple thing to do, especially if you’ve already gotten Ending A like I recommended. If you haven’t, then you need to do so before proceeding, or else you risk voiding yourself of ever getting it on this file before NG+.
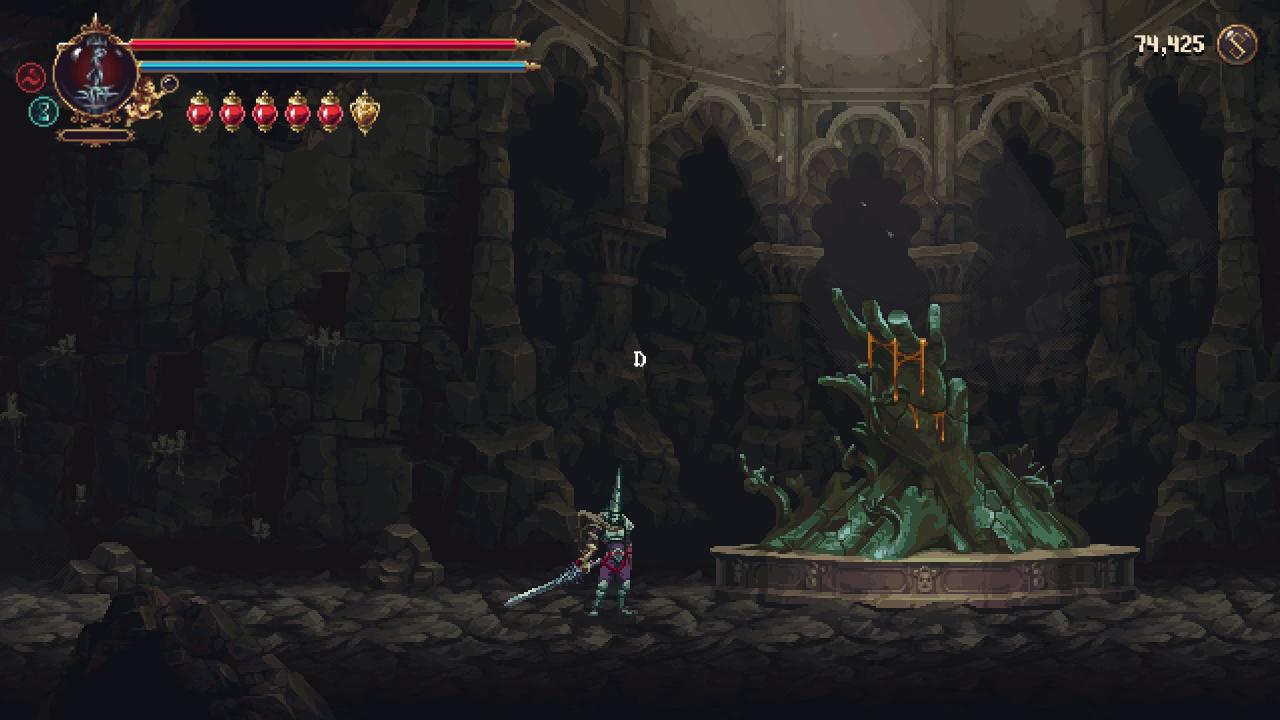
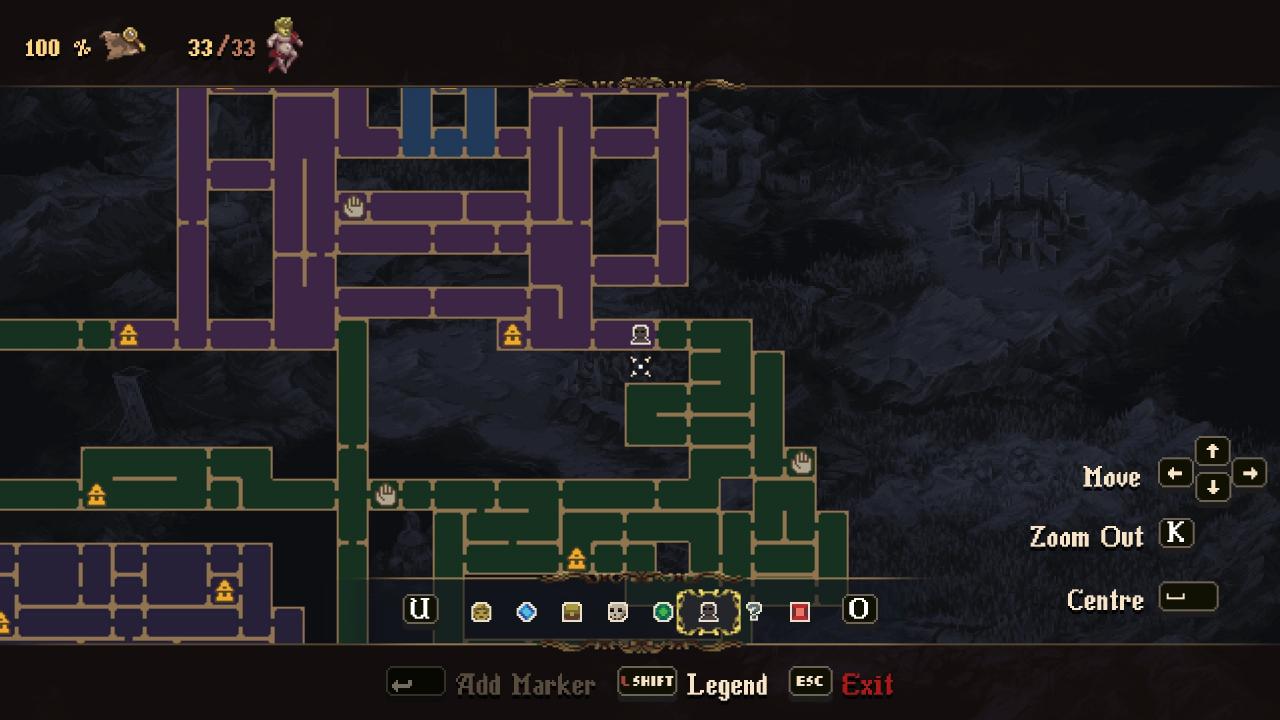
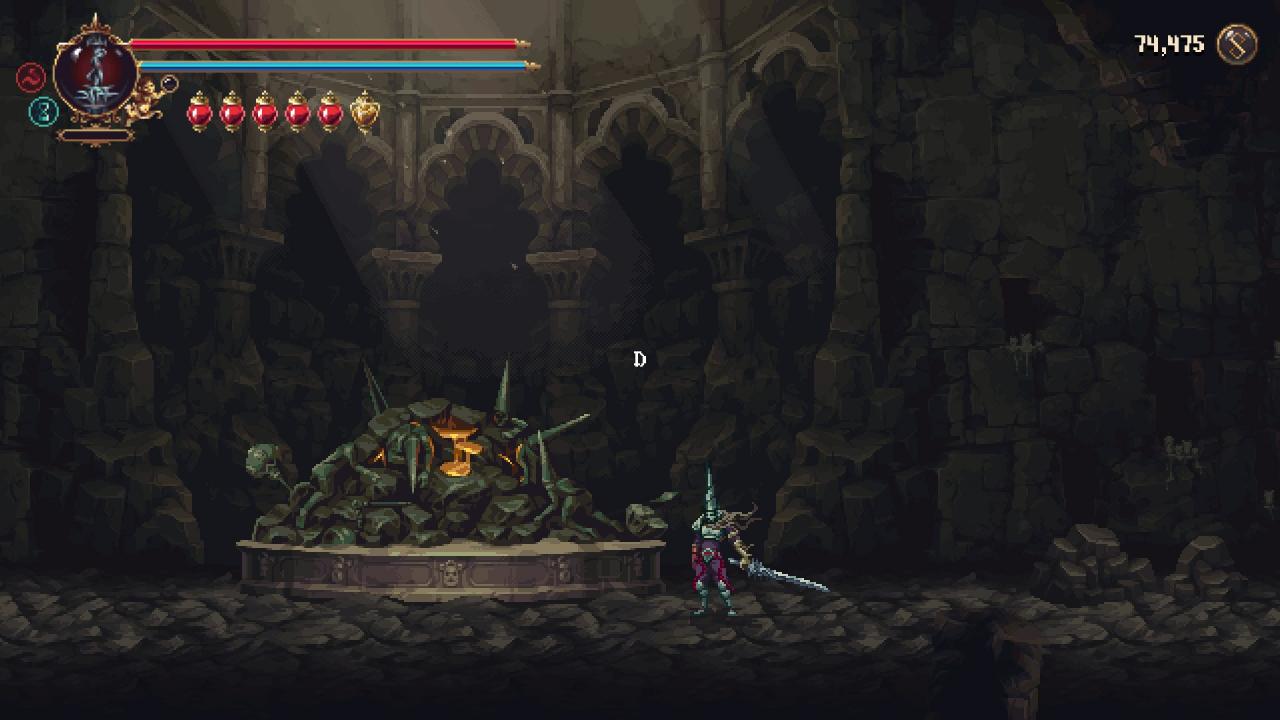
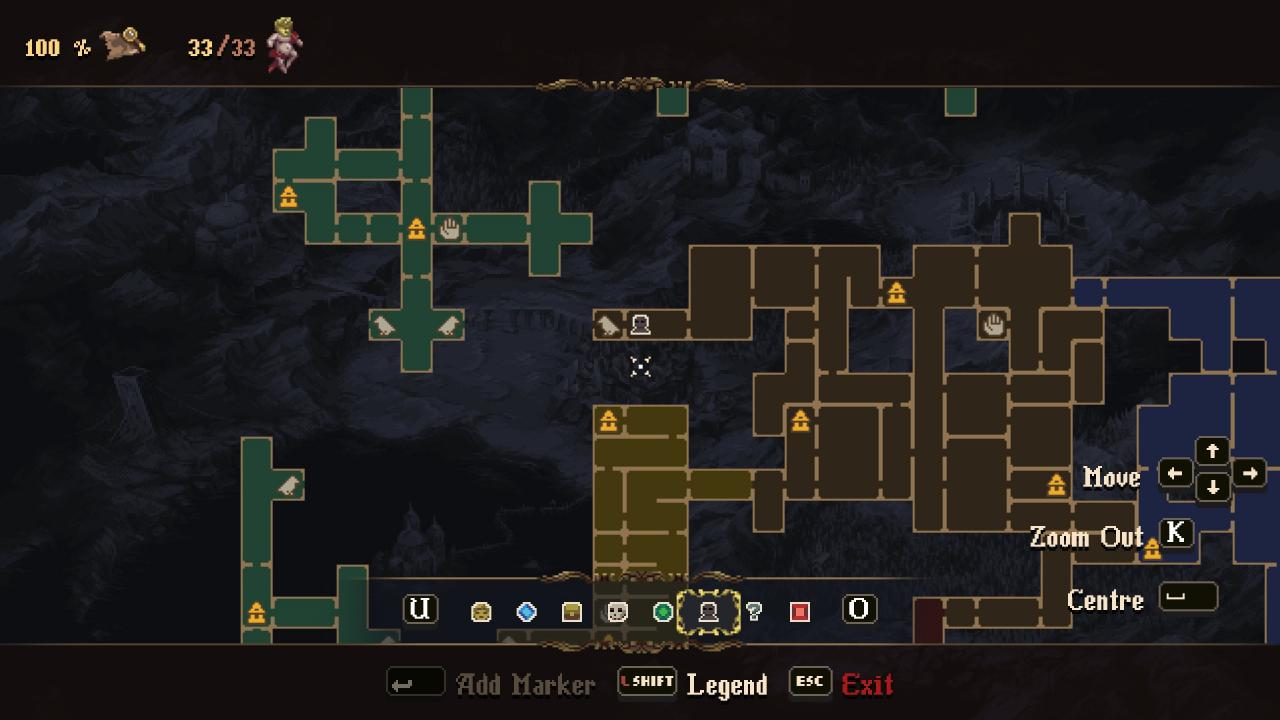
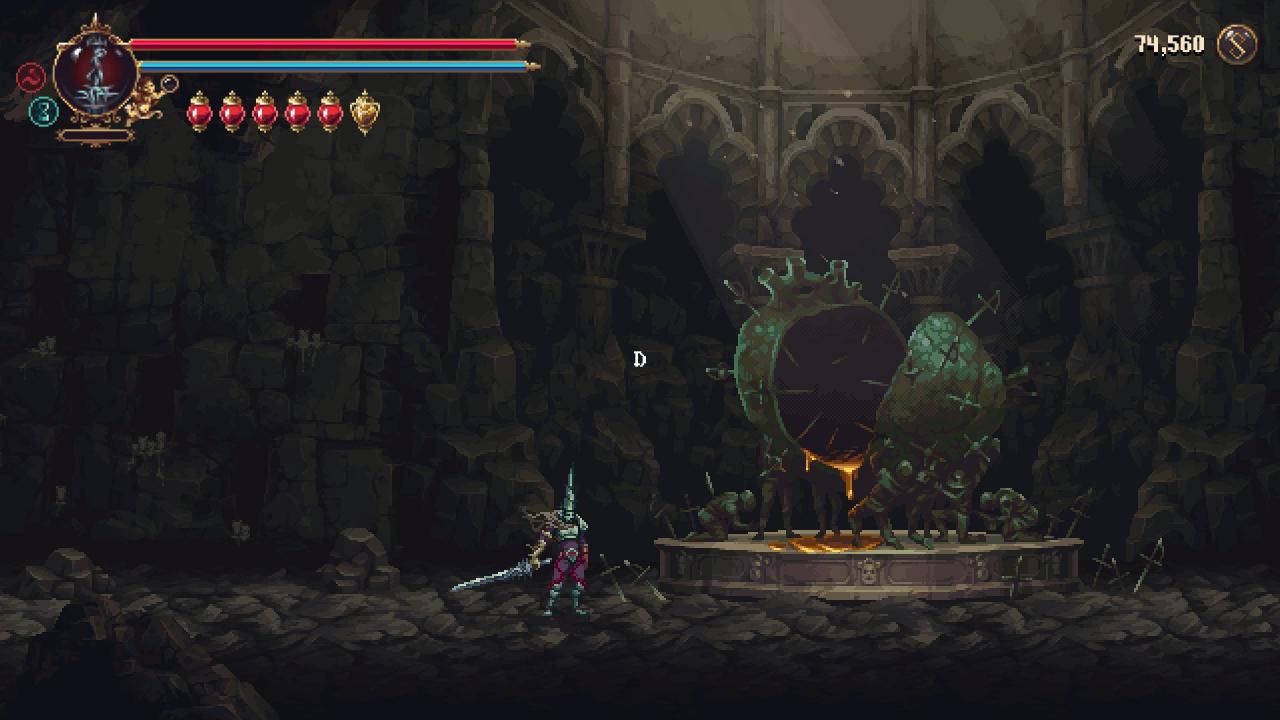
If you’ve already gotten Ending A, now all you have to do now is fight 3 mini-bosses, each representing one of the three main weapons of the base game. Here are their locations:
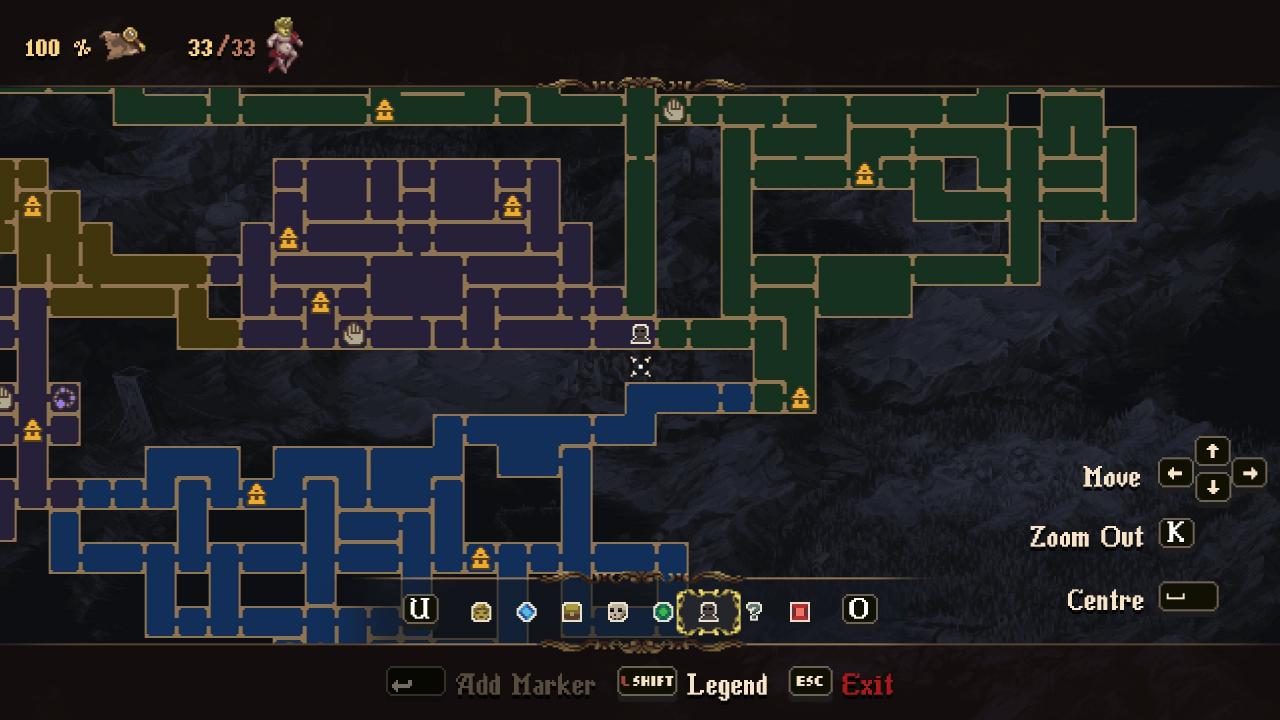
After this, go back to the secret area in Santa Vigilia and pick up the last prayer: Prayer of the Penitent One:
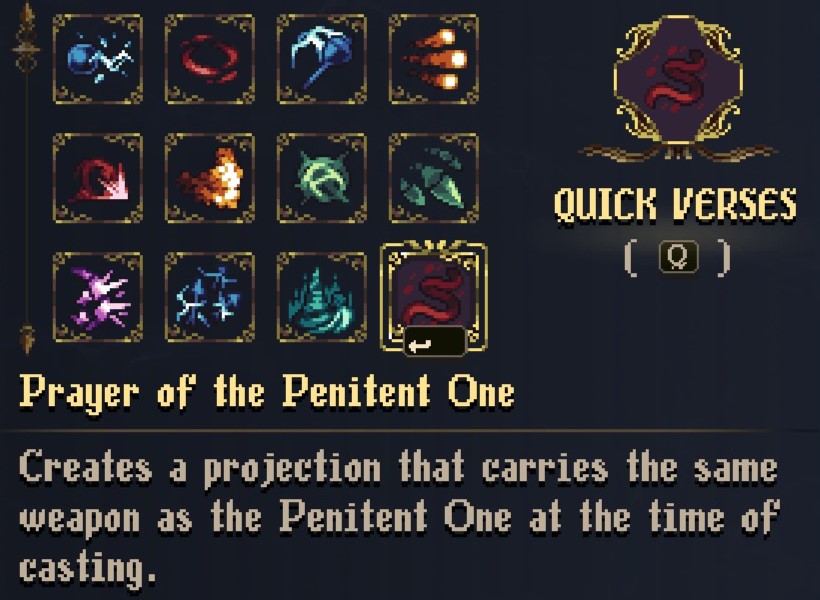
I don’t think this is needed for Ending C specifically, but it is needed for Consummate Collector, so get it anyway. Afterwards, go beat the final boss again and offer the Incense of the Envoys (just like Ending A), and the achievement will pop up after the cutscene.
NG+
This was added for free alongside the True Torment DLC and does not have any achievements directly related to it. The rewards you can get from this are tied to Consummate Collector, but there is no “Beat NG+” achievement, for example.
Sadly, the mode itself isn’t really a “NG+” where you can replay the game with late game items and abilities. This is more akin to a hard mode. You will lose everything when beginning this mode. All the things you’ve collected, all upgrades, map progress, the Mea Culpa, everything (except the Cherubs, but this might be a bug, so don’t count on it). So before you begin this mode, duplicate your 100% completed save file. That way you can access different parts of the game or restart NG+ if you do something wrong.
So how does NG+ work otherwise? Well, you start by ascending your save on the file selection screen (if you didn’t defeat the final boss before you try NG+, then you might need to in order for this option to appear). Right after you pick your starting weapon, you can choose any one of 8 different modifiers for the game (called penances). They are as follows:
- Final Judgement: Enemies will be more challenging. Falling into chasms and thorns will lead to instant death.
- Vow of Poverty: Fervor and rosary beads upgrades will remain locked.
- Spilled Blood: Your health bar will be replaced by life orbs.
- Chalice of Guilt: When you die, you will drop a single Guilt Fragment that will contain half of the Tears of Atonement and experience obtained.
- Ascension of Penance: Any hit you receive will increase your Guilt. In exchange, your attacks will be more powerful when you are free from Guilt.
- Peace for the Remorseful: Enemies will reappear if you leave and then return to their room. In exchange, you will have additional resistance to all elements.
- Barefoot Procession: Any hit you receive will deplete your fervor bar. In exchange, fervor gains will increase.
- Endless Thirst: You gain less experience in combat and will collect fewer Marks of Martyrdom. In exchange, the Altarpiece of Favours will be completely unlocked from the start.
You are able to turn any of these off at any point in time, but you cannot turn them back on after you turn them off. Additionally, you cannot turn on other penances that you did not choose when starting the game. This means you can’t cheese the game into
Completing the game with one or multiple modifiers will net you some rewards. The link to the reddit post I mentioned earlier shows what these rewards are, but unfortunately they did not share if they knew which modifier led to which reward, so if you want a specific reward, then I’m afraid I can’t help you as of now. We also don’t know if any of these are exclusive to doing a specific number of penances. Thankfully, it seems these rewards carry over during ascension, so if you want to do another NG+ run, you shouldn’t have to redo any penances you’ve already done. The rewards are as follows:
- Chant – Soleá of Excommunication: Temporarily increases the stun capacity of all attacks
- Quick verse – Bleeding Chalice: Consumes a large portion of the Penitent One’s health to improve physical attacks for a while.
- Altarpiece – The Mournful: Increases the rate at which the Verdadera Destreza bar is filled.
- Altarpiece – The Crying: Increases dashing speed.
- Altarpiece – The Executed: Increases the rate at which the Bloodpact indicator is filled.
- Altarpiece – The Oblivion: Decreases Verse casting time.
I’m really not sure how 8 modifiers gives you 6 rewards, but I digress. As I’ve already mentioned in this guide, each of these items counts towards Consummate Collector, so you will need to get all of these rewards to get that achievement. I am choosing to wait until more information is available and for some bugs to get fixed, but you do not have to do the same. So if you’re up for the challenge, then feel free to start a NG+ run whenever you wish.

